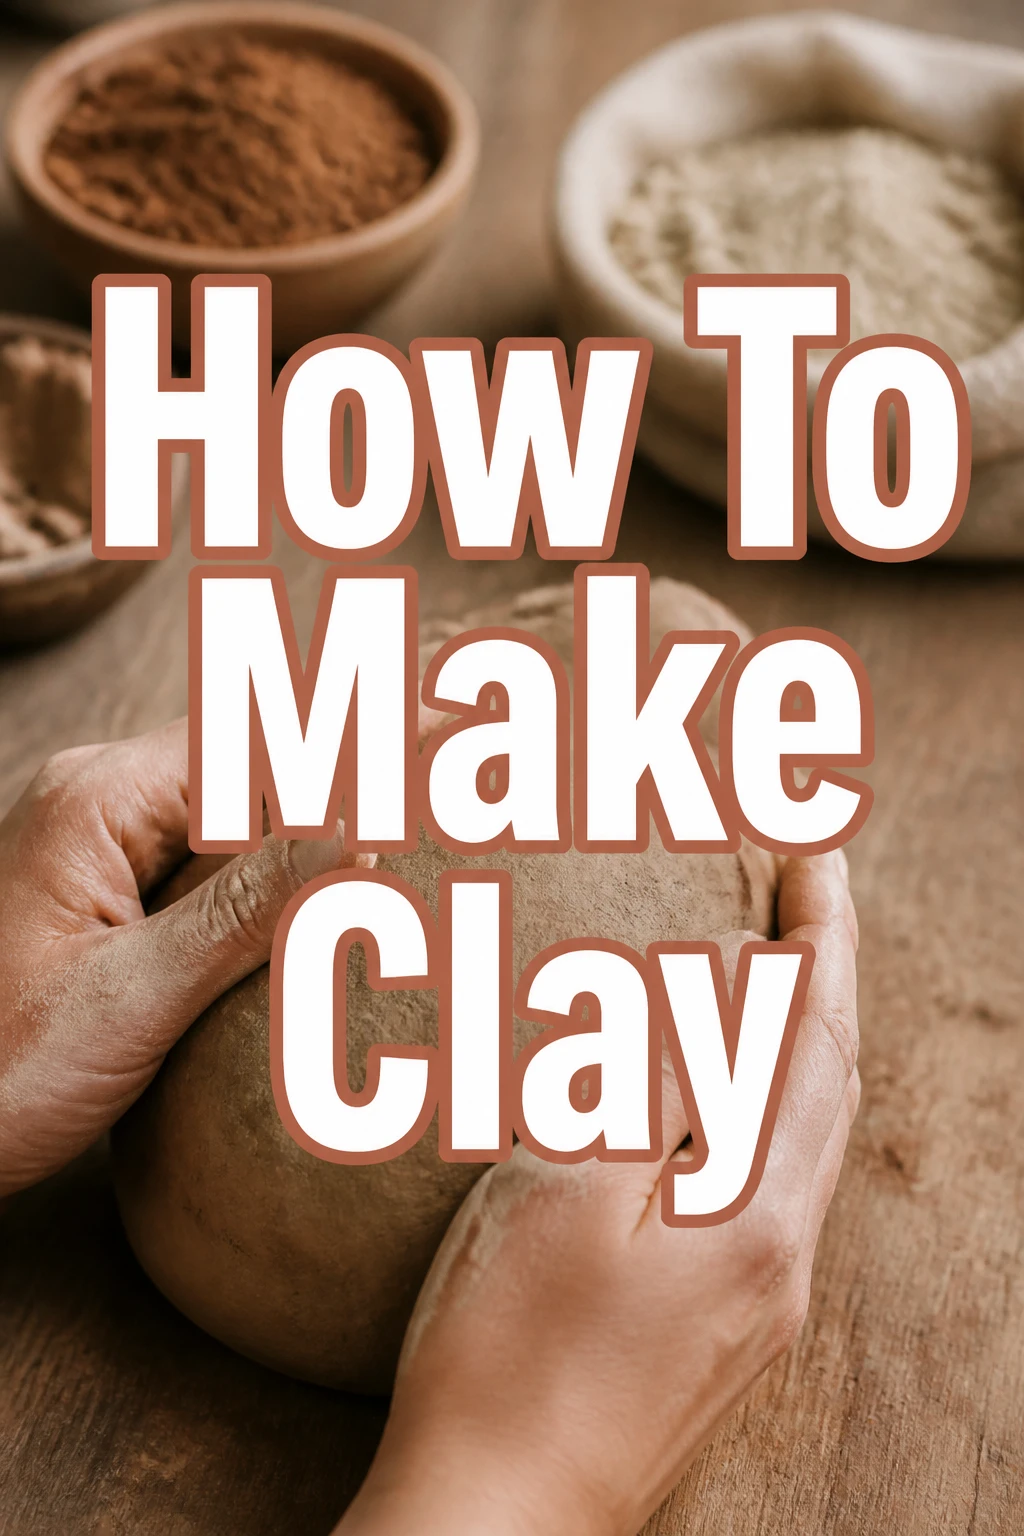
How To Make Clay
There’s a special satisfaction in crafting something from scratch, especially when it’s as versatile as clay.
I remember making my first batch with my grandmother; the joy of transforming simple ingredients into a moldable medium was unforgettable.
This guide draws on years of hands-on experience, helping you create your own high-quality clay for countless creative projects.
Quick Overview
This guide will walk you through the process of making a simple, effective air-dry clay right in your own kitchen. You’ll learn to combine common household items into a pliable material perfect for sculptures, ornaments, and various crafts.
- Time needed: 30-45 minutes (plus drying time)
- Difficulty: Beginner
- What you’ll need: Cornstarch, baking soda, water, a pot, and a spoon
Step-by-Step Instructions
Step 1: Gather Your Ingredients and Tools
Before you begin, ensure all your materials are laid out and ready to use. This makes the entire process smoother and more efficient.
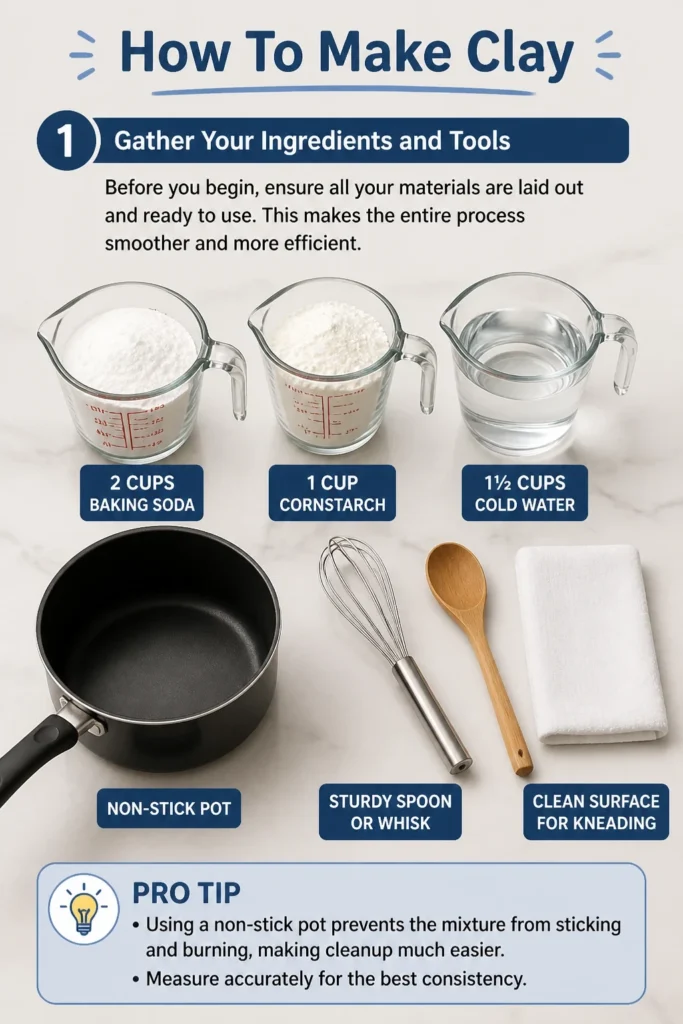
You will need two cups of baking soda, one cup of cornstarch, and one and a half cups of cold water. Grab a non-stick pot, a sturdy spoon or whisk for mixing, and a clean surface for kneading.
Pro Tip: Using a non-stick pot prevents the mixture from sticking and burning, making cleanup much easier. Measure accurately for the best consistency.
Step 2: Combine Dry Ingredients in the Pot
Pour the two cups of baking soda into your non-stick pot. Then, add the one cup of cornstarch to the pot.
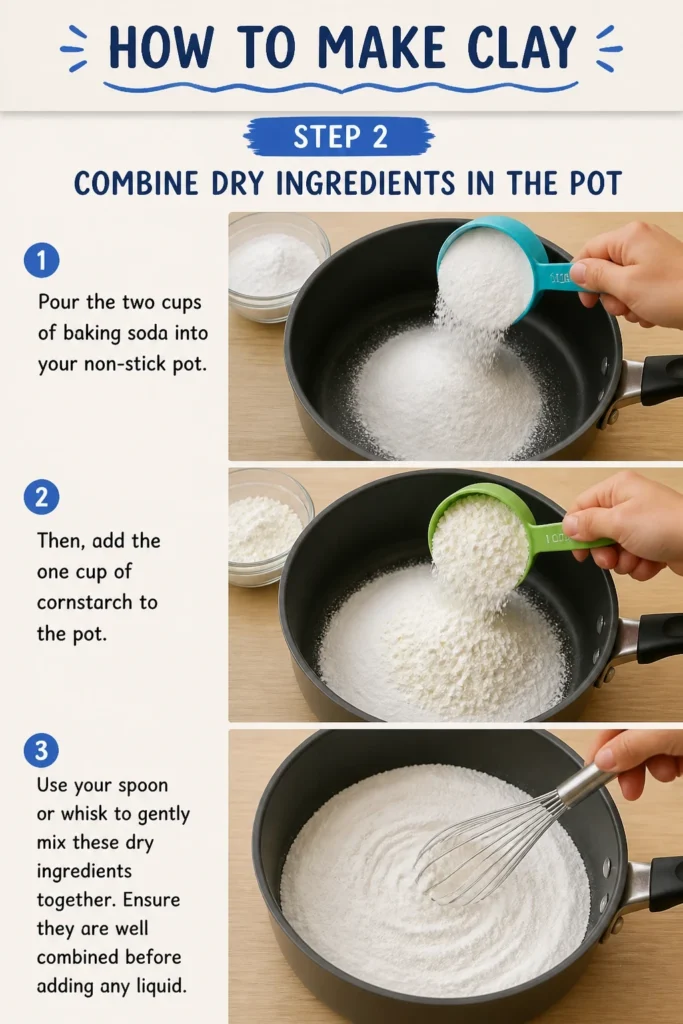
Use your spoon or whisk to gently mix these dry ingredients together. Ensure they are well combined before adding any liquid.
Step 3: Gradually Add Water and Mix
Slowly pour the one and a half cups of cold water into the dry mixture. Do this gradually to avoid creating lumps.
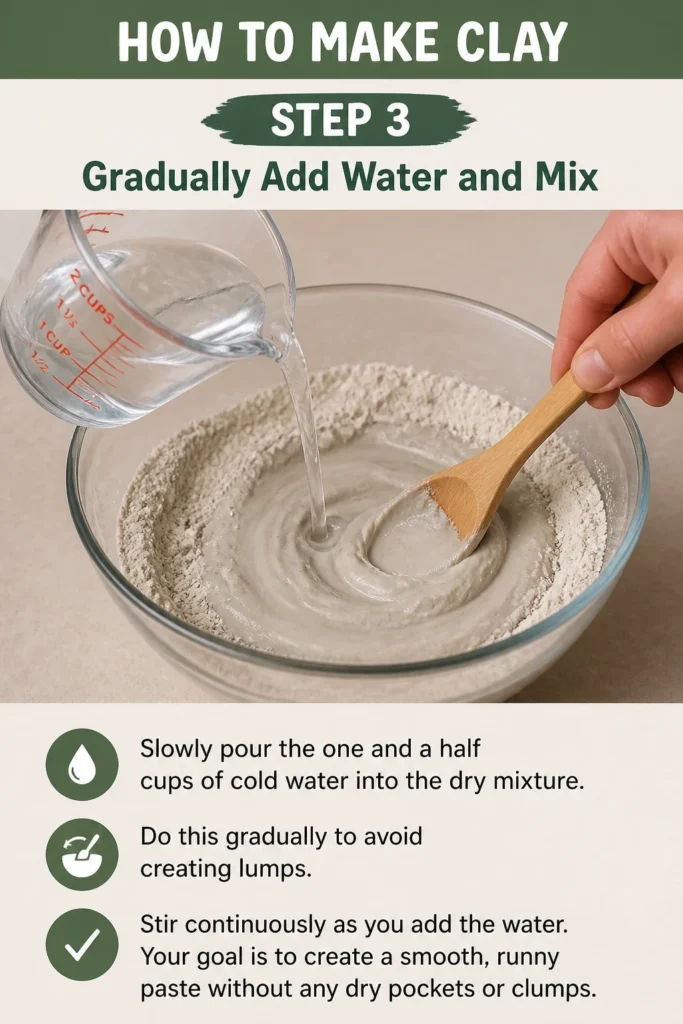
Stir continuously as you add the water. Your goal is to create a smooth, runny paste without any dry pockets or clumps.
Step 4: Cook the Mixture Over Medium Heat
Place your pot on the stove over medium heat. Continue stirring the mixture constantly.
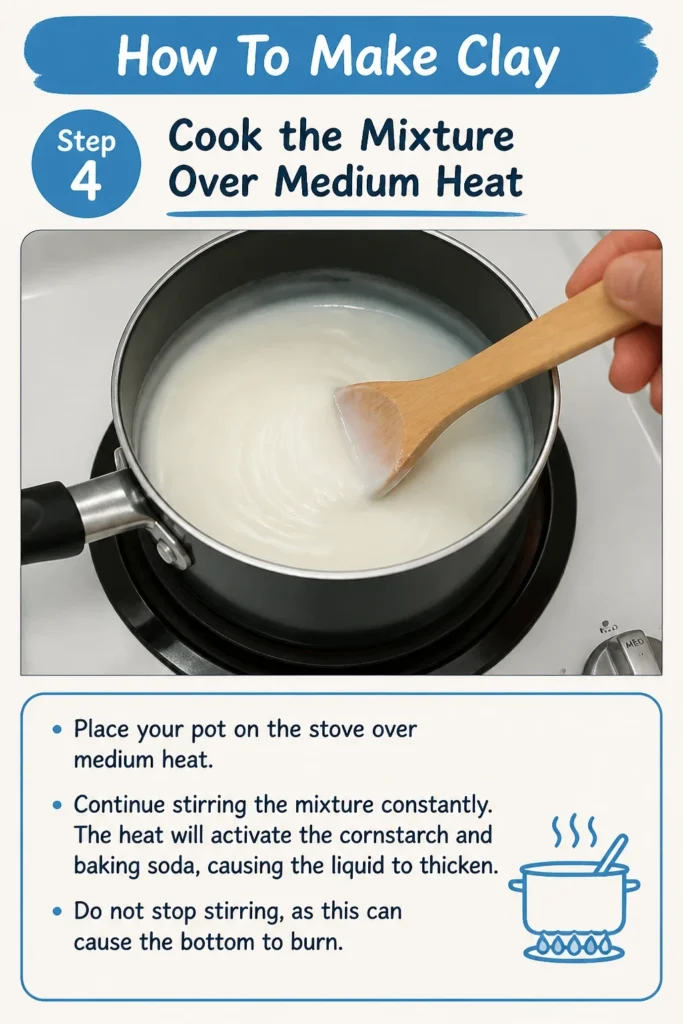
The heat will activate the cornstarch and baking soda, causing the liquid to thicken. Do not stop stirring, as this can cause the bottom to burn.
Step 5: Observe the Thickening Process
As the mixture heats, you will notice a significant change in its consistency. It will start to thicken, much like mashed potatoes or a very thick pudding.
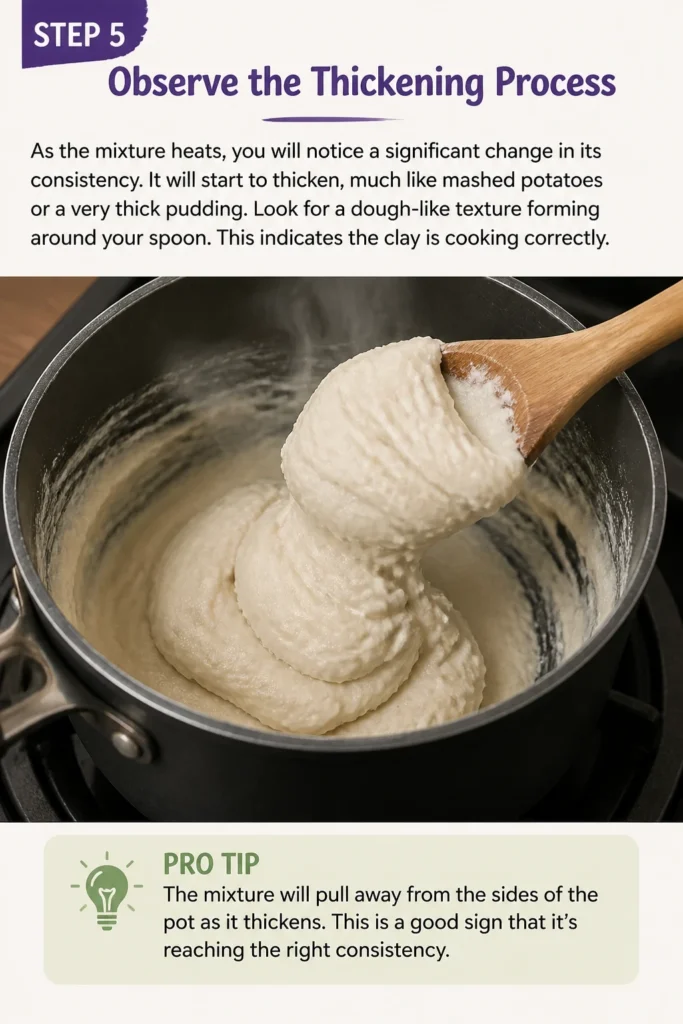
Look for a dough-like texture forming around your spoon. This indicates the clay is cooking correctly.
Pro Tip: The mixture will pull away from the sides of the pot as it thickens. This is a good sign that it’s reaching the right consistency.
Step 6: Remove from Heat and Let Cool Slightly
Once the mixture has formed a thick, cohesive ball and pulls away from the pot, remove it from the heat immediately. Overcooking can make the clay crumbly.
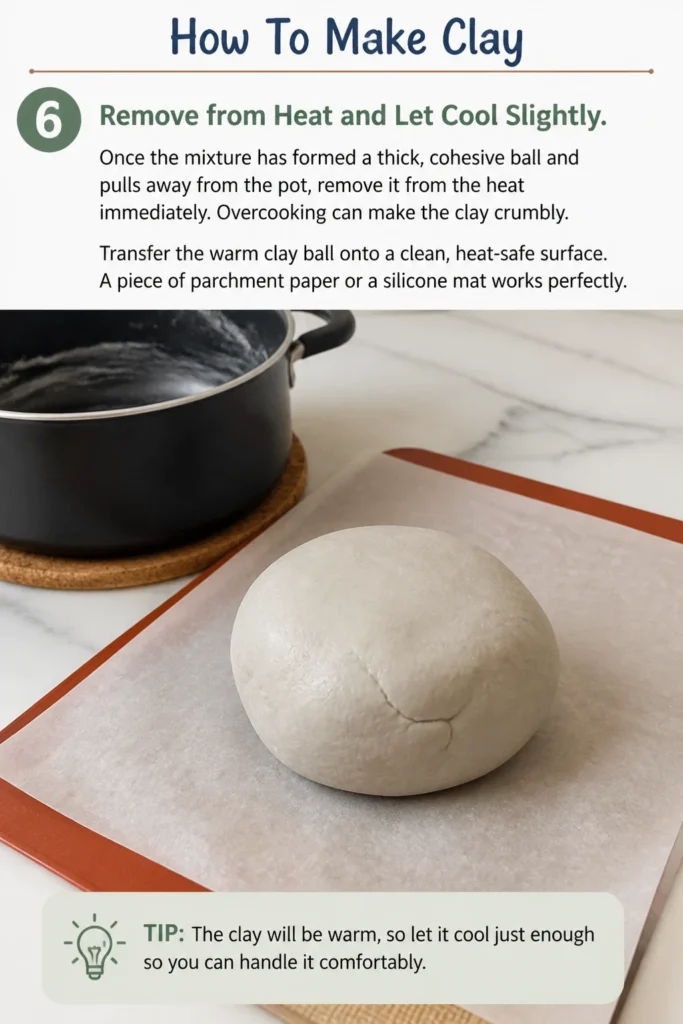
Transfer the warm clay ball onto a clean, heat-safe surface. A piece of parchment paper or a silicone mat works perfectly.
Step 7: Knead the Clay Until Smooth
Allow the clay to cool for a few minutes until it’s comfortable enough to handle. It should still be warm, not hot.
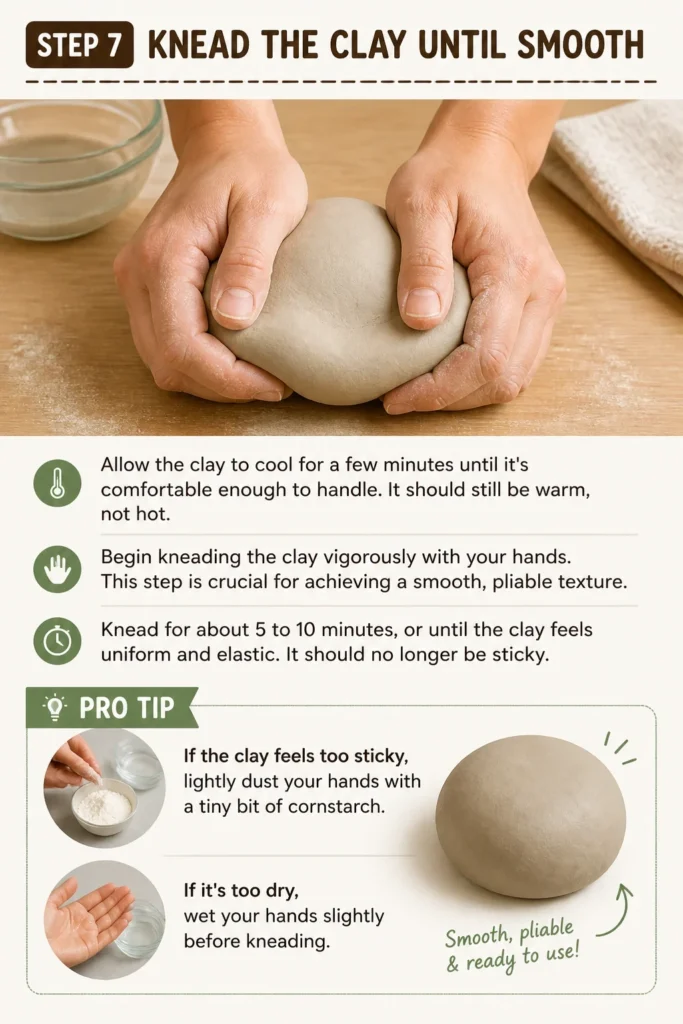
Begin kneading the clay vigorously with your hands. This step is crucial for achieving a smooth, pliable texture.
Knead for about 5 to 10 minutes, or until the clay feels uniform and elastic. It should no longer be sticky.
Pro Tip: If the clay feels too sticky, lightly dust your hands with a tiny bit of cornstarch. If it’s too dry, wet your hands slightly before kneading.
Step 8: Store Your Homemade Clay
Once your clay is perfectly smooth and cool, it’s ready for use. If you’re not using it immediately, proper storage is key.
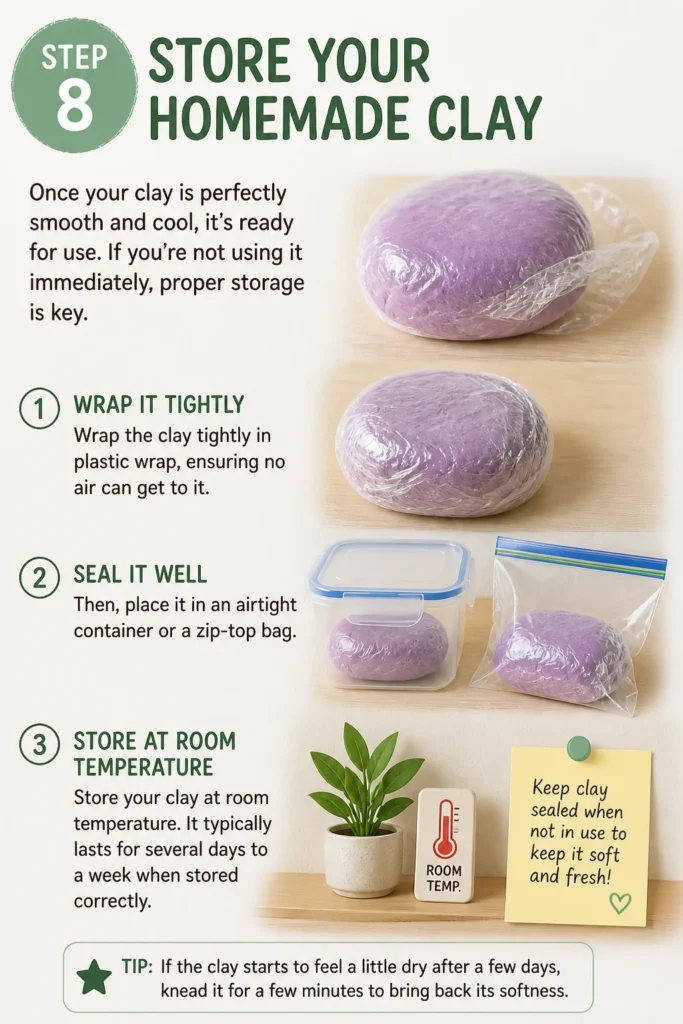
Wrap the clay tightly in plastic wrap, ensuring no air can get to it. Then, place it in an airtight container or a zip-top bag.
Store your clay at room temperature. It typically lasts for several days to a week when stored correctly.
Common Mistakes to Avoid
Adding Too Much Water
A common error is to add too much water initially, or to rush the cooking process. This results in a very sticky, unmanageable clay that won’t firm up properly.
Always measure your water carefully and add it gradually. If your clay is too wet, try cooking it a little longer on low heat, stirring constantly, to evaporate some of the excess moisture.
Overcooking the Mixture
Cooking the clay for too long or at too high a heat can make it dry and crumbly. The heat causes too much moisture to evaporate, leaving the clay brittle.
Watch for the moment the mixture forms a ball and pulls away from the pot. Remove it from the heat as soon as this happens to maintain its pliability.
Insufficient Kneading
Skipping or shortening the kneading process will leave your clay lumpy and inconsistent. Proper kneading develops the clay’s texture and makes it smooth and workable.
Dedicate enough time to knead the clay thoroughly while it is still warm. This ensures all ingredients are fully integrated and the clay becomes elastic.
Improper Storage
Leaving homemade clay exposed to air will cause it to dry out quickly and become unusable. It loses its moisture and hardens prematurely.
Always wrap your clay tightly in plastic wrap and store it in an airtight container. This preserves its moisture content and extends its shelf life.
Troubleshooting
Clay is Too Sticky
If your clay feels excessively sticky after kneading, it likely has too much moisture. This can happen if you added a bit too much water or didn’t cook it quite long enough.
Try kneading in a small amount of cornstarch, a teaspoon at a time, until the stickiness subsides. Alternatively, you can return it to the pot for a few more minutes on very low heat, stirring constantly, to evaporate excess water.
Clay is Too Dry or Crumbly
A dry or crumbly clay indicates it was overcooked or didn’t have enough water from the start. It might also be a sign of insufficient kneading.
If it’s only slightly dry, try kneading it with slightly damp hands. For very crumbly clay, you might need to add a tiny bit of water (a few drops at a time) and knead extensively to rehydrate it. Unfortunately, severely overcooked clay is often difficult to salvage.
Clay Has Lumps
Lumps typically form if the dry ingredients weren’t mixed well before adding water, or if the water was added too quickly without continuous stirring. They can also occur if the clay wasn’t kneaded enough.
Thorough kneading is the best solution for minor lumps. If the lumps are persistent, try pressing the clay through a fine sieve or mesh, then re-kneading it. Ensure you always mix dry ingredients first and add water slowly in future batches.
Key Takeaways
- Accurate measurement of ingredients is crucial for the right clay consistency.
- Constant stirring during cooking prevents burning and ensures even thickening.
- Remove the clay from heat as soon as it forms a ball and pulls away from the pot to avoid overcooking.
- Thorough kneading while the clay is warm develops a smooth, pliable texture.
- Proper airtight storage extends the shelf life of your homemade clay significantly.
- Homemade clay provides a versatile, cost-effective medium for various craft projects.
Frequently Asked Questions
Can I color this homemade clay?
Yes, absolutely! You can add liquid watercolors, food coloring, or even acrylic paint to the mixture while it’s still warm and being kneaded. Start with a few drops and knead it in fully before adding more until you achieve your desired color intensity.
How long does this clay take to air dry?
Drying time varies greatly depending on the thickness of your finished piece and the humidity in your environment. Thin pieces might dry in 24-48 hours, while thicker creations can take several days. Flip your piece periodically to ensure even drying and prevent warping.
Is this clay safe for children?
Yes, this recipe uses non-toxic, food-grade ingredients, making it generally safe for children to handle. However, it is not intended for consumption. Always supervise young children during crafting activities, especially with small pieces, to prevent accidental ingestion.
Can I bake this clay to speed up drying?
This particular air-dry clay recipe is not designed for oven baking. The high heat can cause it to crack, bubble, or even burn due to the baking soda and cornstarch composition. It’s best to allow it to air dry naturally for the best results.
Our Top Recommended Finds
- Silicone Baking Mat: Provides a non-stick surface for kneading and working with your clay, making cleanup effortless.
- Airtight Food Storage Containers: Essential for keeping your homemade clay fresh and pliable for longer periods.
- Basic Sculpting Tool Set: A simple set of plastic or wooden tools can help you shape, cut, and add details to your clay creations with precision.
Unleash Your Inner Creator
Making your own clay is more than just a practical skill; it’s an invitation to explore your creativity without limits.
The satisfaction of crafting something beautiful from ingredients you assembled yourself is truly rewarding.
Why not gather your supplies today and embark on your clay-making adventure? Your next masterpiece is waiting to be formed.