How To Make Ribbon
I still remember the first time I tried to make my own ribbon for a special gift.
The store-bought options felt impersonal, and I craved something truly unique and personal.
This guide distills years of crafting experience, ensuring you can create beautiful, custom ribbons with confidence and ease.
Quick Overview
You’re about to discover the simple yet rewarding process of transforming everyday materials into exquisite, custom ribbons.
This guide will walk you through each stage, from selecting your fabric to adding the perfect finishing touches, leaving you with a versatile and beautiful handmade product.
- Time needed: 1-3 hours (depending on complexity and desired length)
- Difficulty: Beginner
- What you’ll need: Fabric, scissors or rotary cutter, ruler, sewing machine (optional), iron, and basic sewing supplies.
Step-by-Step Instructions
Step 1: Gather Your Materials
Gather all your necessary tools and supplies before you begin any cutting.
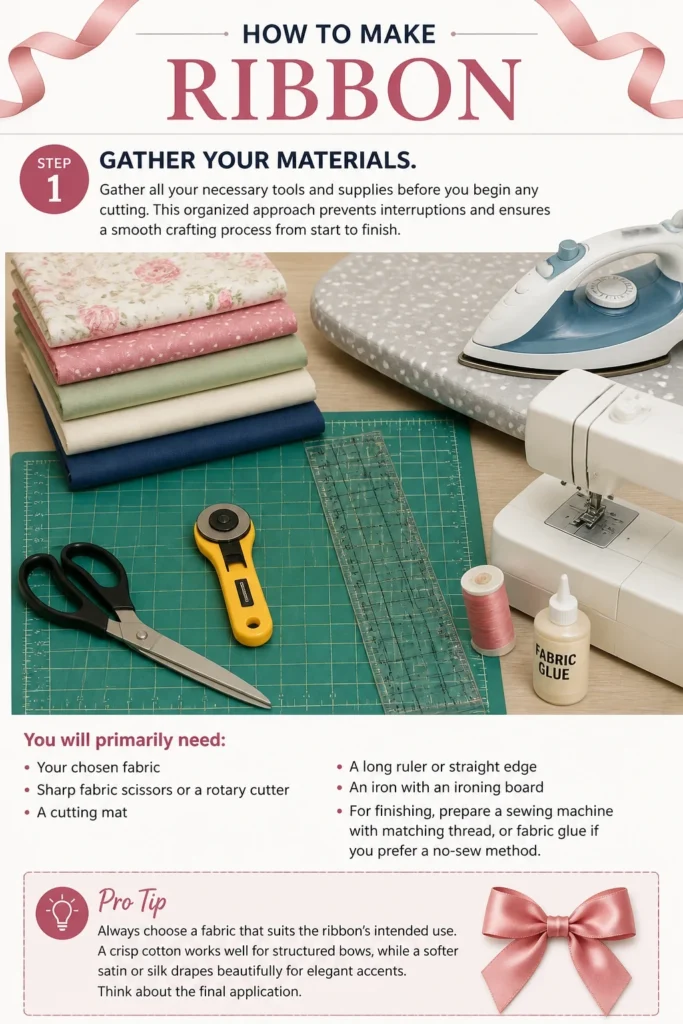
This organized approach prevents interruptions and ensures a smooth crafting process from start to finish.
You will primarily need your chosen fabric, sharp fabric scissors or a rotary cutter, a cutting mat, a long ruler or straight edge, and an iron with an ironing board.
For finishing, prepare a sewing machine with matching thread, or fabric glue if you prefer a no-sew method.
Pro Tip: Always choose a fabric that suits the ribbon’s intended use. A crisp cotton works well for structured bows, while a softer satin or silk drapes beautifully for elegant accents. Think about the final application.
Step 2: Prepare Your Fabric
Pre-wash and dry your fabric according to its care instructions.
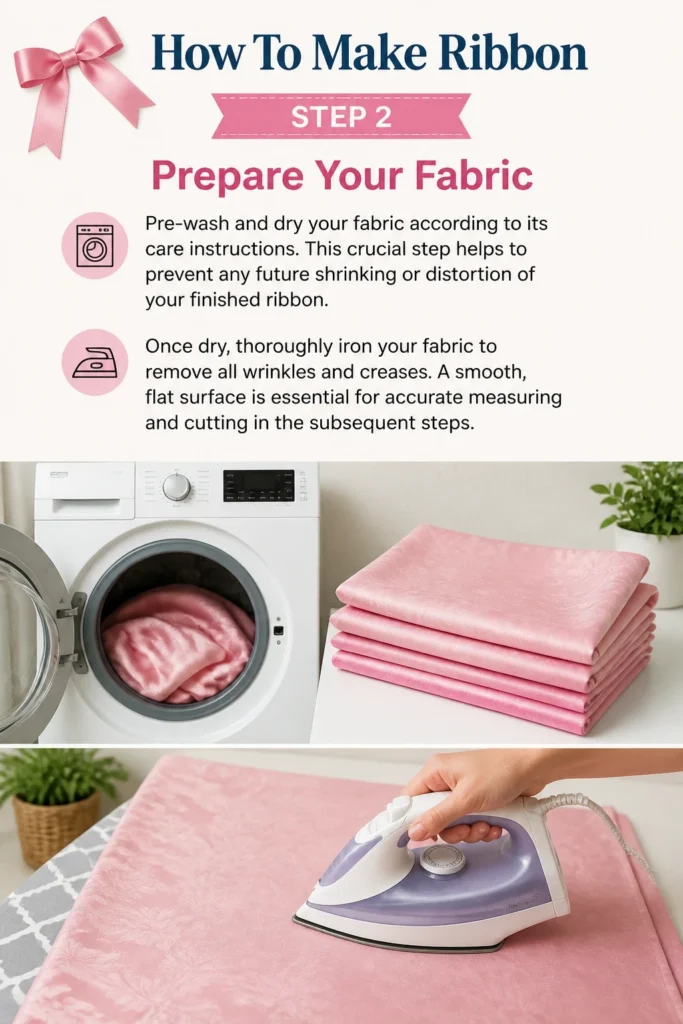
This crucial step helps to prevent any future shrinking or distortion of your finished ribbon.
Once dry, thoroughly iron your fabric to remove all wrinkles and creases.
A smooth, flat surface is essential for accurate measuring and cutting in the subsequent steps.
Step 3: Determine Ribbon Dimensions
Decide on the desired width and length for your finished ribbon.
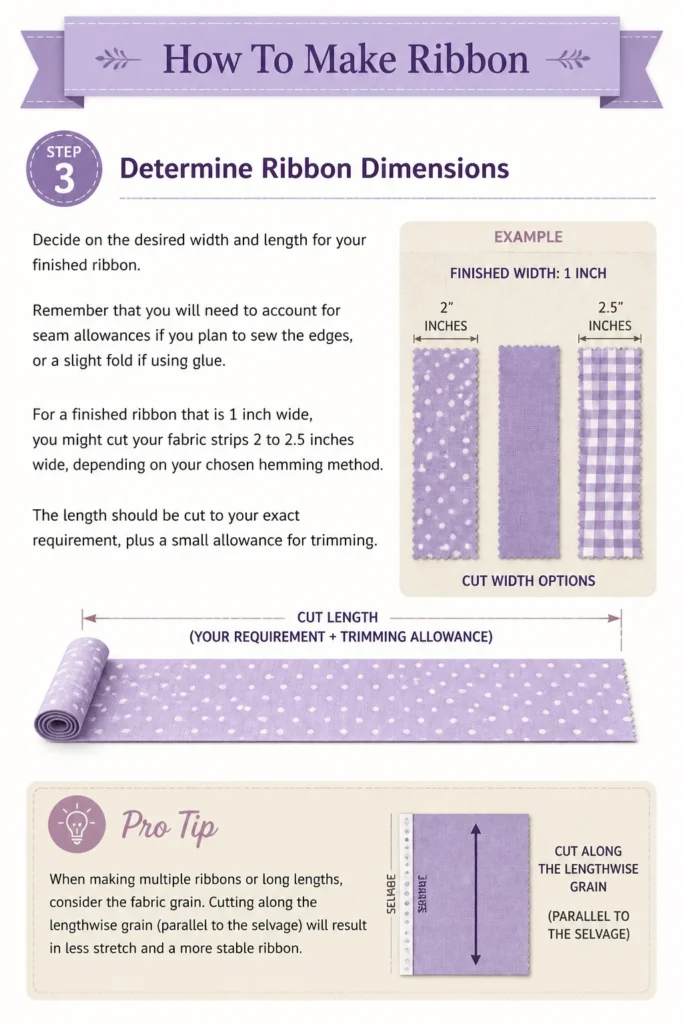
Remember that you will need to account for seam allowances if you plan to sew the edges, or a slight fold if using glue.
For a finished ribbon that is 1 inch wide, you might cut your fabric strips 2 to 2.5 inches wide, depending on your chosen hemming method.
The length should be cut to your exact requirement, plus a small allowance for trimming.
Pro Tip: When making multiple ribbons or long lengths, consider the fabric grain. Cutting along the lengthwise grain (parallel to the selvage) will result in less stretch and a more stable ribbon.
Step 4: Measure and Mark Your Fabric
Lay your prepared fabric flat on your cutting mat or a large, clean surface.
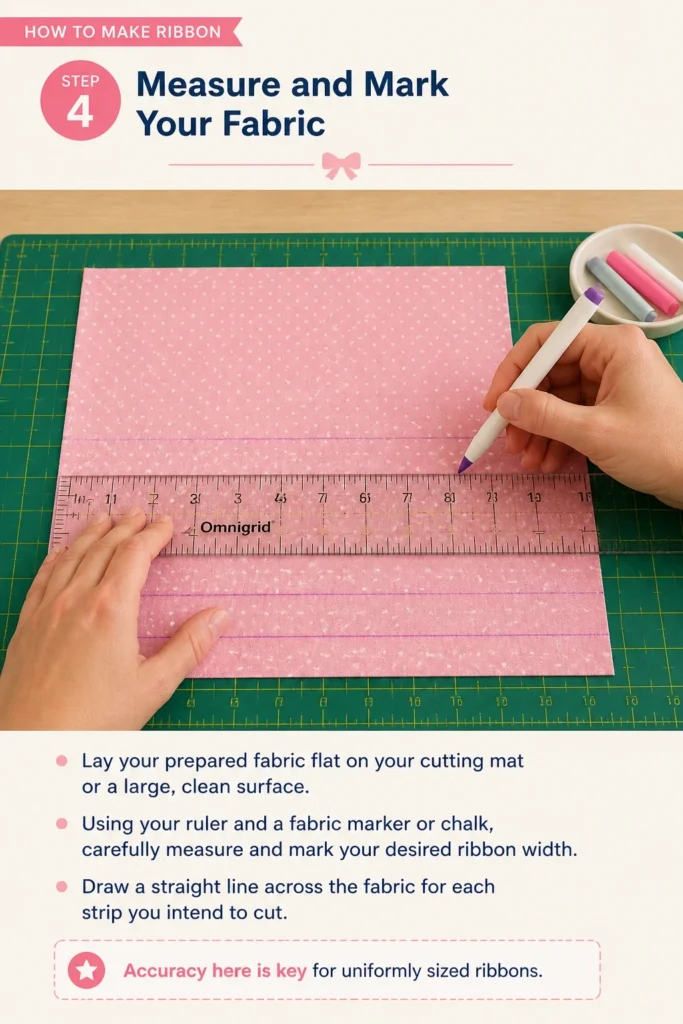
Using your ruler and a fabric marker or chalk, carefully measure and mark your desired ribbon width.
Draw a straight line across the fabric for each strip you intend to cut.
Accuracy here is key for uniformly sized ribbons.
Step 5: Cut Your Ribbon Strips
Cut along the marked lines with precision.
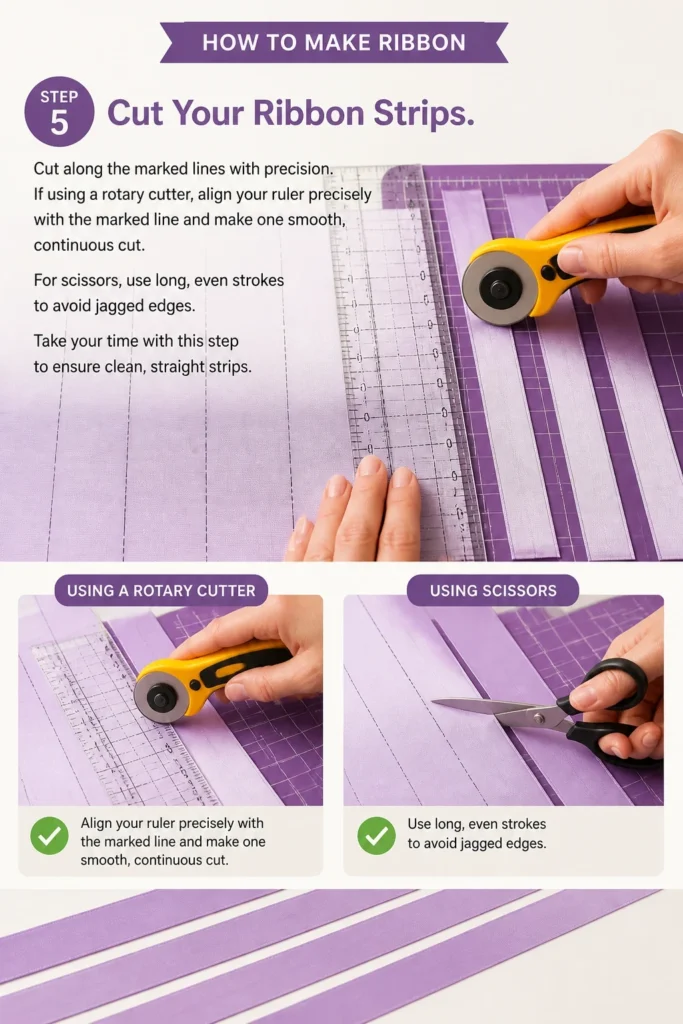
If using a rotary cutter, align your ruler precisely with the marked line and make one smooth, continuous cut.
For scissors, use long, even strokes to avoid jagged edges.
Take your time with this step to ensure clean, straight strips.
Step 6: Finish the Edges
Choose your preferred method for finishing the raw edges of your ribbon strips.
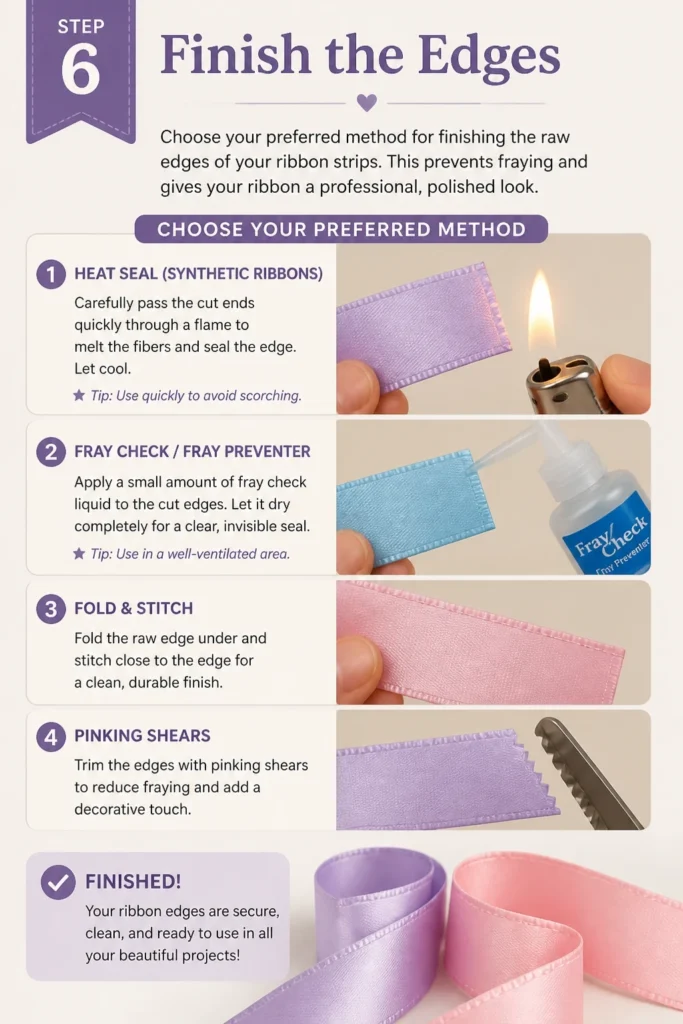
This prevents fraying and gives your ribbon a professional, polished look.
Sewn Edges:
Fold each long edge of your fabric strip inwards by about 1/4 inch, pressing firmly with an iron.
Fold them in again by another 1/4 inch, pressing to create a double-folded hem.
Stitch along the inner folded edge of both sides using your sewing machine and matching thread.
This creates a durable, neat finish.
No-Sew Edges (Fabric Glue):
Apply a thin line of fabric glue along one long raw edge of your fabric strip.
Carefully fold the edge over by about 1/4 inch and press firmly to adhere.
Repeat this process for the other long edge of the ribbon.
Allow the glue to dry completely according to the manufacturer’s instructions before handling further.
Frayed Edges:
Machine-stitch a straight line about 1/4 inch from each long raw edge of your fabric strip.
Carefully pull out the threads from the raw edge up to your stitched line.
This creates a charming, rustic, naturally frayed look while preventing further unraveling.
Pro Tip: For ribbons made from synthetic fabrics like polyester, you can gently melt the raw edges with a heat-sealing tool or a very quick pass of a lighter flame. Exercise extreme caution and do this in a well-ventilated area, testing on a scrap piece first.
Step 7: Add Embellishments (Optional)
Personalize your ribbon with various embellishments once the edges are finished.
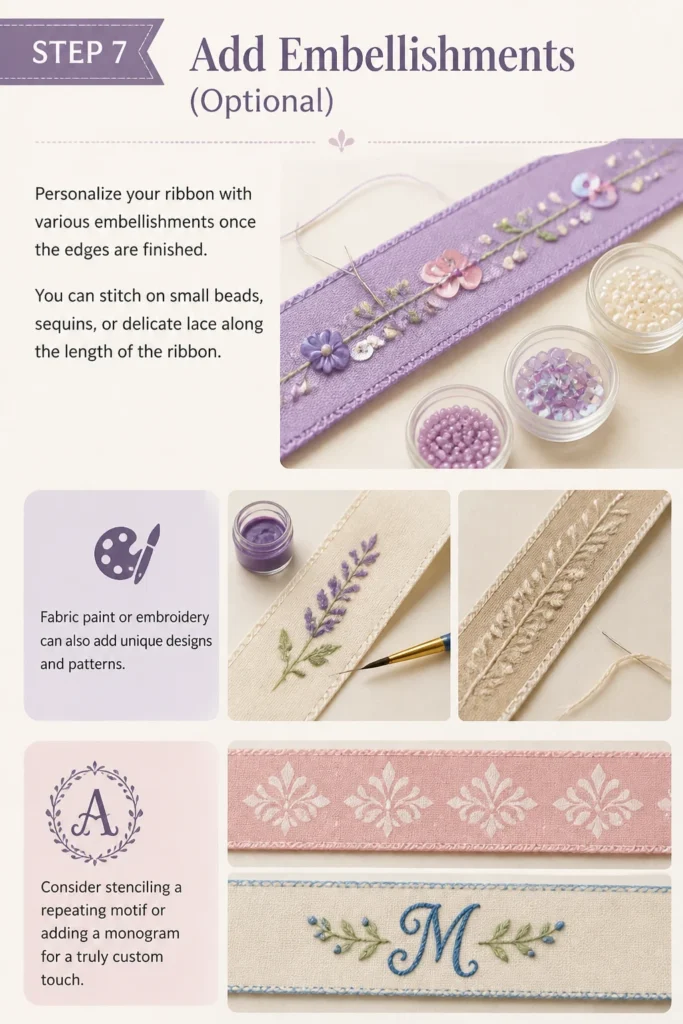
You can stitch on small beads, sequins, or delicate lace along the length of the ribbon.
Fabric paint or embroidery can also add unique designs and patterns.
Consider stenciling a repeating motif or adding a monogram for a truly custom touch.
Step 8: Press and Store Your Ribbon
Give your finished ribbon one final press with a warm iron.
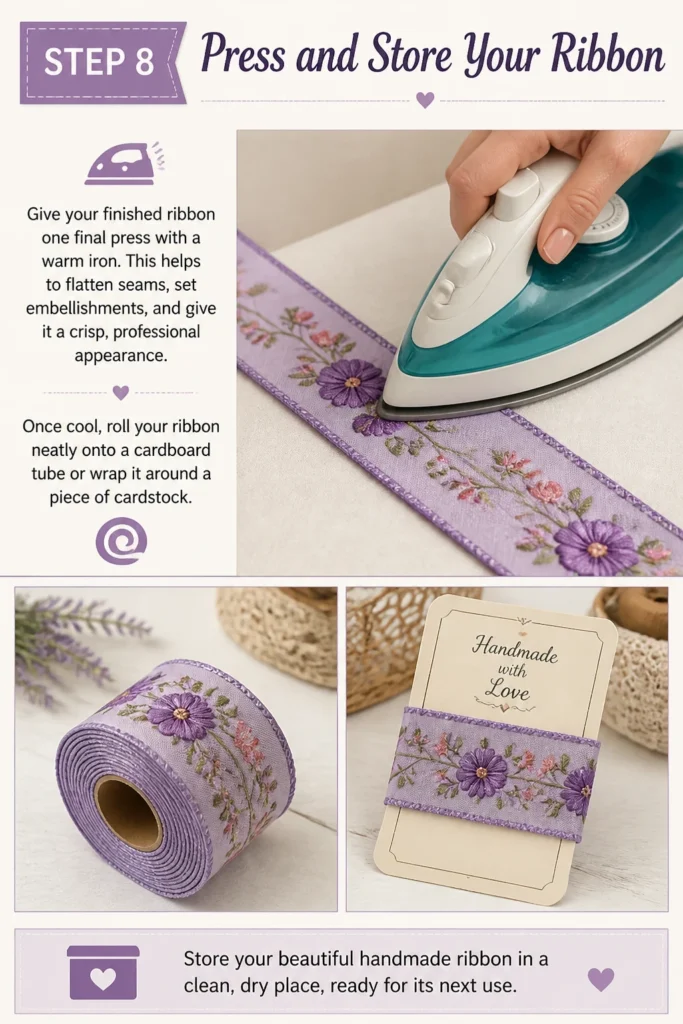
This helps to flatten seams, set embellishments, and give it a crisp, professional appearance.
Once cool, roll your ribbon neatly onto a cardboard tube or wrap it around a piece of cardstock.
Store your beautiful handmade ribbon in a clean, dry place, ready for its next use.
Common Mistakes to Avoid
Inaccurate Cutting
Cutting your fabric strips inaccurately is a common pitfall that can lead to uneven, unprofessional-looking ribbons. Even a slight deviation can become very noticeable over a long length.
Always use a sharp blade, a sturdy ruler, and a cutting mat. Take your time, measure twice, and cut once, ensuring your initial lines are perfectly straight and consistent.
Skipping Pre-Washing
Neglecting to pre-wash your fabric is a mistake that can lead to disappointment later. If your fabric shrinks after your ribbon is made, it can warp, pucker, or become distorted.
Always pre-wash and dry your fabric according to its specific care instructions. This stabilizes the material and ensures your ribbon maintains its shape and size over time.
Rushing Edge Finishing
Rushing the edge finishing process can result in sloppy hems, visible glue, or quickly fraying ribbons. This detracts significantly from the handmade quality.
Take your time with folding and pressing hems before sewing or gluing. Ensure stitches are even and glue is applied sparingly and allowed to dry fully. Precision here ensures durability and a polished look.
Ignoring Fabric Grain
Cutting your ribbon strips against the fabric grain can lead to a ribbon that stretches out of shape, twists, or doesn’t hang properly. The ribbon will lack stability and structure.
Always try to cut your ribbon strips along the lengthwise grain of the fabric. This provides the most stability and ensures your ribbon maintains its intended form and drape.
Troubleshooting
Ribbon is Fraying Excessively
If your ribbon is fraying more than desired, even after finishing the edges, it might indicate that your chosen finishing method wasn’t sufficient for the fabric type or was executed improperly.
Re-evaluate your edge finishing technique. For sewn edges, ensure your stitch line is close enough to the edge and that you used a double-fold hem. For no-sew, check that the glue fully adhered. If using a very loose weave fabric, consider a different method like a serged edge or a heat seal.
Ribbon Appears Uneven or Twisted
An uneven or twisted ribbon often stems from inaccurate cutting or not cutting along the correct fabric grain. It can also happen if your fabric shifted during the cutting process.
Ensure your fabric is perfectly flat and smooth before measuring and cutting. Use a rotary cutter and a long ruler for the straightest lines. Always cut along the lengthwise grain of the fabric to minimize stretch and twisting, providing a more stable ribbon.
Stitches are Visible and Messy
If your sewing machine stitches are prominent, uneven, or appear messy, it could be due to incorrect tension settings, an inappropriate needle, or rushing the sewing process.
First, ensure you’re using a needle appropriate for your fabric type. Test your tension settings on a scrap piece of the same fabric until stitches are balanced and lie flat. Sew slowly and deliberately, guiding the fabric evenly without pulling or pushing.
Key Takeaways
- Pre-washing and ironing your fabric are crucial first steps for a professional finish.
- Accurate measuring and cutting along the fabric grain are essential for straight, stable ribbons.
- Choose an appropriate edge finishing method (sewn, glued, or frayed) to prevent unraveling.
- Always test your chosen finishing method on a scrap piece of fabric first.
- Adding embellishments allows for personalized and unique ribbon creations.
- Proper pressing and storage will keep your handmade ribbons in pristine condition.
Frequently Asked Questions
What types of fabric are best for making ribbon?
Cotton, linen, silk, satin, and even certain synthetic blends work wonderfully for making ribbon. The best choice depends on the desired look and drape. Cotton is versatile for bows, while silk or satin offer a luxurious feel for decorative purposes.
Can I make wired ribbon at home?
Yes, you can make wired ribbon at home. After finishing your fabric strips, you would insert thin floral wire or craft wire along each long edge, either by stitching it into a narrow casing or carefully gluing it in place. This adds structure and allows the ribbon to hold its shape.
How can I make very narrow ribbons without them fraying?
For very narrow ribbons, traditional hemming can be challenging. Consider using bias tape makers to fold the edges inward and then stitch them, or use a fabric that naturally resists fraying like felt or faux leather, which doesn’t require edge finishing. Heat sealing for synthetics is also an option for very narrow widths.
Is it possible to print my own designs on ribbon?
Absolutely! You can use various methods to print designs on your handmade ribbon. Fabric paint, stencils, or even iron-on transfers can be applied to the finished ribbon. For more intricate designs, consider using a fabric printing service to customize your base fabric before cutting it into strips.
Our Top Recommended Finds
- Rotary Cutter and Mat Set: Essential for precise, straight cuts without the hassle of scissors, saving time and ensuring accuracy.
- Fabric Glue Pen: Perfect for no-sew options or holding hems in place before stitching, offering fine control and minimal mess.
- Seam Gauge/Small Ruler: Invaluable for consistently measuring small seam allowances and folds, ensuring uniform ribbon widths.
Unleash Your Inner Ribbon Artisan
Creating your own ribbon is more than just a craft; it’s an opportunity to infuse your projects with personal flair.
From gift wrapping to home decor, a handmade ribbon adds a touch of thoughtful elegance that store-bought options simply can’t match.
Don’t wait to add this delightful skill to your crafting repertoire. Gather your materials today and begin your journey into the wonderful world of custom ribbon making.