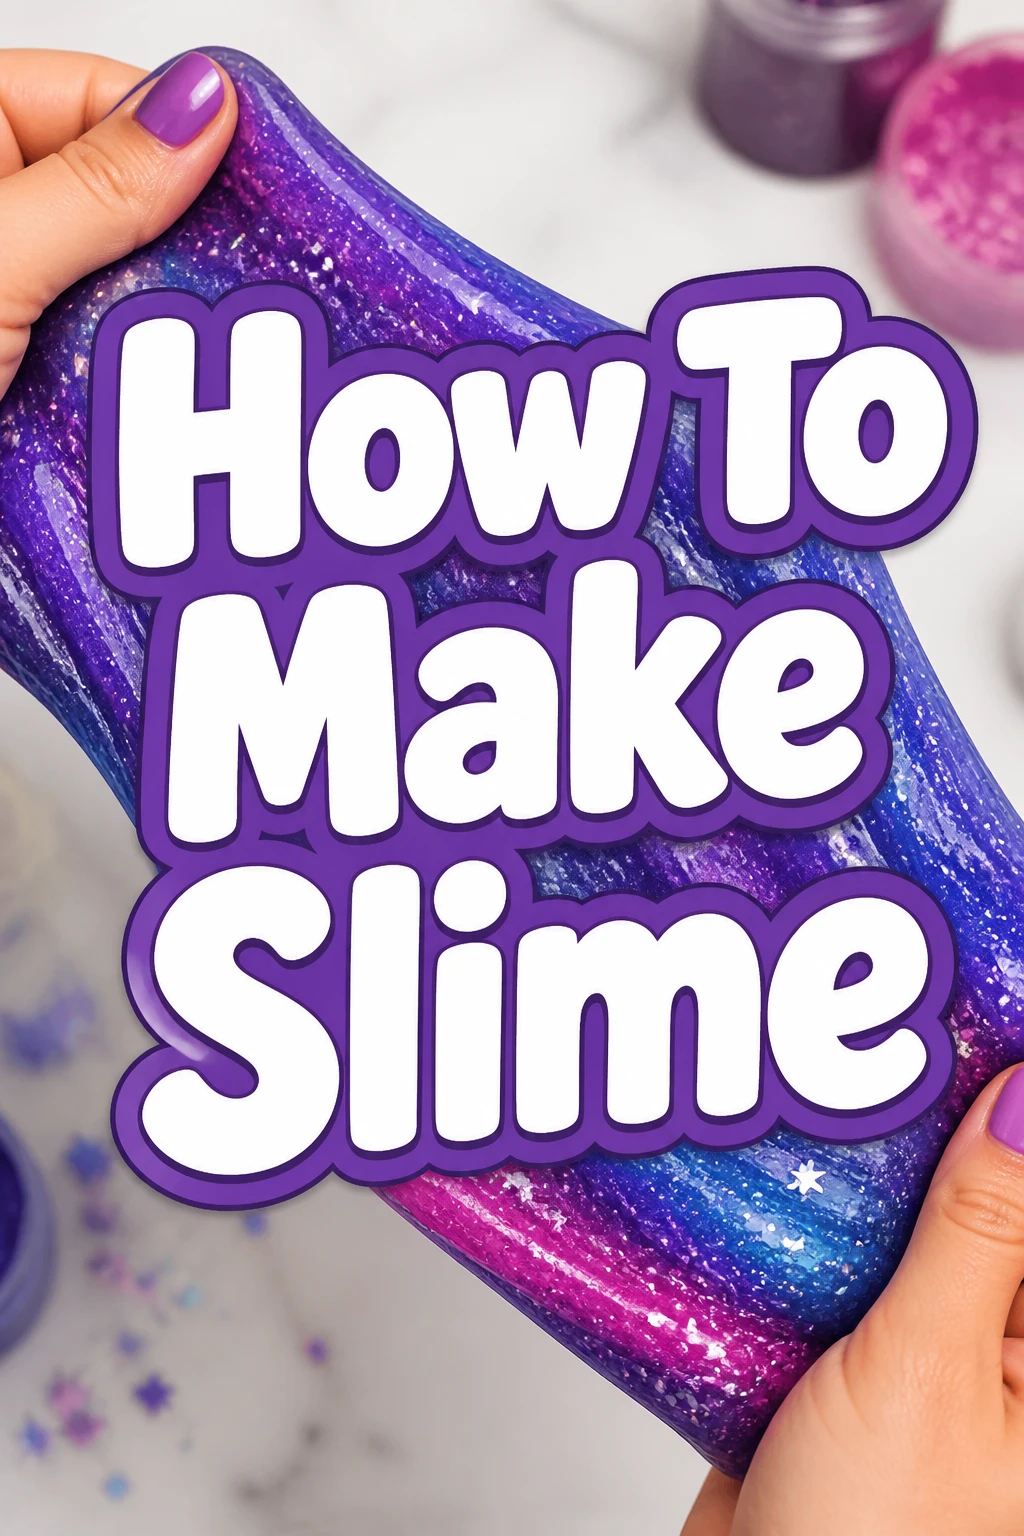
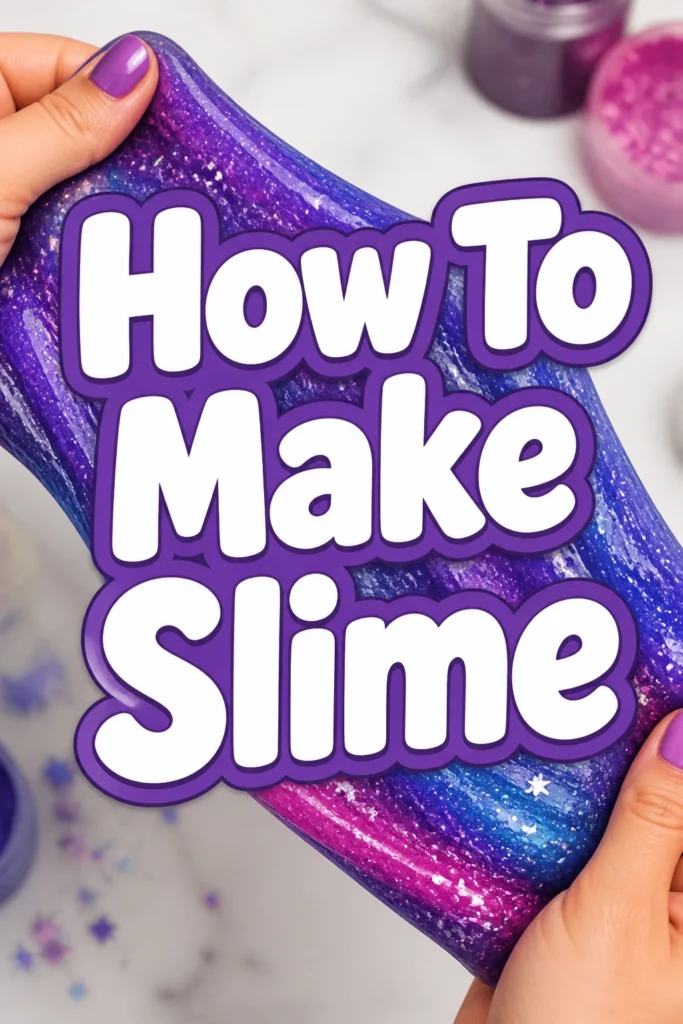
How To Make Slime
Making slime is a rite of passage for every DIY enthusiast and parent looking for an afternoon activity.
After testing dozens of recipes in my own kitchen, I have perfected a fail-proof method that yields the stretchiest results every time.
This guide skips the mess and confusion to get you straight to the satisfying squish you are looking for.
Quick Overview
You are about to master the classic glue and activator slime method, which is the most reliable version of this craft.
- Time needed: 10 to 15 minutes
- Difficulty: Beginner
- What you’ll need: PVA school glue, contact lens solution (containing boric acid), baking soda, a mixing bowl, and a sturdy spoon.
Step-by-Step Instructions
Step 1: Prepare Your Workspace
Clear a flat surface like a kitchen table or a craft desk before you start mixing any ingredients.
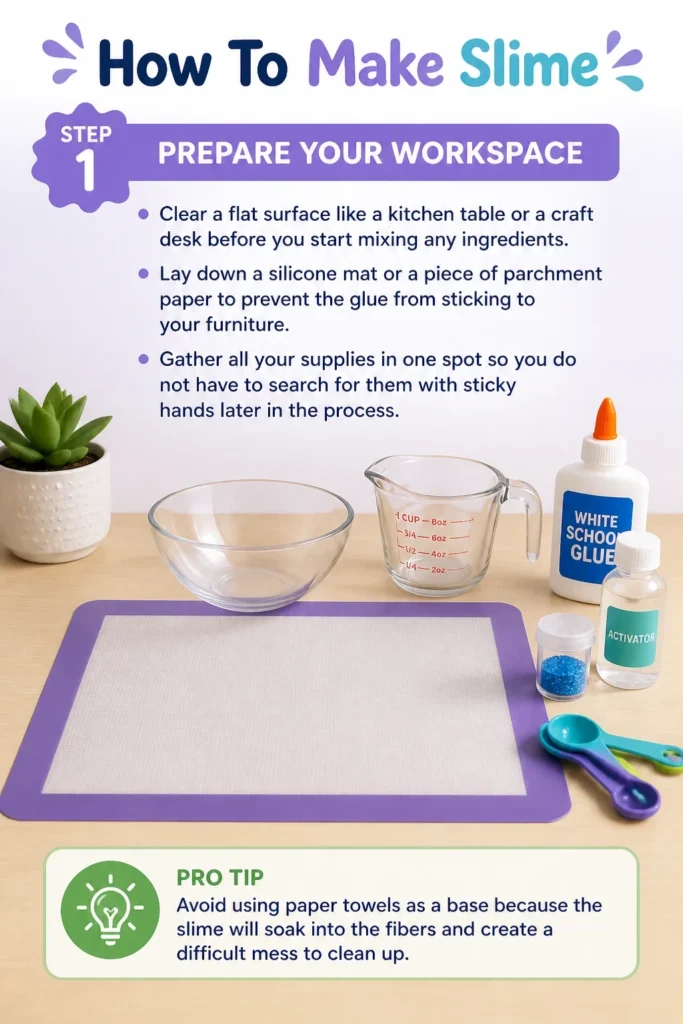
Lay down a silicone mat or a piece of parchment paper to prevent the glue from sticking to your furniture.
Gather all your supplies in one spot so you do not have to search for them with sticky hands later in the process.
Pro Tip: Avoid using paper towels as a base because the slime will soak into the fibers and create a difficult mess to clean up.
Step 2: Measure and Pour the Glue
Empty one entire four-ounce bottle of white or clear school glue into your mixing bowl.
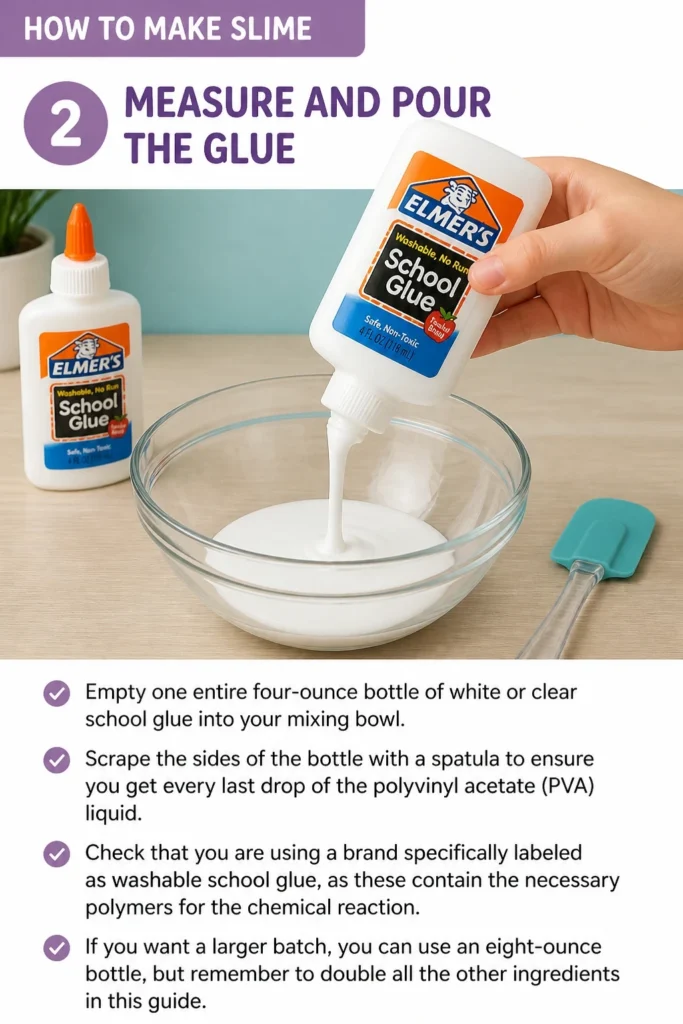
Scrape the sides of the bottle with a spatula to ensure you get every last drop of the polyvinyl acetate (PVA) liquid.
Check that you are using a brand specifically labeled as washable school glue, as these contain the necessary polymers for the chemical reaction.
If you want a larger batch, you can use an eight-ounce bottle, but remember to double all the other ingredients in this guide.
Step 3: Add the Baking Soda
Sprinkle half a teaspoon of baking soda directly onto the surface of the glue in the bowl.
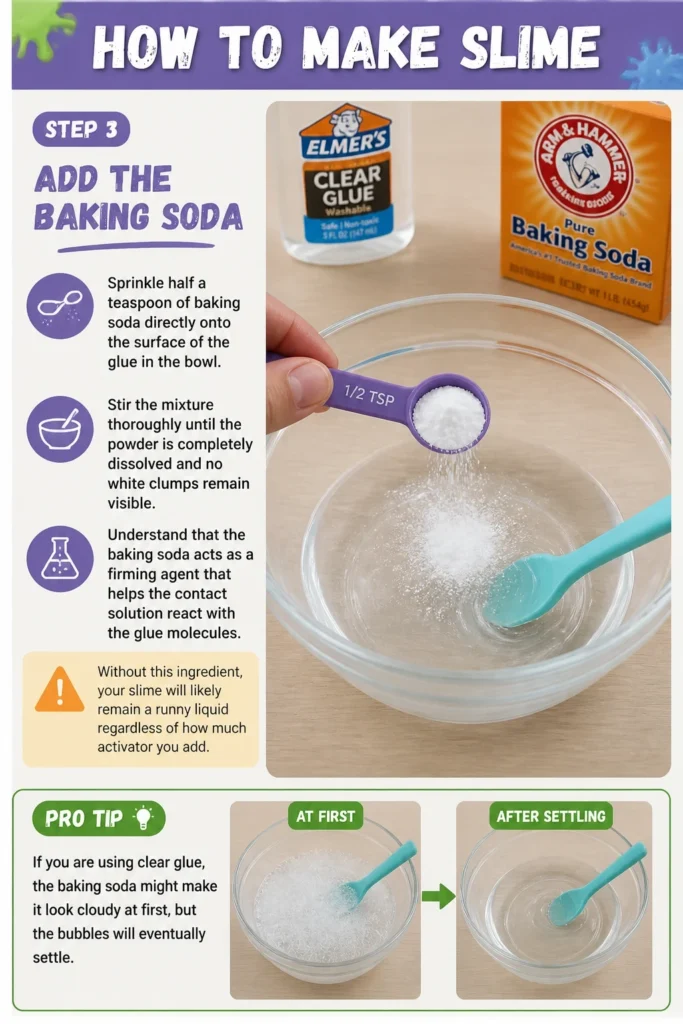
Stir the mixture thoroughly until the powder is completely dissolved and no white clumps remain visible.
Understand that the baking soda acts as a firming agent that helps the contact solution react with the glue molecules.
Without this ingredient, your slime will likely remain a runny liquid regardless of how much activator you add.
Pro Tip: If you are using clear glue, the baking soda might make it look cloudy at first, but the bubbles will eventually settle.
Step 4: Incorporate Color and Flair
Add two to three drops of liquid food coloring or specialized slime dye to the glue mixture.
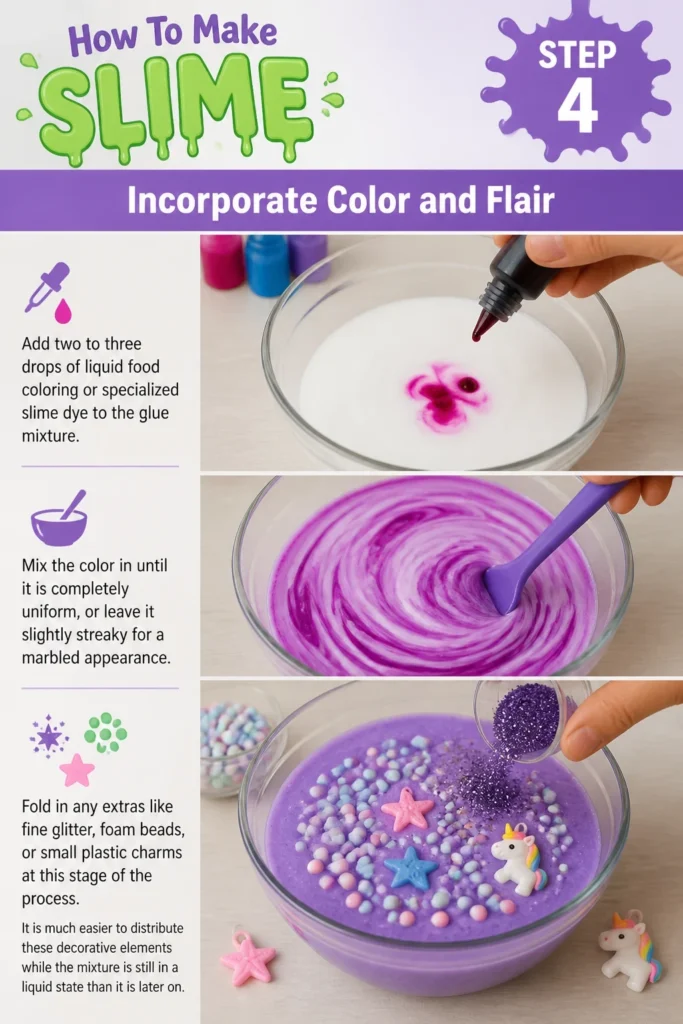
Mix the color in until it is completely uniform, or leave it slightly streaky for a marbled appearance.
Fold in any extras like fine glitter, foam beads, or small plastic charms at this stage of the process.
It is much easier to distribute these decorative elements while the mixture is still in a liquid state than it is later on.
Step 5: Introduce the Activator
Measure one tablespoon of contact lens solution and pour it slowly into the bowl while stirring constantly.
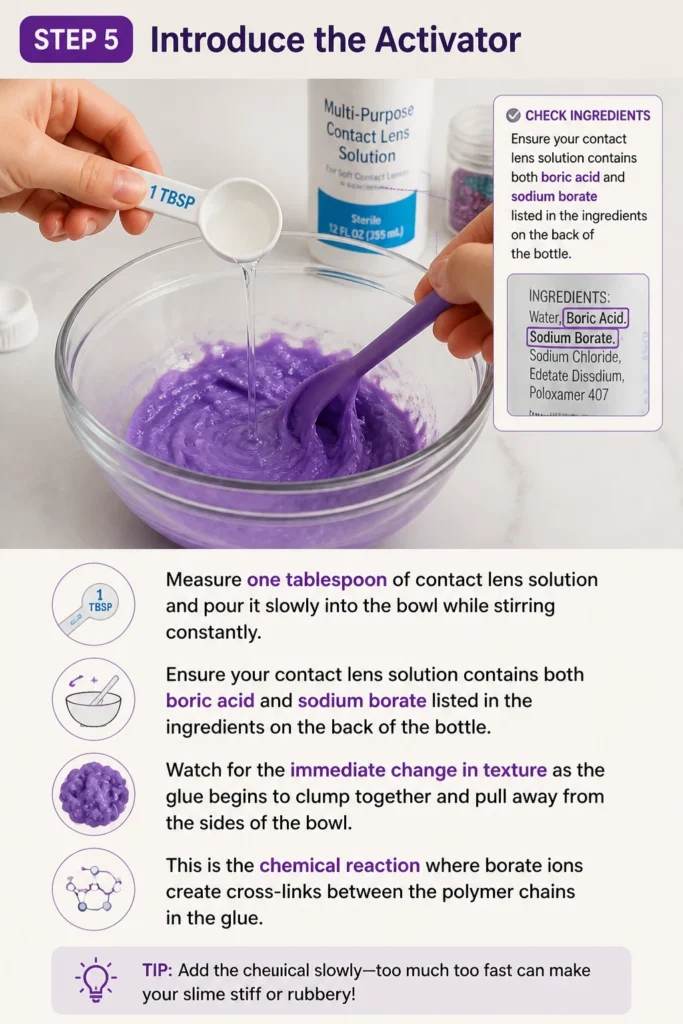
Ensure your contact lens solution contains both boric acid and sodium borate listed in the ingredients on the back of the bottle.
Watch for the immediate change in texture as the glue begins to clump together and pull away from the sides of the bowl.
This is the chemical reaction where borate ions create cross-links between the polymer chains in the glue.
Step 6: Mix Until Thick
Continue stirring the mixture vigorously as it transforms from a liquid into a soft, gelatinous mass.
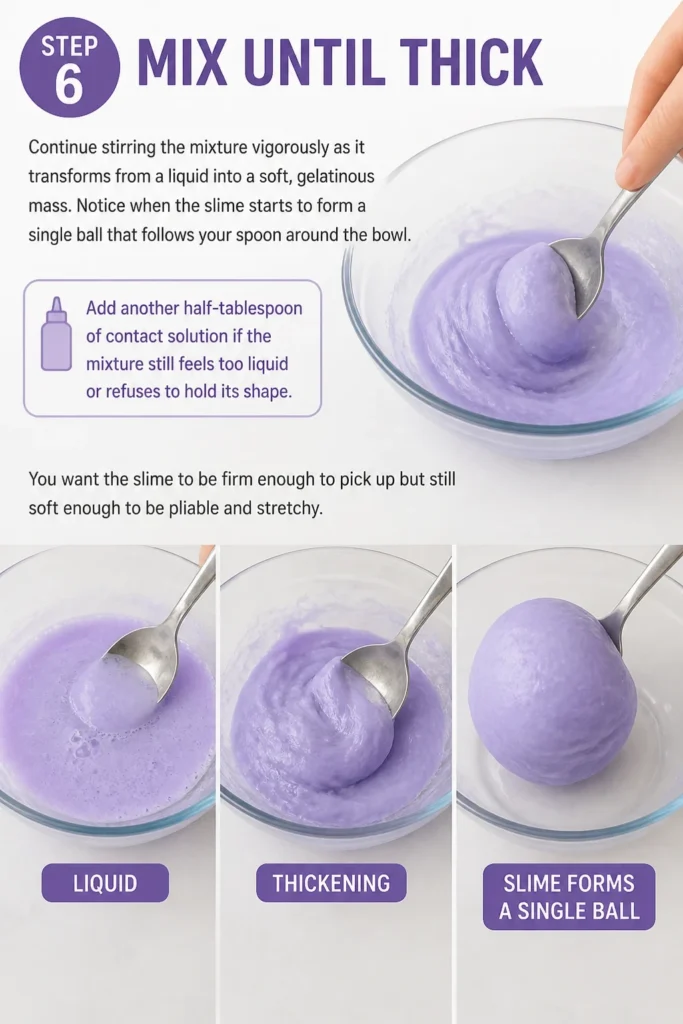
Notice when the slime starts to form a single ball that follows your spoon around the bowl.
Add another half-tablespoon of contact solution if the mixture still feels too liquid or refuses to hold its shape.
You want the slime to be firm enough to pick up but still soft enough to be pliable and stretchy.
Step 7: Knead by Hand
Lift the slime out of the bowl with your hands even if it still feels a bit tacky or wet.
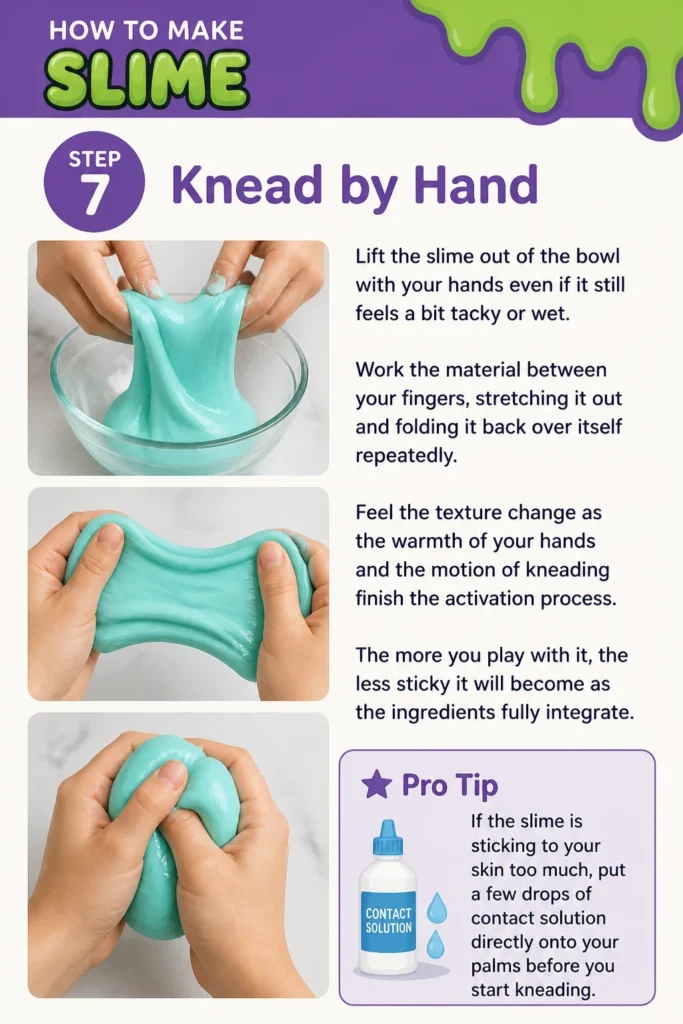
Work the material between your fingers, stretching it out and folding it back over itself repeatedly.
Feel the texture change as the warmth of your hands and the motion of kneading finish the activation process.
The more you play with it, the less sticky it will become as the ingredients fully integrate.
Pro Tip: If the slime is sticking to your skin too much, put a few drops of contact solution directly onto your palms before you start kneading.
Step 8: Final Texture Check
Test the stretch by pulling the slime slowly in opposite directions to see how far it can go without snapping.
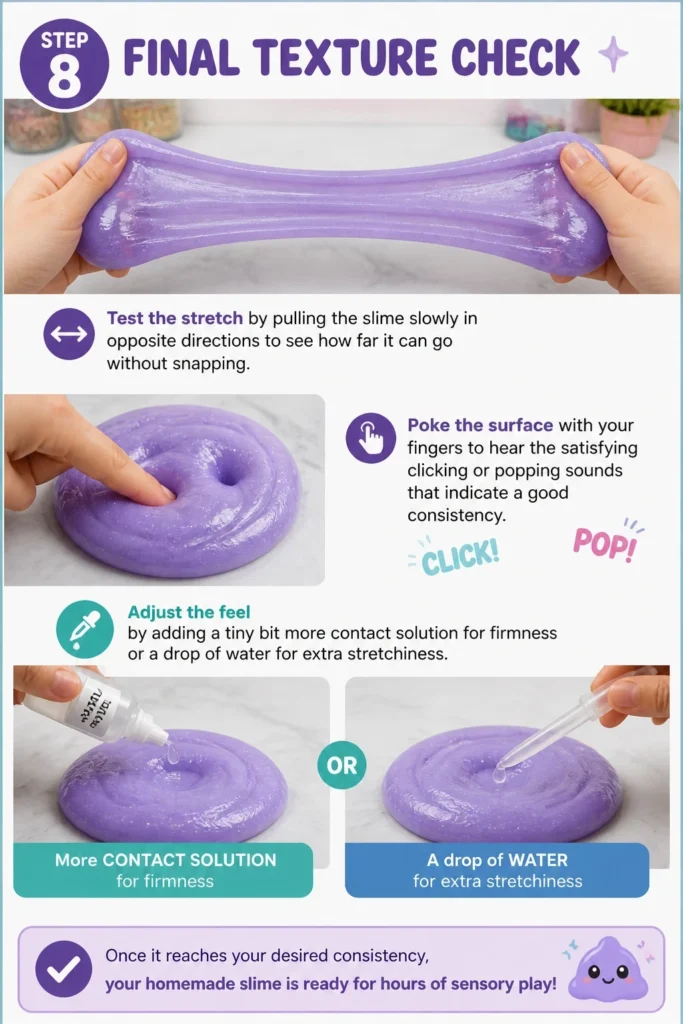
Poke the surface with your fingers to hear the satisfying clicking or popping sounds that indicate a good consistency.
Adjust the feel by adding a tiny bit more contact solution for firmness or a drop of water for extra stretchiness.
Once it reaches your desired consistency, your homemade slime is ready for hours of sensory play.
Common Mistakes to Avoid
Using the Wrong Type of Glue
Many people try to make slime with “washable” glues that are designed for toddlers and do not contain PVA. These glues lack the chemical structure needed to bond with the activator, resulting in a watery mess that never thickens. Always check the label for polyvinyl acetate or stick to reputable brands known for craft projects.
Adding Too Much Activator Too Quickly
It is tempting to pour in a large amount of contact solution to speed up the process. However, over-activating the slime will make it rubbery and brittle, causing it to snap rather than stretch. Always add your activator one teaspoon at a time and knead thoroughly between additions to gauge the true texture.
Ignoring the Ingredient List on Contact Solution
Not all contact lens solutions are created equal when it comes to DIY crafts. Some brands are simply saline solution, which is just salt water and will not activate the glue. You must verify that the bottle specifically lists boric acid or sodium borate to trigger the necessary chemical reaction.
Troubleshooting
The Slime Is Too Sticky
If the slime is clinging to your hands like wet glue, it needs more activation or more kneading. First, try kneading it for a full two minutes, as the motion often solves the problem. If it remains messy, add half a teaspoon of contact solution and work it in until the stickiness disappears.
The Slime Is Hard and Breaks Easily
When slime becomes over-activated or stays out in the air too long, it loses its elasticity and becomes tough. You can often fix this by adding a small amount of moisturizing lotion or a few drops of warm water. Knead the softening agent into the slime until it regains its soft, stretchy quality.
The Slime Has Too Many Air Bubbles
Aggressive stirring can trap thousands of tiny bubbles inside the mixture, making it look opaque instead of clear. To fix this, place the slime in an airtight container and let it sit undisturbed for two to three days. The bubbles will rise to the surface and pop, leaving you with a crystal-clear finished product.
Key Takeaways
- PVA glue is the essential base for any successful slime recipe.
- Baking soda provides the necessary structure to keep the slime from being too runny.
- Contact lens solution must contain boric acid to act as an effective activator.
- Kneading by hand is the most important step for achieving the perfect final texture.
- Store your slime in an airtight container to keep it from drying out over time.
Frequently Asked Questions
How long does homemade slime last?
If you store your slime in an airtight container when you are not playing with it, it can last for several weeks. Over time, it may begin to dry out or lose its scent, at which point it is best to discard it and make a fresh batch. Always wash your hands before and after play to keep the slime clean and free of bacteria.
Is slime safe for children to handle?
This recipe uses common household items, but it should always be made under adult supervision. The ingredients should never be ingested, and younger children should be reminded not to put the slime in their mouths. If someone has sensitive skin, they may want to wear gloves or wash their hands immediately after playing.
Can I make slime without contact lens solution?
Yes, there are other activators such as liquid laundry detergent or a mixture of borax powder and water. However, contact lens solution is generally considered the safest and most accessible method for beginners. Each activator creates a slightly different texture, so feel free to experiment once you master this basic version.
How do I get slime out of clothes or carpet?
White vinegar is the most effective tool for dissolving the polymers in slime if it gets stuck in fabric. Soak the affected area in vinegar for a few minutes and then use a soft brush to scrub away the residue. Once the slime is dissolved, rinse the area with warm water and laundered as usual.
Our Top Recommended Finds
- Airtight Plastic Storage Jars: These are perfect for keeping your slime fresh and preventing it from drying out between play sessions.
- Large Gallon of PVA Glue: Buying glue in bulk is much more cost-effective if you plan on making multiple batches or hosting a slime-themed party.
- Soft Modeling Clay: Mixing a small amount of lightweight clay into your finished slime creates a “butter slime” texture that is incredibly soft and spreadable.
Experiment With New Textures
Now that you have mastered the basic recipe, you can start exploring the vast world of slime variations. You might try adding shaving cream to your glue mixture to create a fluffy version that feels like a cloud. Another popular option is adding clear beads to create a crunchy texture that provides great auditory feedback.
The possibilities for customization are truly endless once you understand the core chemistry of the project. Grab your bowl and spoon today to start your first batch and experience the satisfaction of creating something from scratch. Share your creations with friends or use them as a relaxing tool to decompress after a long day.