How To Dry Flowers
Preserving the fleeting beauty of flowers is a truly rewarding endeavor.
I’ve spent countless hours in my own home studio, experimenting with different methods to capture their charm, from simple air drying to more intricate techniques.
This guide distills years of hands-on experience into clear, actionable steps, ensuring your dried blooms retain their vibrant memories for years to come.
Quick Overview
This guide will walk you through various effective methods for drying flowers, helping you preserve their beauty and sentimental value. You’ll learn how to select the best blooms, prepare them properly, and employ different techniques for stunning results.
- Time needed: Varies greatly by method (from a few days to several weeks)
- Difficulty: Beginner to Intermediate
- What you’ll need: Fresh flowers, clippers, string, hangers, silica gel, heavy books or a flower press, glycerin, microwave (optional)
Step-by-Step Instructions
Step 1: Select Your Flowers Wisely
The success of your dried flowers begins with careful selection. Choose blooms that are just past their peak, but not yet wilting or showing signs of decay.
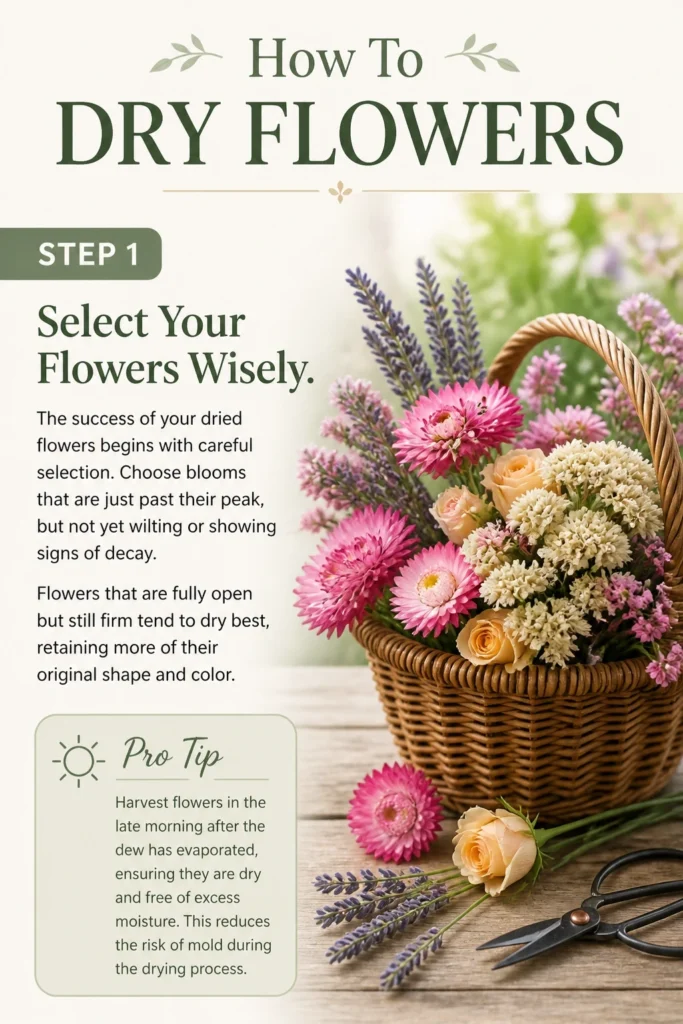
Flowers that are fully open but still firm tend to dry best, retaining more of their original shape and color.
Pro Tip: Harvest flowers in the late morning after the dew has evaporated, ensuring they are dry and free of excess moisture. This reduces the risk of mold during the drying process.
Step 2: Prepare Your Petals
Once you’ve gathered your chosen blooms, preparation is key. Use sharp clippers or shears to remove any excess foliage along the stems.
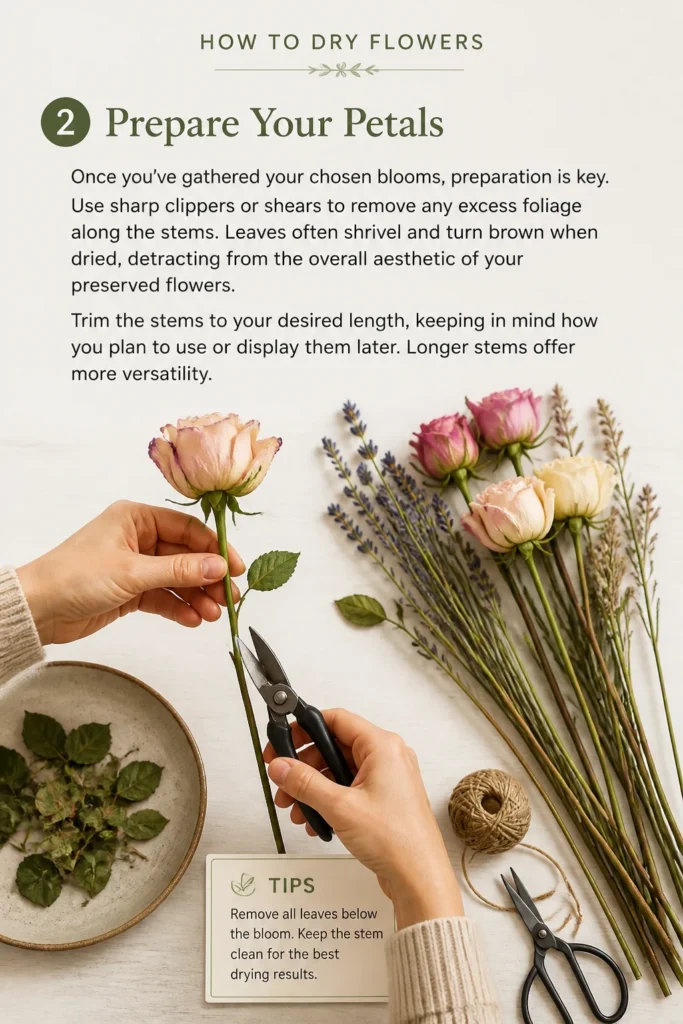
Leaves often shrivel and turn brown when dried, detracting from the overall aesthetic of your preserved flowers.
Trim the stems to your desired length, keeping in mind how you plan to use or display them later. Longer stems offer more versatility.
Step 3: Air Dry for Simplicity
Air drying is perhaps the most traditional and straightforward method, perfect for beginners. It works wonderfully for robust flowers like roses, hydrangeas, lavender, and baby’s breath.
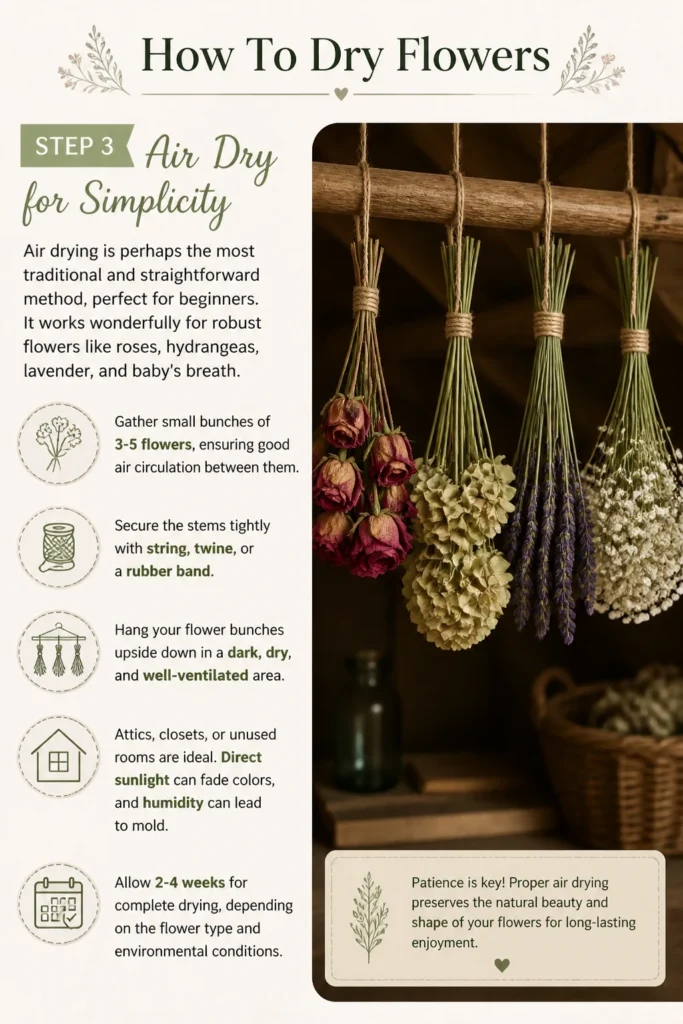
Gather small bunches of 3-5 flowers, ensuring good air circulation between them. Secure the stems tightly with string, twine, or a rubber band.
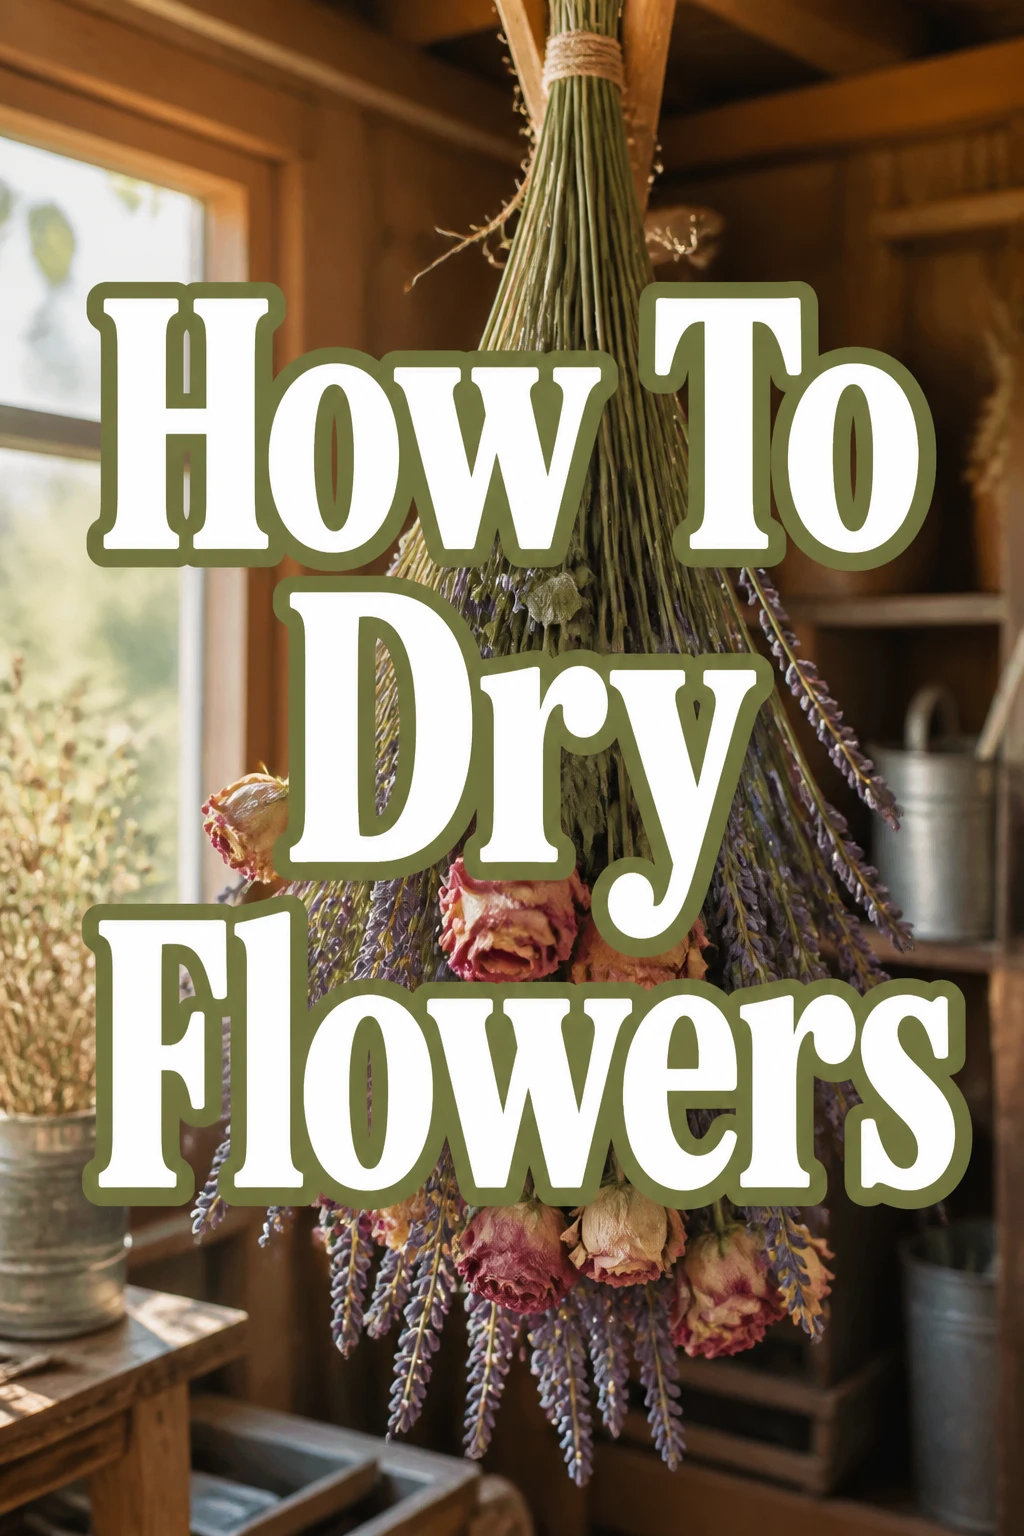
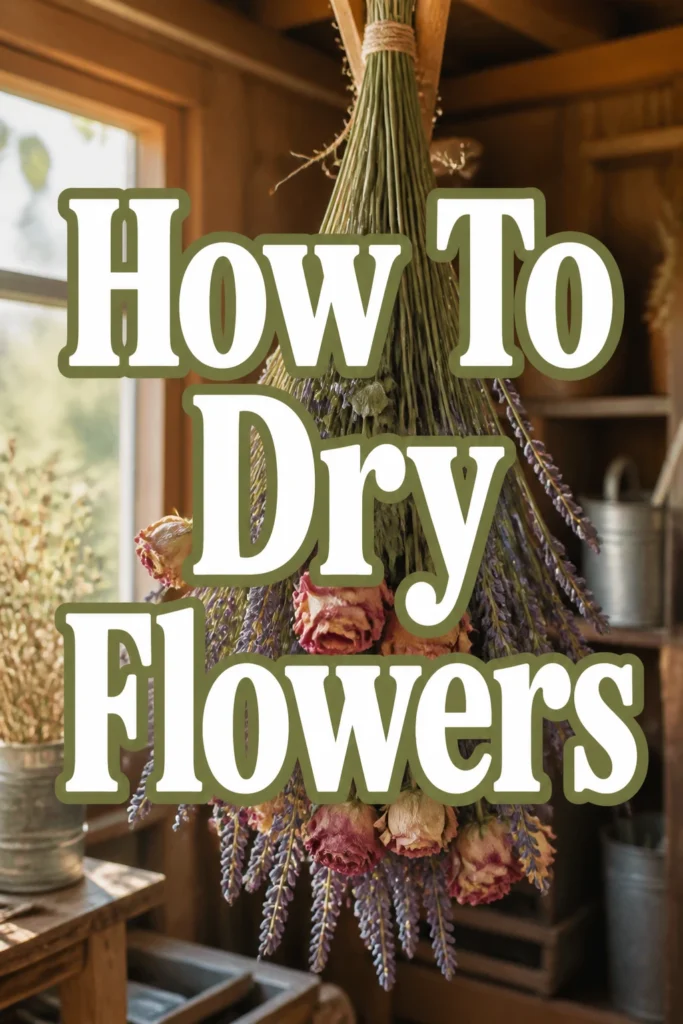
Hang your flower bunches upside down in a dark, dry, and well-ventilated area. Attics, closets, or unused rooms are ideal.
Direct sunlight can fade colors, and humidity can lead to mold. Allow 2-4 weeks for complete drying, depending on the flower type and environmental conditions.
Step 4: Press for Flat Beauty
Pressing flowers creates beautiful, two-dimensional keepsakes, perfect for cards, artwork, or framed displays. This method works best for flatter blooms like pansies, violas, single-petal roses, and ferns.
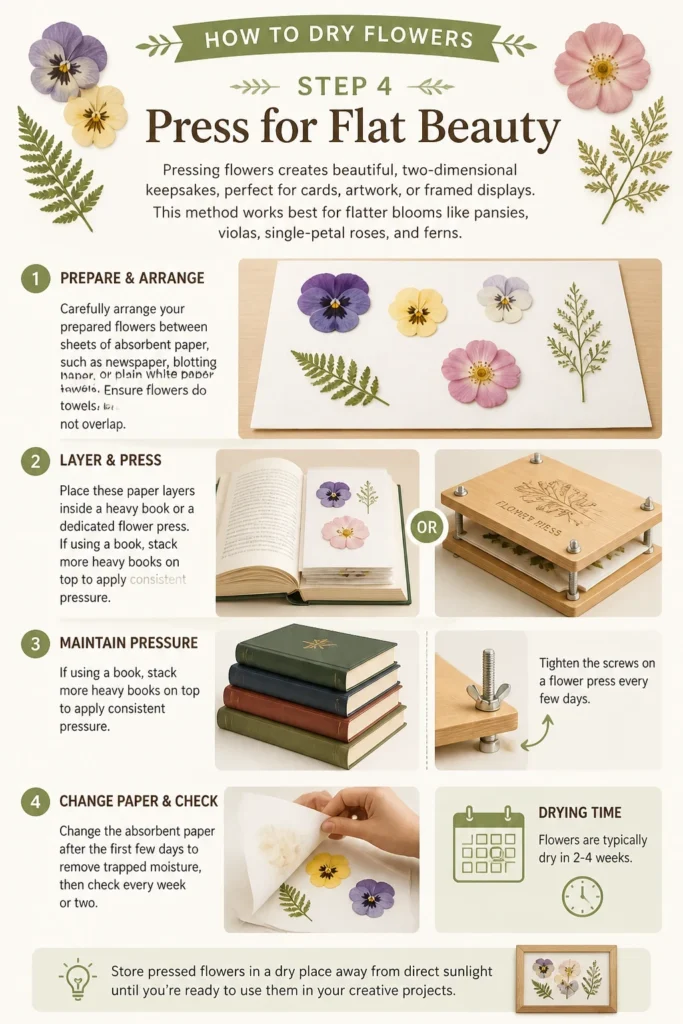
Carefully arrange your prepared flowers between sheets of absorbent paper, such as newspaper, blotting paper, or plain white paper towels. Ensure flowers do not overlap.
Place these paper layers inside a heavy book or a dedicated flower press. If using a book, stack more heavy books on top to apply consistent pressure.
Tighten the screws on a flower press every few days. Change the absorbent paper after the first few days to remove trapped moisture, then check every week or two. Flowers are typically dry in 2-4 weeks.
Step 5: Desiccate with Silica Gel
Silica gel is excellent for preserving the three-dimensional shape and vibrant color of delicate or thick-petaled flowers, such as roses, peonies, and zinnias. It absorbs moisture quickly and efficiently.
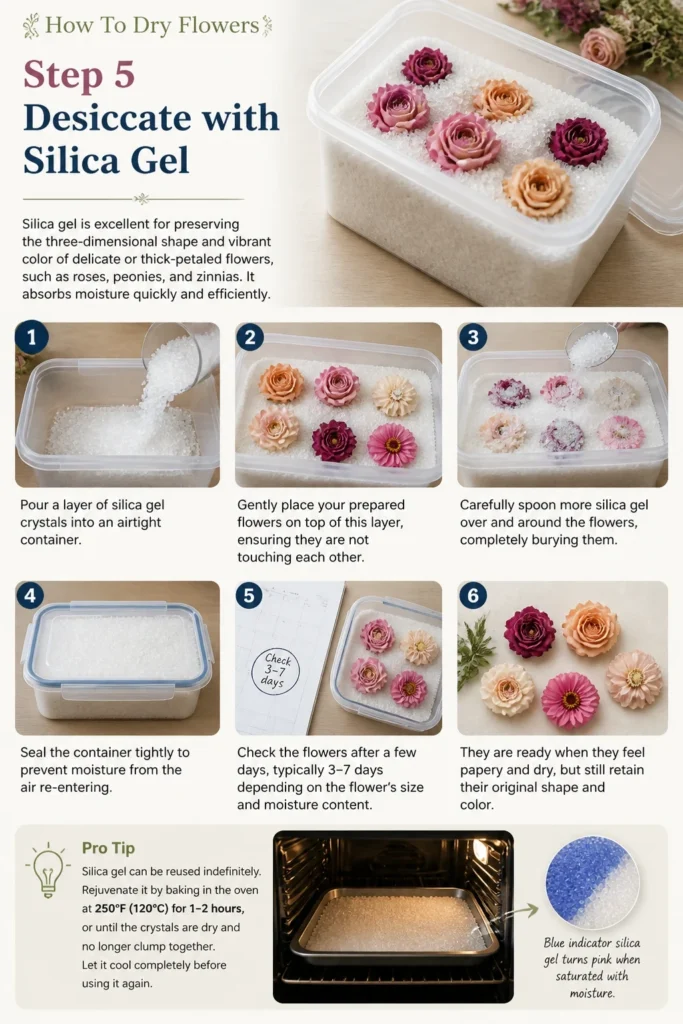
Pour a layer of silica gel crystals into an airtight container. Gently place your prepared flowers on top of this layer, ensuring they are not touching each other.
Carefully spoon more silica gel over and around the flowers, completely burying them. Seal the container tightly to prevent moisture from the air re-entering.
Check the flowers after a few days, typically 3-7 days depending on the flower’s size and moisture content. They are ready when they feel papery and dry, but still retain their original shape and color.
Pro Tip: Silica gel can be reused indefinitely. Rejuvenate it by baking it in a low oven (around 250F or 120C) until the crystals turn blue (if they are indicating crystals).
Step 6: Preserve with Glycerin
Glycerin preservation results in soft, pliable, and natural-looking dried flowers and foliage. This method replaces the water in the plant cells with glycerin, making them flexible rather than brittle.
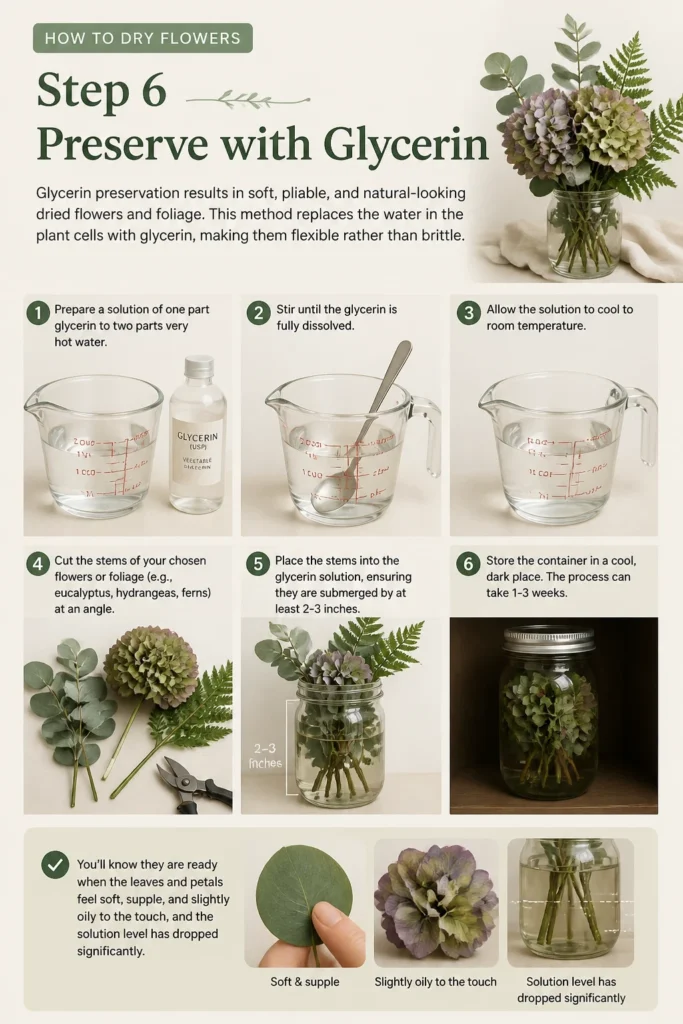
Prepare a solution of one part glycerin to two parts very hot water. Stir until the glycerin is fully dissolved. Allow the solution to cool to room temperature.
Cut the stems of your chosen flowers or foliage (e.g., eucalyptus, hydrangeas, ferns) at an angle. Place the stems into the glycerin solution, ensuring they are submerged by at least 2-3 inches.
Store the container in a cool, dark place. The process can take 1-3 weeks. You’ll know they are ready when the leaves and petals feel soft, supple, and slightly oily to the touch, and the solution level has dropped significantly.
Step 7: Accelerate with the Microwave
For a quicker method, the microwave can dry flowers in minutes, often used in conjunction with silica gel. This is ideal for smaller, less dense flowers.
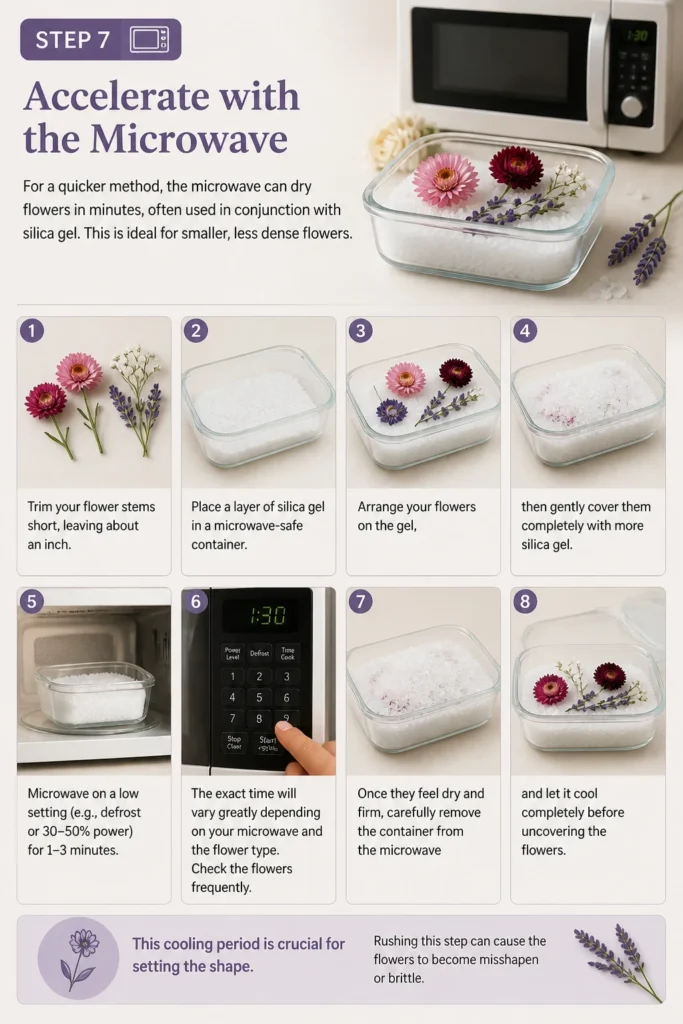
Trim your flower stems short, leaving about an inch. Place a layer of silica gel in a microwave-safe container. Arrange your flowers on the gel, then gently cover them completely with more silica gel.
Microwave on a low setting (e.g., defrost or 30-50% power) for 1-3 minutes. The exact time will vary greatly depending on your microwave and the flower type.
Check the flowers frequently. Once they feel dry and firm, carefully remove the container from the microwave and let it cool completely before uncovering the flowers. This cooling period is crucial for setting the shape.
Step 8: Finish and Seal Your Creations
Once your flowers are thoroughly dried, a finishing spray can help protect them. A light mist of floral sealant, hairspray, or clear acrylic spray can add a protective layer.
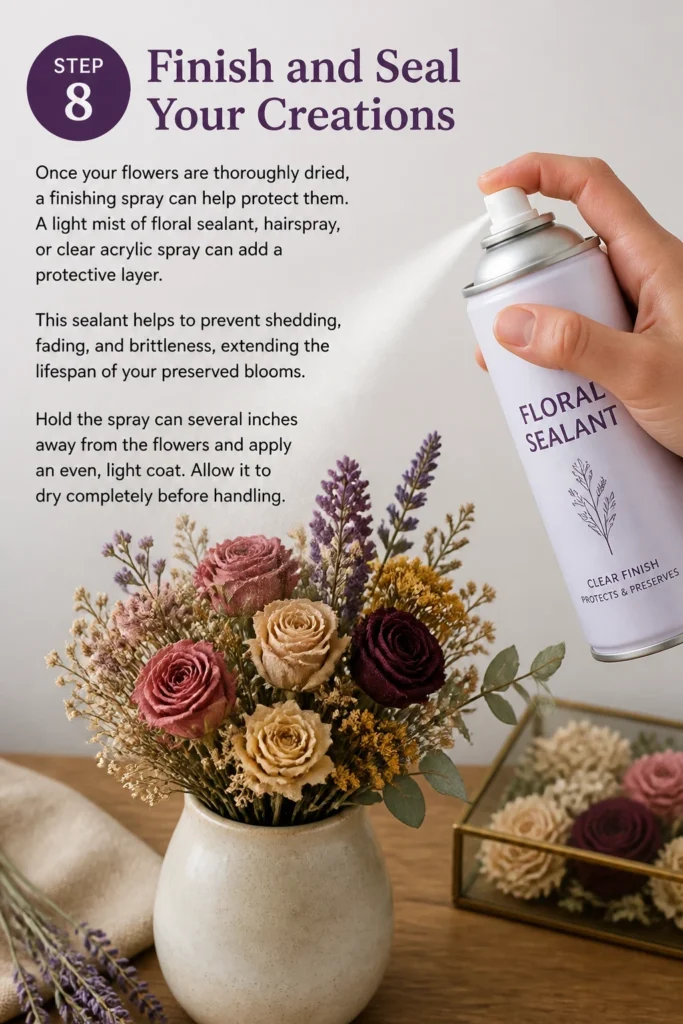
This sealant helps to prevent shedding, fading, and brittleness, extending the lifespan of your preserved blooms.
Hold the spray can several inches away from the flowers and apply an even, light coat. Allow it to dry completely before handling.
Step 9: Store and Display Thoughtfully
Proper storage and display are essential for maintaining the beauty of your dried flowers. Keep them away from direct sunlight, which can cause colors to fade rapidly.
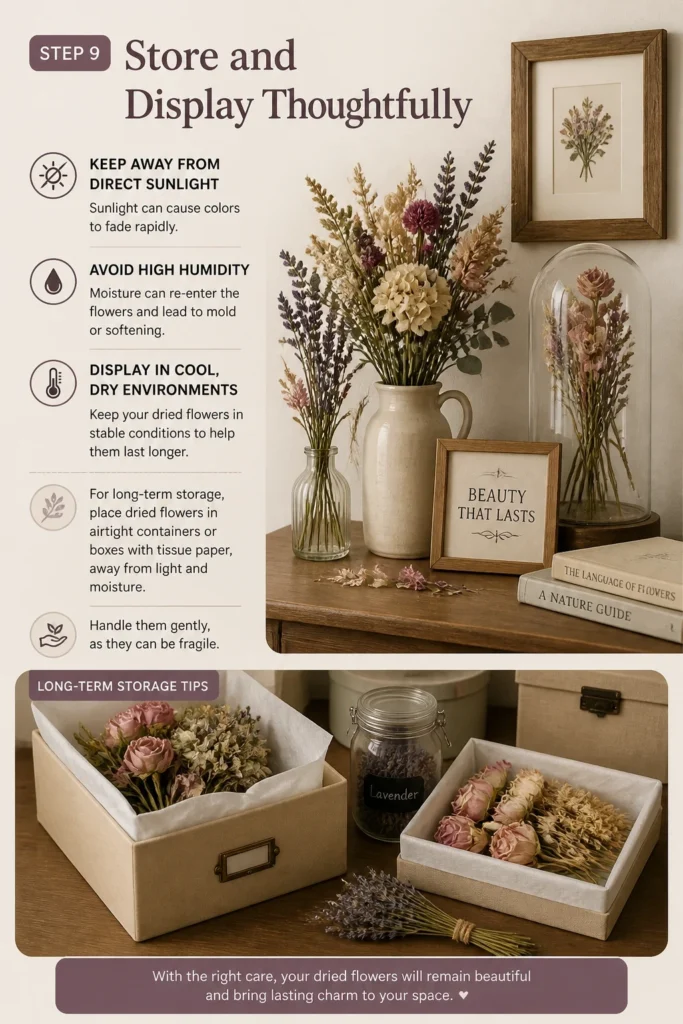
Avoid areas with high humidity, as moisture can re-enter the flowers and lead to mold or softening. Display them in cool, dry environments.
For long-term storage, place dried flowers in airtight containers or boxes with tissue paper, away from light and moisture. Handle them gently, as they can be fragile.
Common Mistakes to Avoid
Drying Wet Flowers
Attempting to dry flowers that are still damp from rain or dew is a common pitfall. Excess moisture can lead to mold growth and an unpleasant odor, ruining your efforts.
Always ensure your flowers are completely dry on the surface before beginning any preservation method. Harvest them on a dry day, or allow them to air out indoors for a few hours first.
Overcrowding Drying Spaces
When air drying or using silica gel, placing too many flowers too close together restricts air circulation. This creates a humid microclimate that encourages mold and uneven drying.
Give each flower or small bunch ample space to breathe. This ensures even drying and prevents moisture from getting trapped between petals or stems.
Drying Flowers Past Their Prime
Using flowers that are already wilting, discolored, or showing signs of decay will result in disappointing dried specimens. The drying process will only exaggerate these imperfections.
Select fresh, vibrant flowers that are just beginning to fully open. Their peak beauty will be much better preserved, yielding more aesthetically pleasing results.
Exposing to Direct Sunlight
Many beginners think sunlight will help dry flowers faster. However, direct sunlight is the enemy of preserved color. UV rays cause pigments to break down quickly.
Always choose a dark or dimly lit location for drying, especially for air drying. This helps to retain more of the original vibrant hues in your finished flowers.
Troubleshooting
Flowers Turning Brown or Black
This usually indicates that the flowers were too wet when you started, or there wasn’t enough air circulation during the drying process. Mold or rot may have set in.
Ensure flowers are completely dry on the surface before beginning. Increase air circulation by spacing them out more, or consider using a desiccant like silica gel for faster moisture removal.
Colors Fading Significantly
Fading is often caused by exposure to light, especially direct sunlight, during or after the drying process. Some flowers naturally lose more color than others when dried.
Dry flowers in a dark environment whenever possible. For display, keep them out of direct sunlight. Consider using a floral sealant with UV protection to help preserve colors.
Flowers Becoming Brittle and Crumbly
Excessive dryness or a lack of humidity in the storage environment can make flowers very fragile. This is common with air-dried flowers.
A light mist of hairspray or floral sealant can help add a protective layer and reduce brittleness. For specific projects, consider glycerin drying for a more pliable result.
Key Takeaways
- Start Fresh: Always choose healthy, just-opened flowers for the best drying results.
- Prepare Thoroughly: Remove excess foliage and trim stems to optimize the drying process.
- Match Method to Flower: Air drying, pressing, silica gel, glycerin, and microwave methods each suit different flower types and desired outcomes.
- Control Environment: A dark, dry, and well-ventilated space is crucial to prevent mold and color loss.
- Protect Your Work: Use a sealant to preserve color, reduce brittleness, and extend the lifespan of your dried flowers.
- Display Thoughtfully: Keep dried arrangements away from direct sunlight and humidity to maintain their beauty.
Frequently Asked Questions
Can all flowers be dried successfully?
While most flowers can be dried to some extent, not all retain their beauty equally. Flowers with sturdy petals and lower moisture content, like roses, lavender, and hydrangeas, tend to dry best. Very delicate or fleshy flowers might not hold up as well.
How long do dried flowers last?
With proper care, dried flowers can last for many years, sometimes even decades. Their longevity depends on the drying method, the flower type, and how they are stored and displayed. Keeping them out of direct sunlight and humidity is key.
Is it safe to use hairspray on dried flowers?
Yes, a light mist of unscented hairspray can act as a temporary sealant, helping to reduce shedding and add a bit of protection. However, dedicated floral sealants are formulated specifically for this purpose and often offer better, longer-lasting results.
Can I dry flowers that have already wilted?
It’s generally not recommended to dry wilted flowers. They will likely dry in their wilted state, looking lifeless and often discolored. For the best results, always start with fresh, vibrant blooms that are at their peak or just past it.
Our Top Recommended Finds
- Flower Press Kit: Essential for achieving perfectly flat, delicate pressed flowers for crafts and art.
- Fine-Grain Silica Gel: Ideal for preserving the natural shape and vibrant colors of your favorite blooms.
- Floral Sealing Spray: A clear, protective spray that helps minimize shedding and maintain color over time.
Embrace the Art of Preservation
You now have the knowledge and techniques to transform fleeting blossoms into lasting treasures. Each method offers a unique way to capture the essence of a moment or the beauty of a garden.
Don’t hesitate to experiment with different flowers and techniques to discover your favorites. The joy of creating something beautiful and enduring is truly unmatched.
Start your first drying project today and cherish the timeless beauty of your preserved flowers for years to come.