How To Paint Flower Pots
Transforming a plain terracotta pot into a vibrant piece of art is incredibly satisfying.
I’ve spent countless afternoons in my garden studio, experimenting with colors and techniques, and I’m excited to share what I’ve learned.
This guide will help you create beautiful, lasting designs for your plants, adding a personal touch to any space.
Quick Overview
This guide will walk you through the process of preparing, painting, and sealing your flower pots, ensuring a durable and beautiful finish. You’ll learn the best practices for selecting materials and applying your artistic vision.
- Time needed: 2-4 hours (including drying time between coats)
- Difficulty: Beginner
- What you’ll need: Flower pots, sandpaper or sanding sponge, cleaning supplies, primer, acrylic or outdoor-specific paints, paintbrushes, sealer, drop cloth.
Step-by-Step Instructions
Step 1: Choose Your Pots and Design
Begin by selecting the flower pots you wish to paint. Terracotta, ceramic, and even plastic pots are all suitable canvases, though each might require slightly different preparation.
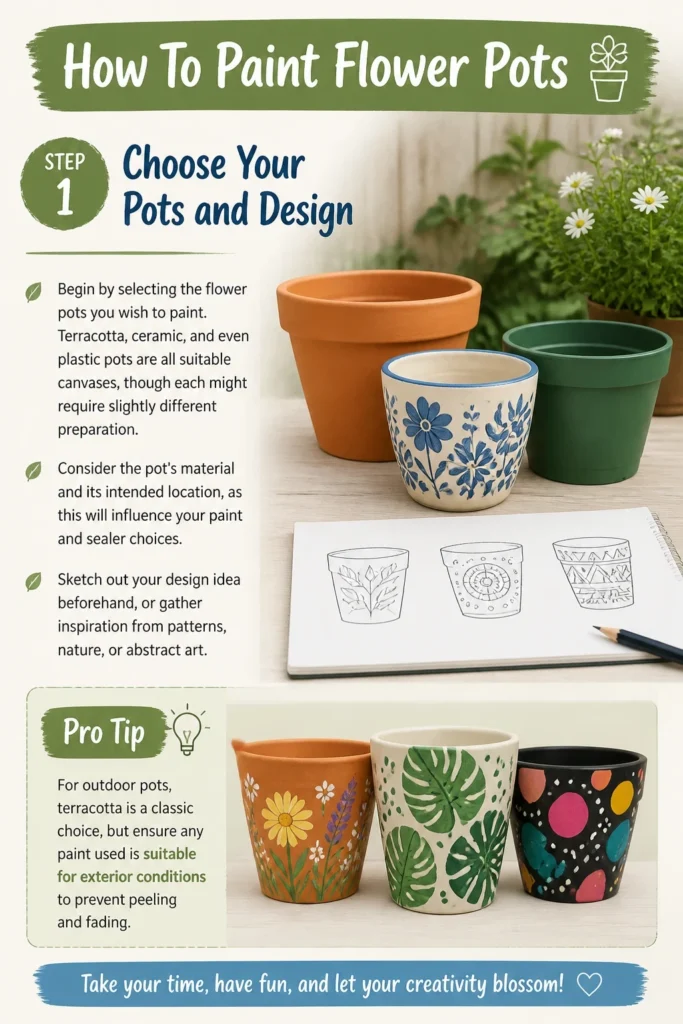
Consider the pot’s material and its intended location, as this will influence your paint and sealer choices. Sketch out your design idea beforehand, or gather inspiration from patterns, nature, or abstract art.
Pro Tip: For outdoor pots, terracotta is a classic choice, but ensure any paint used is suitable for exterior conditions to prevent peeling and fading.
Step 2: Gather Your Supplies
Before you begin, lay out all your materials in an organized manner. This includes your chosen pots, various grades of sandpaper or a sanding sponge, and a mild soap for cleaning.
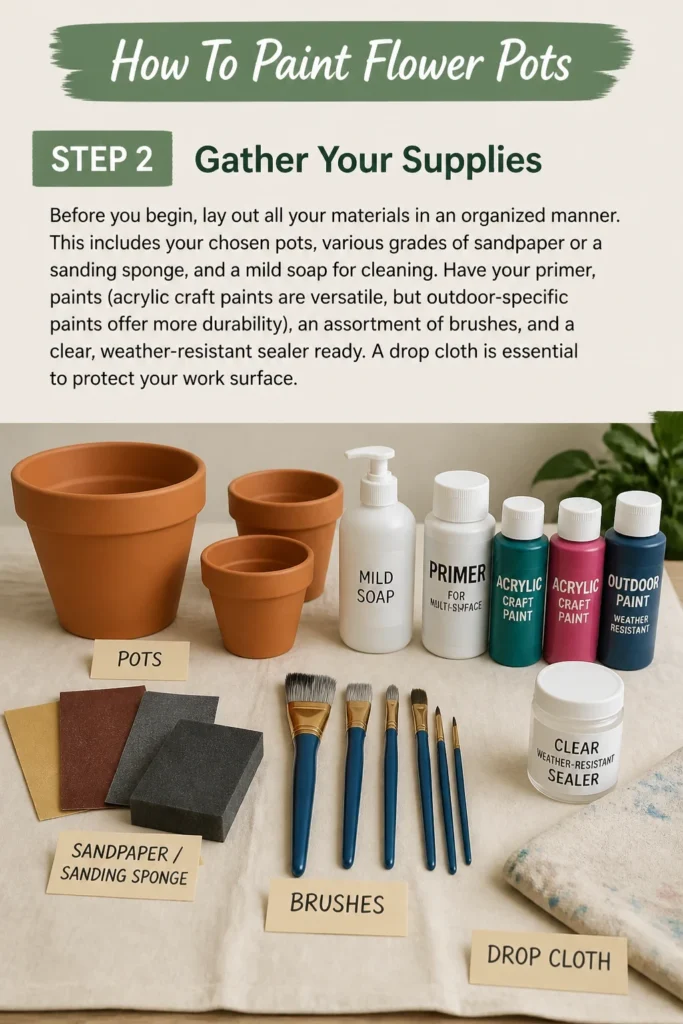
Have your primer, paints (acrylic craft paints are versatile, but outdoor-specific paints offer more durability), an assortment of brushes, and a clear, weather-resistant sealer ready. A drop cloth is essential to protect your work surface.
Step 3: Prepare the Surface
Proper surface preparation is crucial for a lasting paint job. First, thoroughly clean your pots.
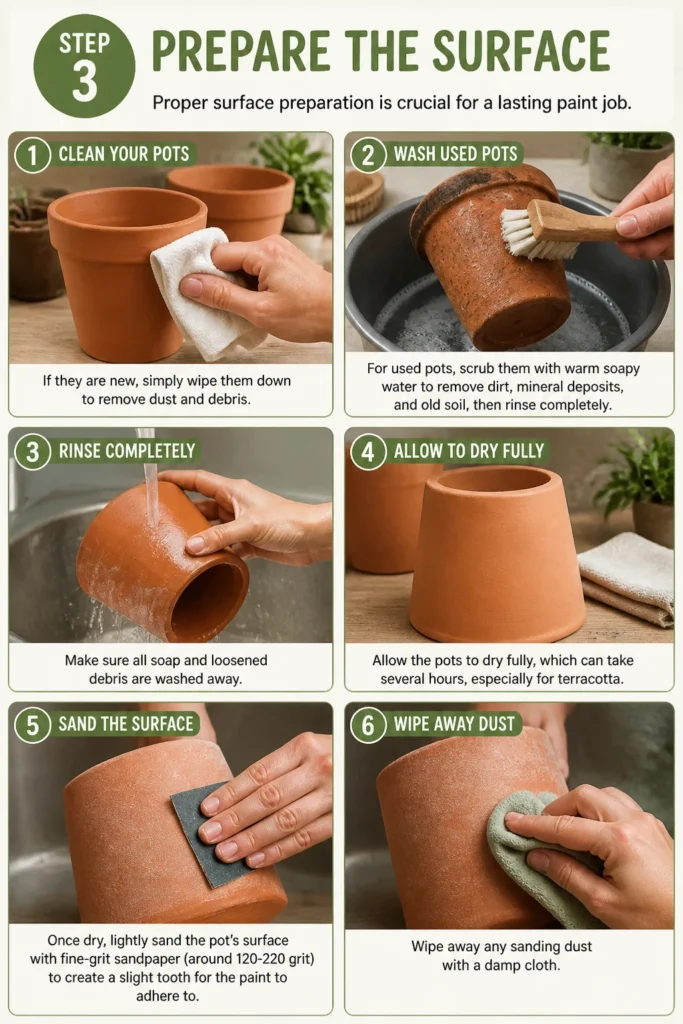
If they are new, simply wipe them down to remove dust and debris. For used pots, scrub them with warm soapy water to remove dirt, mineral deposits, and old soil, then rinse completely.
Allow the pots to dry fully, which can take several hours, especially for terracotta. Once dry, lightly sand the pot’s surface with fine-grit sandpaper (around 120-220 grit) to create a slight “tooth” for the paint to adhere to. Wipe away any sanding dust with a damp cloth.
Step 4: Prime for Success
Applying a primer is a critical step, particularly for porous materials like terracotta. Primer helps to seal the surface, preventing the pot from absorbing too much paint and ensuring a more vibrant, even color application.
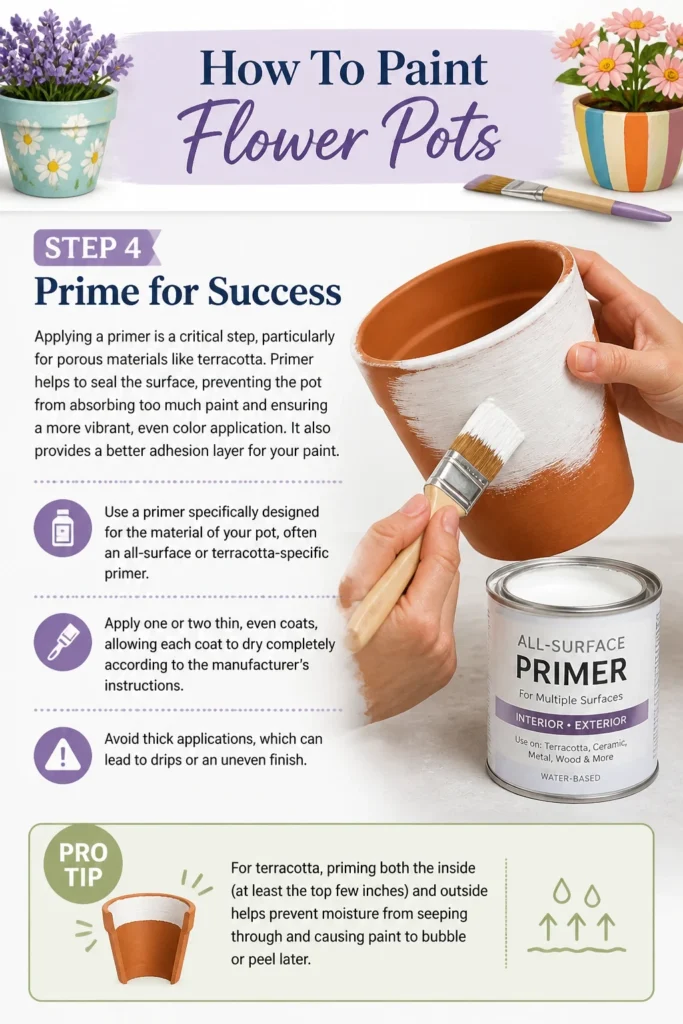
It also provides a better adhesion layer for your paint. Use a primer specifically designed for the material of your pot, often an all-surface or terracotta-specific primer.
Apply one or two thin, even coats, allowing each coat to dry completely according to the manufacturer’s instructions. Avoid thick applications, which can lead to drips or an uneven finish.
Pro Tip: For terracotta, priming both the inside (at least the top few inches) and outside helps prevent moisture from seeping through and causing paint to bubble or peel later.
Step 5: Apply Your Base Coat
With your pot primed and dry, it’s time for the base coat. This is the primary color that will cover most of your pot and serve as the background for your design.
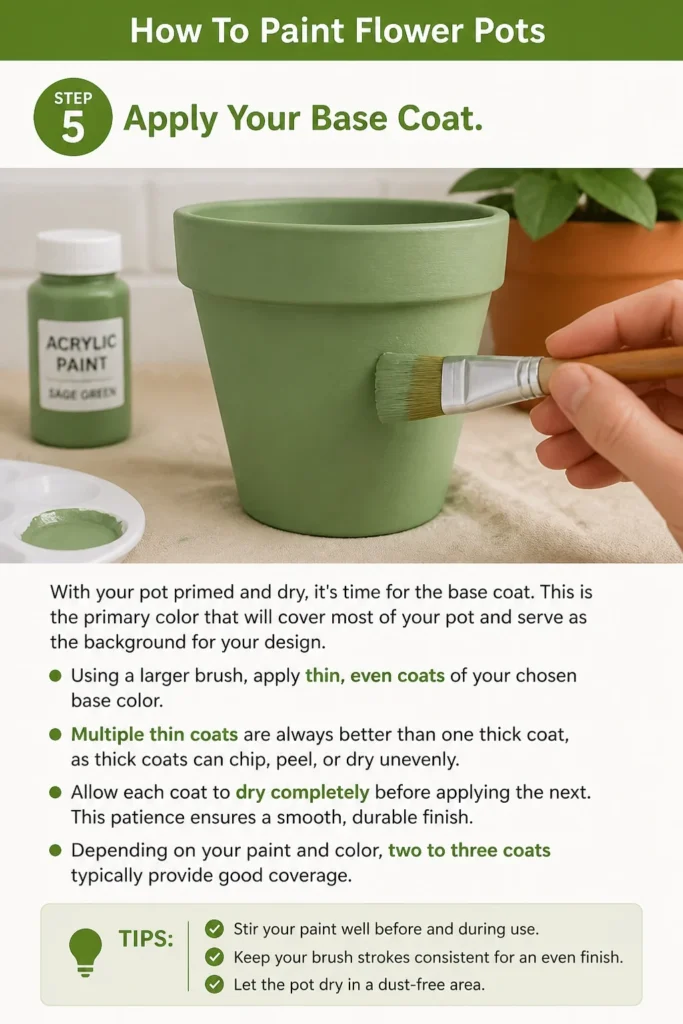
Using a larger brush, apply thin, even coats of your chosen base color. Multiple thin coats are always better than one thick coat, as thick coats can chip, peel, or dry unevenly.
Allow each coat to dry completely before applying the next. This patience ensures a smooth, durable finish. Depending on your paint and color, two to three coats typically provide good coverage.
Step 6: Add Your Design Elements
Now for the fun part: bringing your design to life. Once your base coat is thoroughly dry, begin to add your decorative elements.
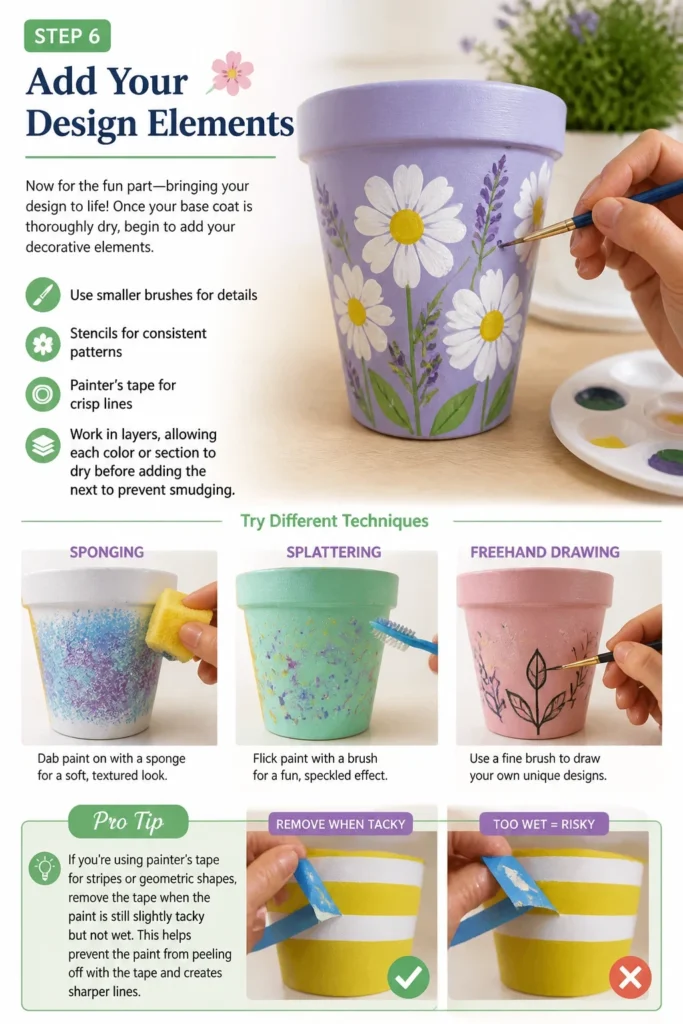
Use smaller brushes for details, stencils for consistent patterns, or painter’s tape for crisp lines. Work in layers, allowing each color or section to dry before adding the next to prevent smudging.
Don’t be afraid to experiment with different techniques like sponging, splattering, or freehand drawing. Take your time and enjoy the creative process.
Pro Tip: If you’re using painter’s tape for stripes or geometric shapes, remove the tape when the paint is still slightly tacky but not wet. This helps prevent the paint from peeling off with the tape and creates sharper lines.
Step 7: Detail and Refine
Once your main design is complete, step back and examine your work. This is the stage to add any final details or touch-ups.
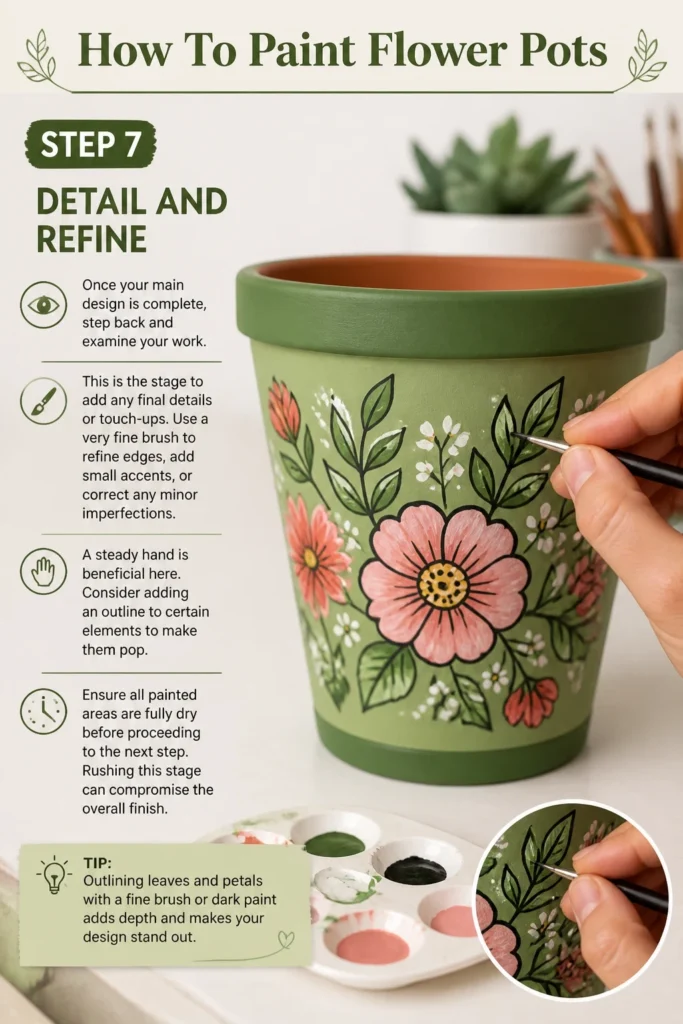
Use a very fine brush to refine edges, add small accents, or correct any minor imperfections. A steady hand is beneficial here. Consider adding an outline to certain elements to make them pop.
Ensure all painted areas are fully dry before proceeding to the next step. Rushing this stage can compromise the overall finish.
Step 8: Seal for Protection
Sealing your painted pot is crucial, especially if it will be used outdoors. A clear, weather-resistant sealer protects your artwork from moisture, UV rays, and general wear and tear.
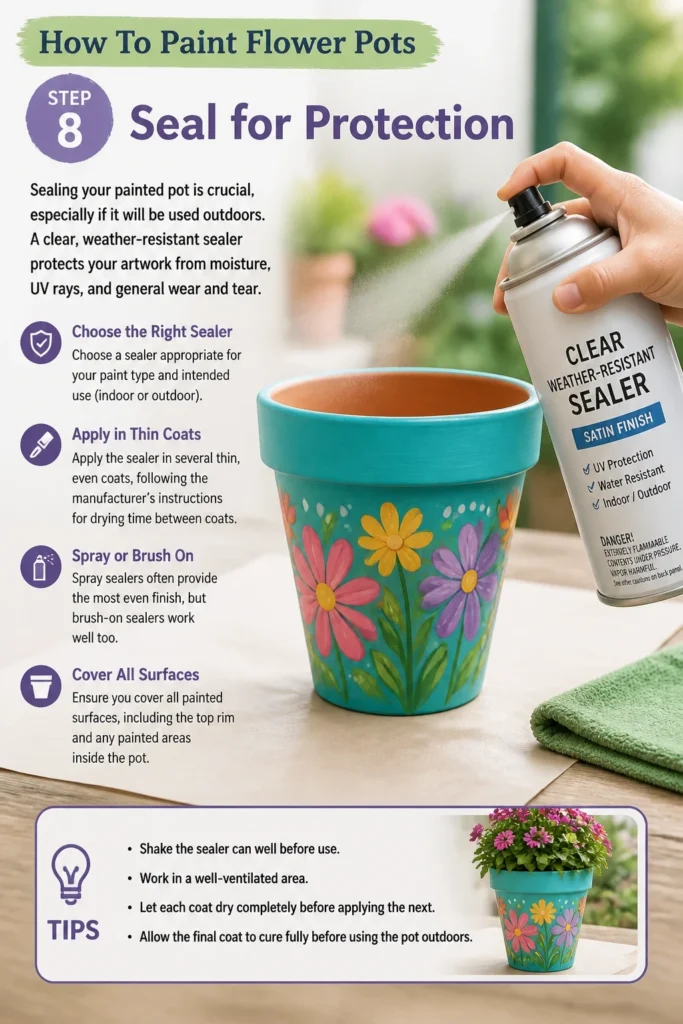
Choose a sealer appropriate for your paint type and intended use (indoor or outdoor). Apply the sealer in several thin, even coats, following the manufacturer’s instructions for drying time between coats.
Spray sealers often provide the most even finish, but brush-on sealers work well too. Ensure you cover all painted surfaces, including the top rim and any painted areas inside the pot.
Step 9: Cure and Enjoy
After the final coat of sealer has been applied, it’s important to allow the pot to “cure.” Curing refers to the process where the paint and sealer fully harden and reach their maximum durability, which can take several days or even a week, depending on the products used and environmental conditions.
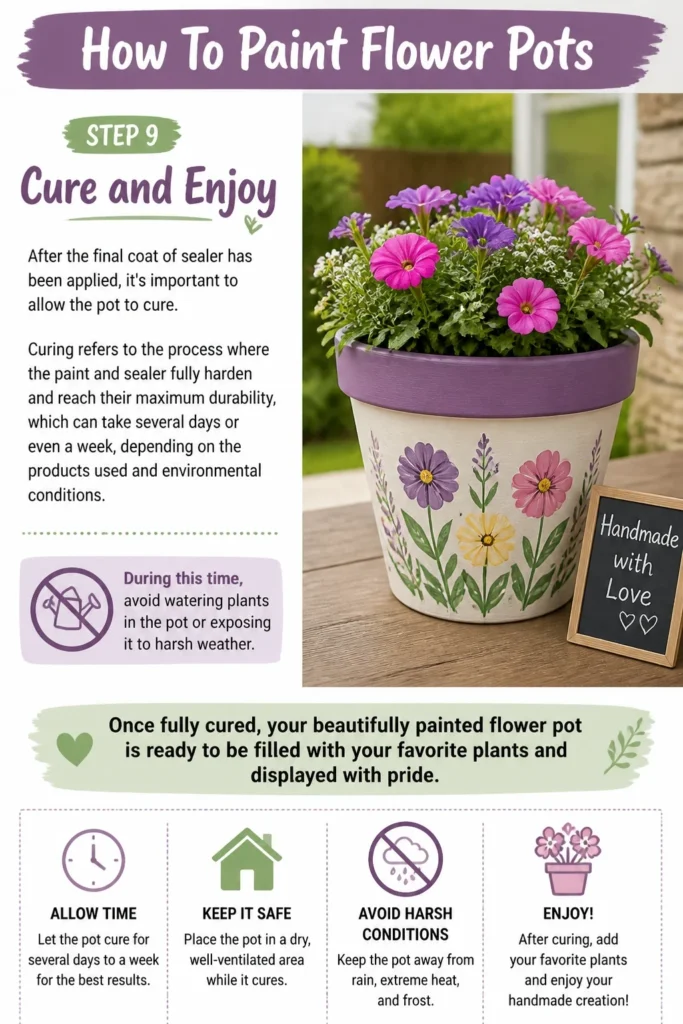
During this time, avoid watering plants in the pot or exposing it to harsh weather. Once fully cured, your beautifully painted flower pot is ready to be filled with your favorite plants and displayed with pride.
Common Mistakes to Avoid
Skipping Surface Prep
Many people are eager to start painting and overlook cleaning and sanding. Skipping these steps means your paint might not adhere properly, leading to peeling, chipping, or an uneven finish down the line. Always take the time to clean and lightly sand your pots.
Using the Wrong Paint
Not all paints are created equal, especially for outdoor use. Interior craft paints will quickly fade, peel, or wash away when exposed to elements. Always choose acrylic paints designed for multi-surface or outdoor use, or specific exterior paints, to ensure longevity and vibrant color.
Rushing the Drying Process
Patience is a virtue in pot painting. Applying subsequent coats of paint or sealer before the previous layer is fully dry can lead to smudging, bubbling, or a sticky finish. Always follow the manufacturer’s recommended drying times between coats to achieve the best results.
Forgetting to Seal
A beautiful painted pot is vulnerable to the elements without a protective top coat. Forgetting to seal, especially outdoor pots, exposes your artwork to moisture and UV damage, causing colors to fade and paint to chip. A good quality, clear, weather-resistant sealer is non-negotiable for durability.
Troubleshooting
Paint Bubbling or Peeling
This usually indicates poor surface preparation or moisture issues. Ensure your pot is perfectly clean and dry before priming and painting. If painting terracotta, prime the inside top few inches to prevent moisture wicking. If it’s already bubbling, gently scrape off the affected area, sand smooth, and reapply primer and paint.
Uneven Paint Coverage
Uneven coverage often results from applying paint too thickly, not using enough coats, or an unprimed surface absorbing paint unevenly. Always apply paint in thin, even layers, allowing each to dry completely. Priming porous pots like terracotta is essential for uniform color.
Smudged Designs
Smudges occur when wet paint comes into contact with another surface or when a subsequent layer is applied too soon. Always allow each color or design element to dry thoroughly before touching it or adding another layer. A steady hand and careful handling during painting are key.
Key Takeaways
- Preparation, including cleaning and light sanding, is paramount for paint adhesion.
- Always use a primer, especially on porous materials like terracotta, for best results.
- Choose paints specifically designed for multi-surface or outdoor use for durability.
- Apply multiple thin coats of paint and sealer, allowing each to dry completely.
- A clear, weather-resistant sealer is essential to protect your artwork from the elements.
- Patience throughout the drying and curing process ensures a long-lasting finish.
Frequently Asked Questions
What kind of paint is best for outdoor pots?
For outdoor pots, acrylic craft paints labeled “multi-surface” or “outdoor” are excellent choices. Exterior house paints or specialty ceramic paints also work well. These paints are formulated to withstand moisture, UV rays, and temperature changes, preventing fading and peeling.
Do I need to prime terracotta pots?
Yes, priming terracotta pots is highly recommended. Terracotta is very porous and will absorb paint unevenly without a primer. Primer creates a barrier, allowing your paint to adhere better and achieve a more vibrant, consistent color. It also helps prevent moisture from seeping through the pot walls.
How long does painted pottery last outdoors?
The lifespan of painted pottery outdoors depends on the paint quality, sealer effectiveness, and local weather conditions. With proper preparation, high-quality outdoor paints, and a good UV-resistant sealer, your painted pots can last for several years, maintaining their beauty and integrity.
Can I paint plastic pots?
Absolutely! Plastic pots can be painted successfully. Ensure they are thoroughly cleaned and lightly sanded to create a rough surface for paint adhesion. Use an all-surface primer designed for plastics, followed by multi-surface acrylic paints and a flexible clear coat sealer to prevent cracking.
Our Top Recommended Finds
- Multi-Surface Acrylic Craft Paints: These versatile paints adhere well to various surfaces and come in a vast array of colors, perfect for intricate designs.
- Outdoor Sealer Spray (Clear, UV Resistant): An aerosol sealer offers even coverage and crucial protection against sun and rain, extending the life of your painted pots.
- Assorted Paintbrush Set: A good set with various sizes allows you to tackle both broad base coats and fine detail work with ease.
- Sanding Sponges: These are easier to hold and contour to rounded pot surfaces than traditional sandpaper sheets, making surface preparation simpler.
Your Canvas Awaits: Start Painting Today
Painting flower pots is a delightful way to express your creativity and add personalized charm to your garden or home.
With the right steps and a little patience, you can transform ordinary pots into extraordinary pieces of art that reflect your unique style.
Gather your supplies, pick a sunny afternoon, and begin your artistic journey. Consider painting a series of pots in a cohesive theme, or explore different techniques on each. Your plants will thank you for their beautiful new homes.