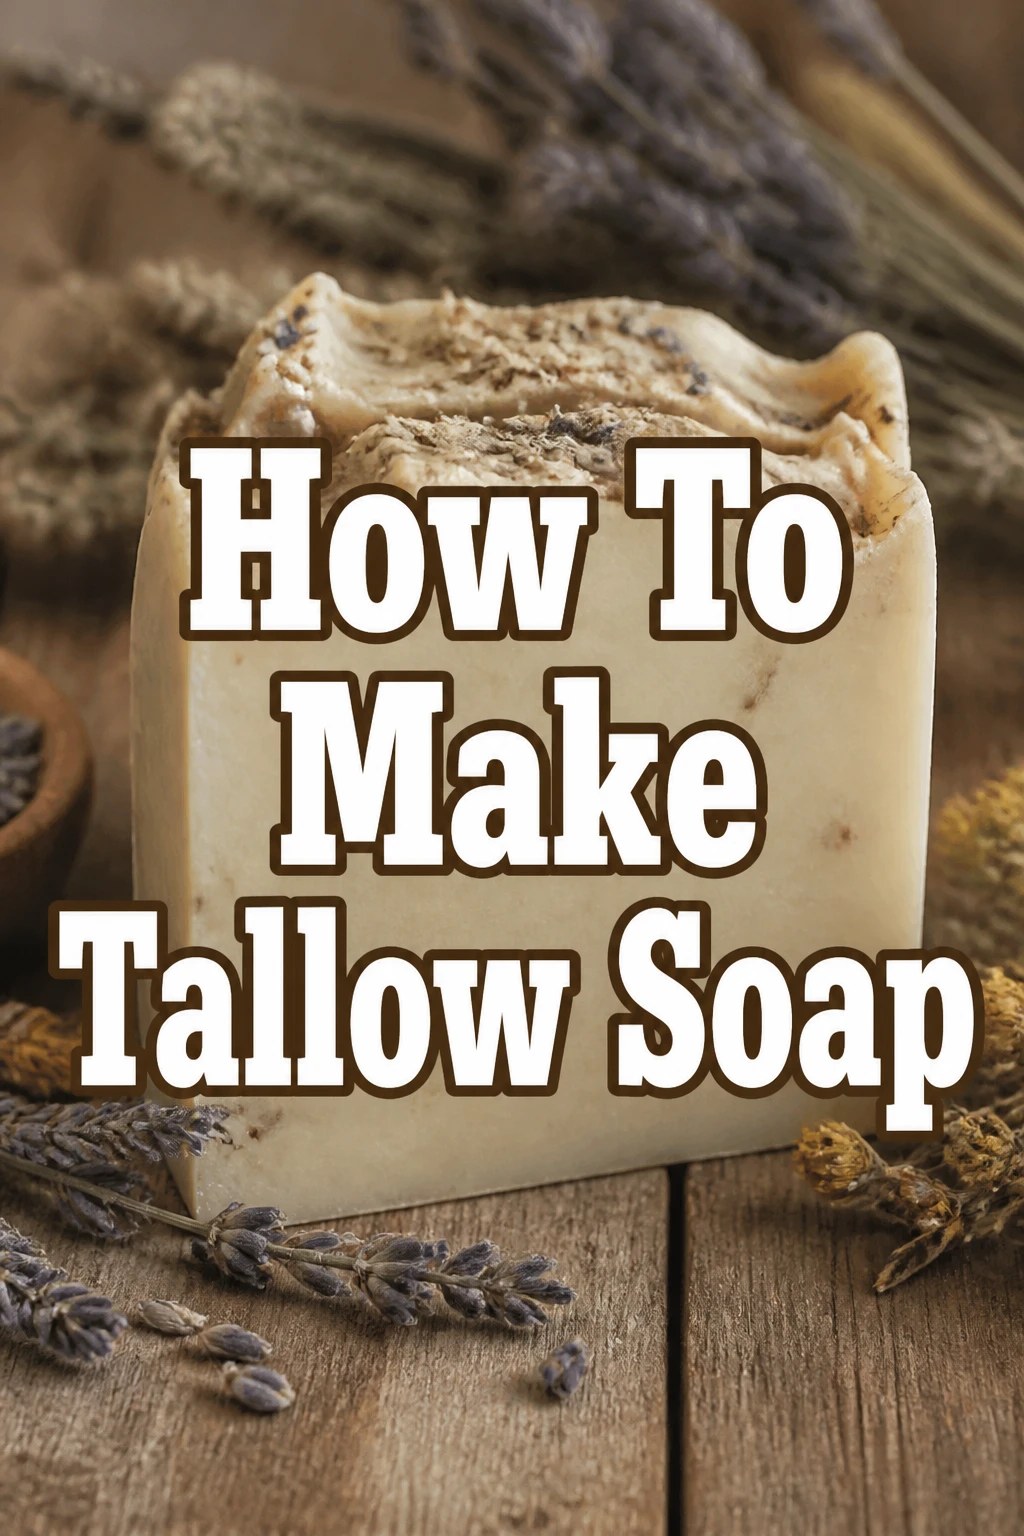
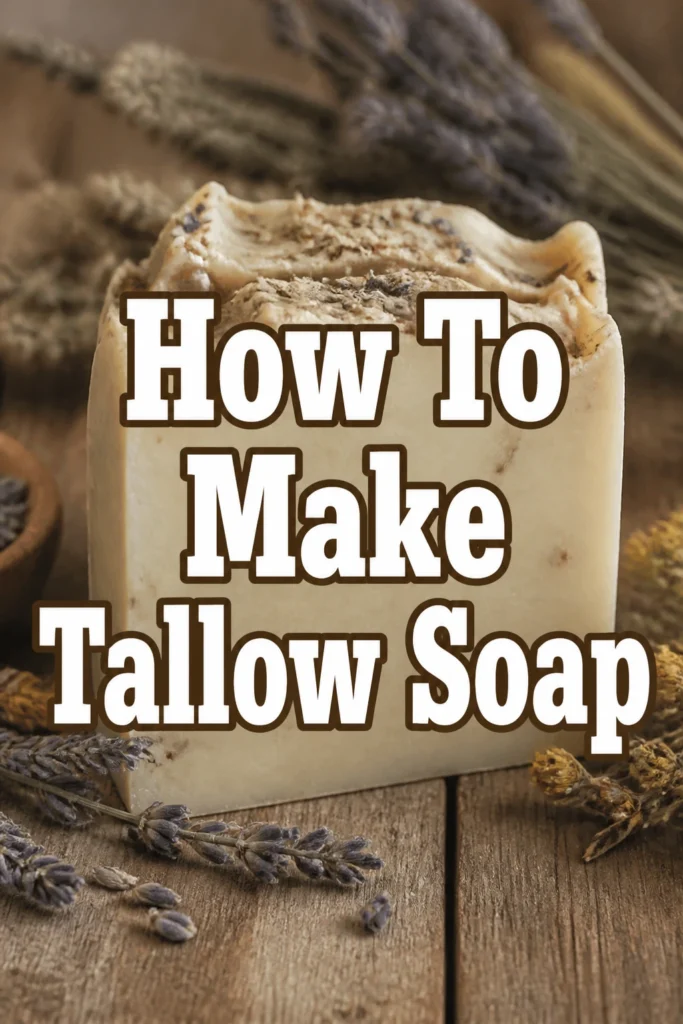
How To Make Tallow Soap
Making your own soap is a deeply rewarding craft, offering control over ingredients and a connection to traditional methods. I’ve found immense satisfaction in transforming simple fats into nourishing bars for my family. This guide shares the practical steps I’ve learned, helping you create beautiful, long-lasting tallow soap right in your kitchen.
Quick Overview
You’re about to embark on a journey to create your own natural, long-lasting tallow soap. This process combines precision with patience, resulting in a product that’s gentle on the skin and free from synthetic additives.
- Time needed: Approximately 2-3 hours active work, plus 24-48 hours for unmolding, and 4-6 weeks for curing.
- Difficulty: Intermediate (requires careful handling of lye).
- What you’ll need: Tallow, other oils (optional), lye (sodium hydroxide), distilled water, safety gear, digital scale, heat-safe containers, immersion blender, soap molds.
Step-by-Step Instructions
Step 1: Gather Your Supplies and Prioritize Safety
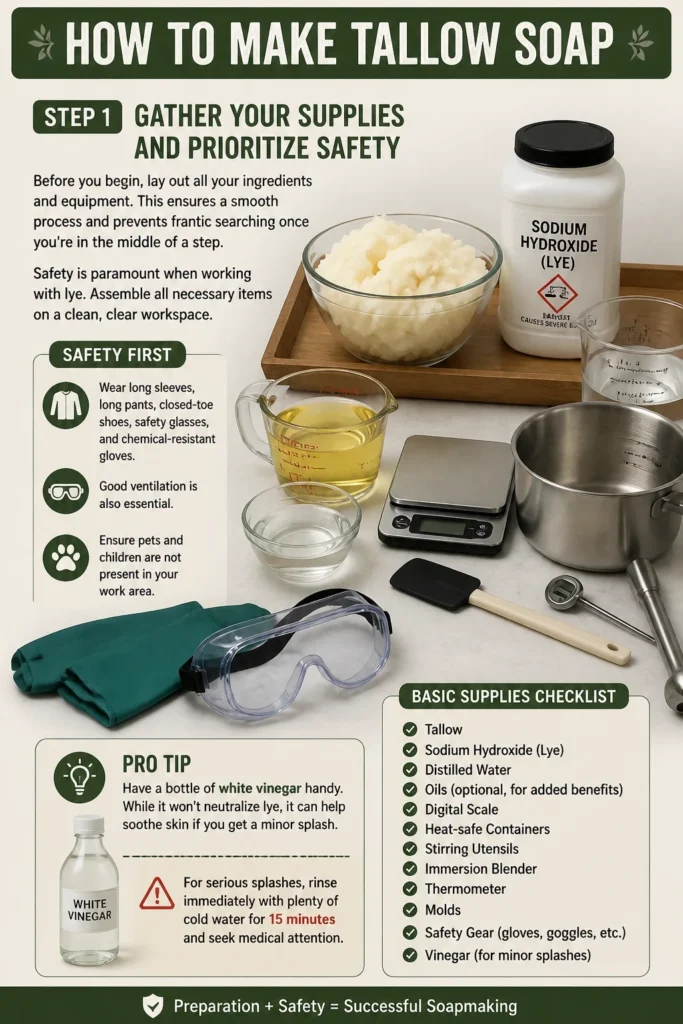
Before you begin, lay out all your ingredients and equipment. This ensures a smooth process and prevents frantic searching once you’re in the middle of a step. Safety is paramount when working with lye.
- Assemble all necessary items on a clean, clear workspace.
- Wear long sleeves, long pants, closed-toe shoes, safety glasses, and chemical-resistant gloves. Good ventilation is also essential.
- Ensure pets and children are not present in your work area.
Pro Tip: Have a bottle of white vinegar handy. While it won’t neutralize lye, it can help soothe skin if you get a minor splash. For serious splashes, rinse immediately with plenty of cold water for 15 minutes and seek medical attention.
Step 2: Prepare Your Lye Solution
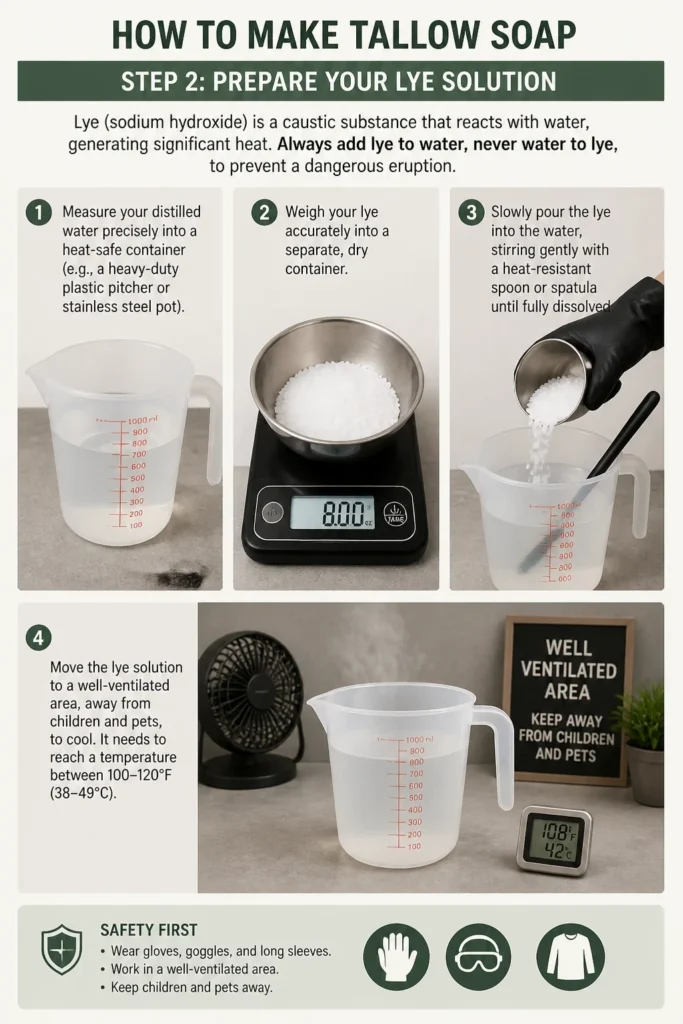
Lye (sodium hydroxide) is a caustic substance that reacts with water, generating significant heat. Always add lye to water, never water to lye, to prevent a dangerous eruption.
- Measure your distilled water precisely into a heat-safe container (e.g., a heavy-duty plastic pitcher or stainless steel pot).
- Weigh your lye accurately into a separate, dry container.
- Slowly pour the lye into the water, stirring gently with a heat-resistant spoon or spatula until fully dissolved.
- Move the lye solution to a well-ventilated area, away from children and pets, to cool. It needs to reach a temperature between 100-120F (38-49C).
Step 3: Melt and Measure Your Tallow and Oils
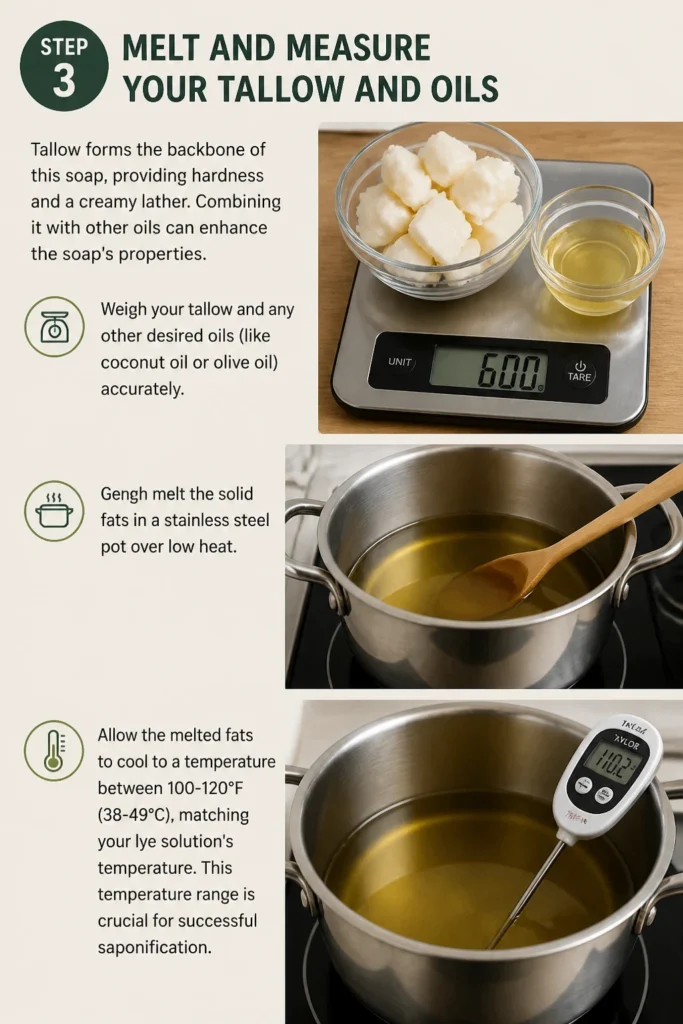
Tallow forms the backbone of this soap, providing hardness and a creamy lather. Combining it with other oils can enhance the soap’s properties.
- Weigh your tallow and any other desired oils (like coconut oil or olive oil) accurately.
- Gently melt the solid fats in a stainless steel pot over low heat.
- Allow the melted fats to cool to a temperature between 100-120F (38-49C), matching your lye solution’s temperature. This temperature range is crucial for successful saponification.
Step 4: Combine Lye Solution and Fats (Achieve Trace)
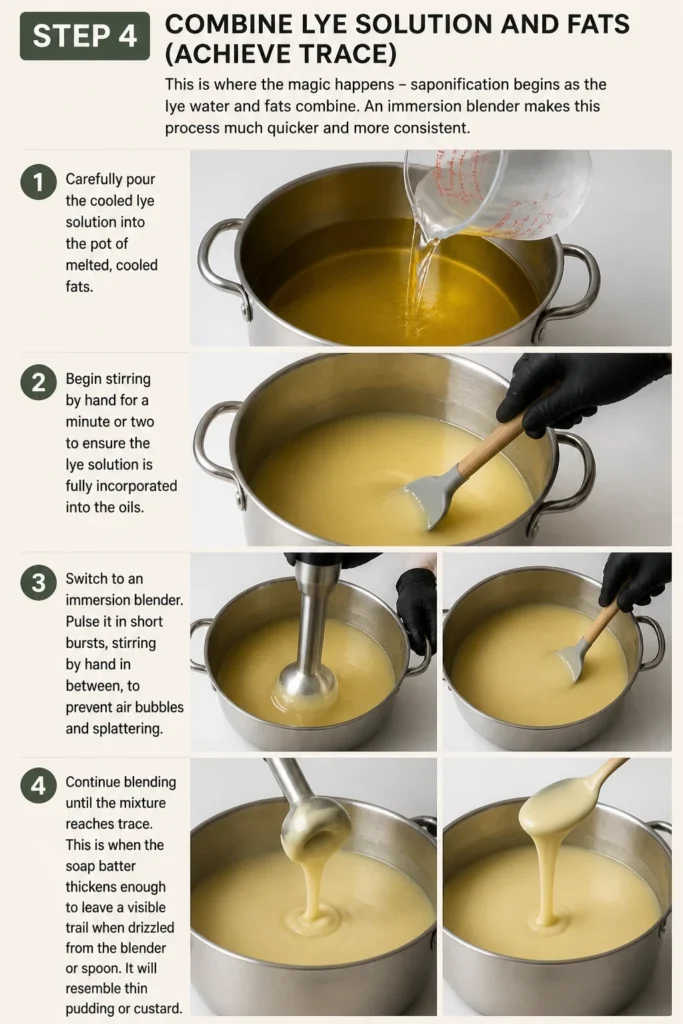
This is where the magic happens – saponification begins as the lye water and fats combine. An immersion blender makes this process much quicker and more consistent.
- Carefully pour the cooled lye solution into the pot of melted, cooled fats.
- Begin stirring by hand for a minute or two to ensure the lye solution is fully incorporated into the oils.
- Switch to an immersion blender. Pulse it in short bursts, stirring by hand in between, to prevent air bubbles and splattering.
- Continue blending until the mixture reaches “trace.” This is when the soap batter thickens enough to leave a visible trail when drizzled from the blender or spoon. It will resemble thin pudding or custard.
Step 5: Add Fragrance and Color (Optional)
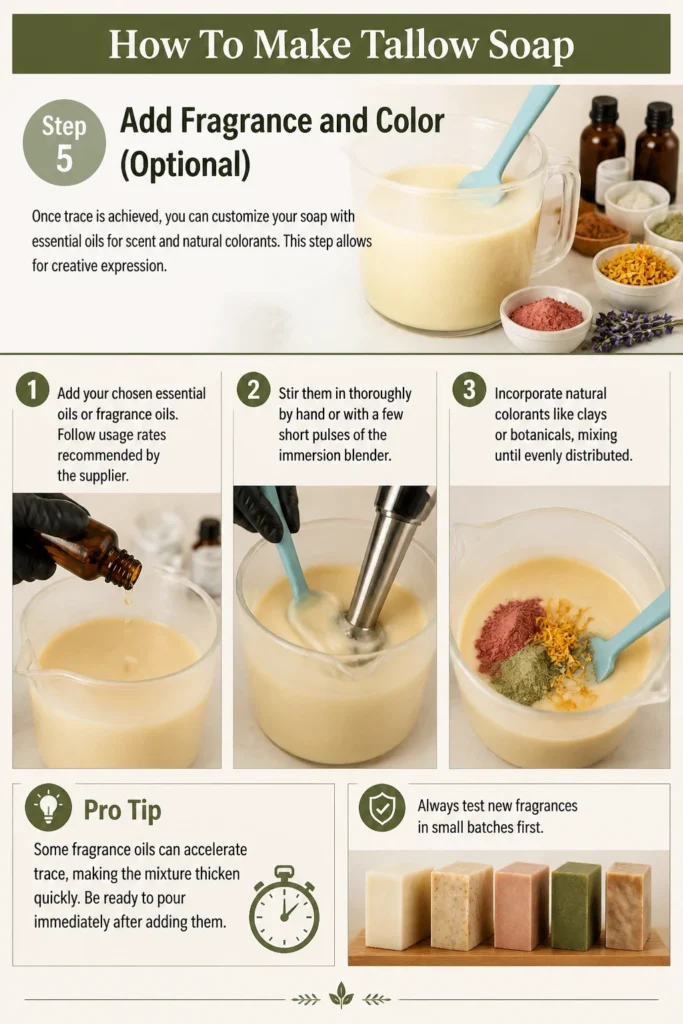
Once trace is achieved, you can customize your soap with essential oils for scent and natural colorants. This step allows for creative expression.
- Add your chosen essential oils or fragrance oils. Follow usage rates recommended by the supplier.
- Stir them in thoroughly by hand or with a few short pulses of the immersion blender.
- Incorporate natural colorants like clays or botanicals, mixing until evenly distributed.
Pro Tip: Some fragrance oils can accelerate trace, making the mixture thicken quickly. Be ready to pour immediately after adding them. Always test new fragrances in small batches first.
Step 6: Pour Into Molds
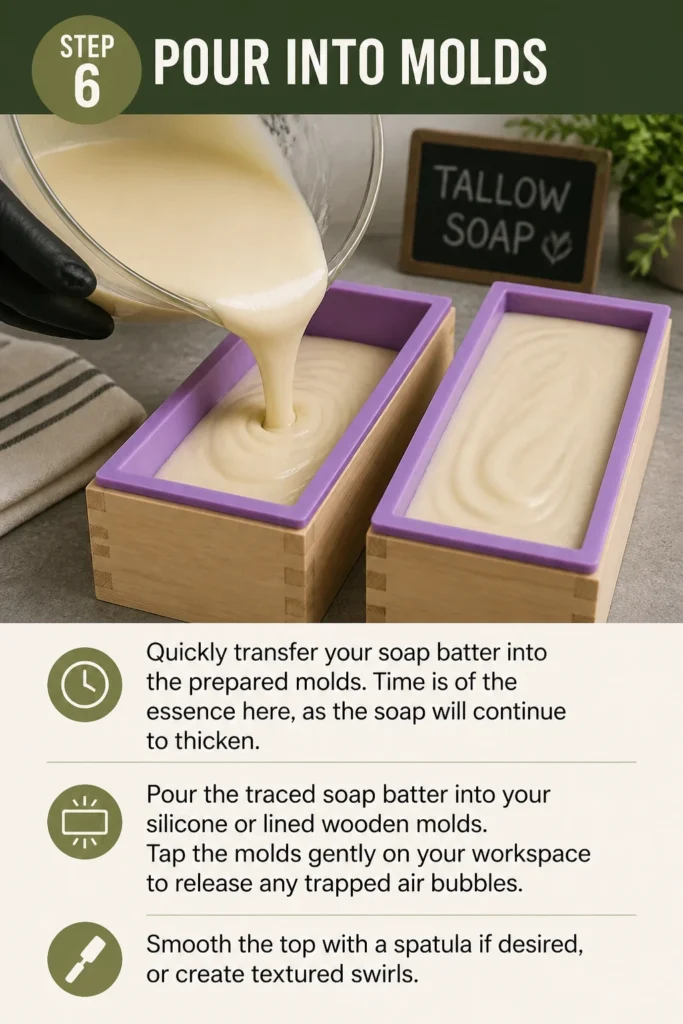
Quickly transfer your soap batter into the prepared molds. Time is of the essence here, as the soap will continue to thicken.
- Pour the traced soap batter into your silicone or lined wooden molds.
- Tap the molds gently on your workspace to release any trapped air bubbles.
- Smooth the top with a spatula if desired, or create textured swirls.
Step 7: Insulate and Unmold
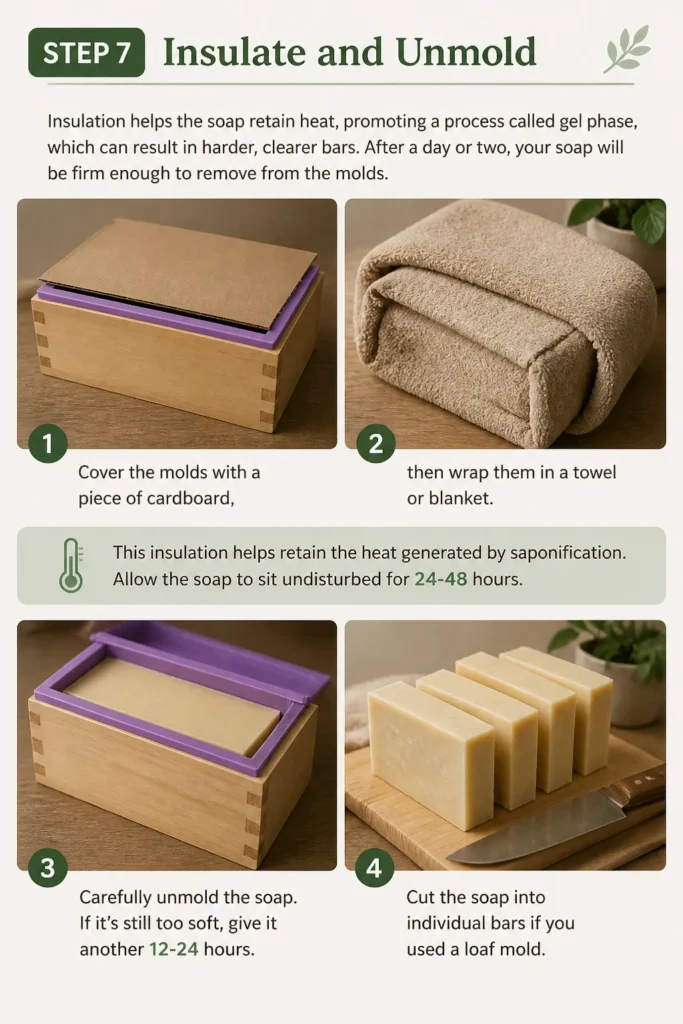
Insulation helps the soap retain heat, promoting a process called gel phase, which can result in harder, clearer bars. After a day or two, your soap will be firm enough to remove from the molds.
- Cover the molds with a piece of cardboard, then wrap them in a towel or blanket. This insulation helps retain the heat generated by saponification.
- Allow the soap to sit undisturbed for 24-48 hours.
- Carefully unmold the soap. If it’s still too soft, give it another 12-24 hours.
- Cut the soap into individual bars if you used a loaf mold.
Step 8: Cure Your Soap
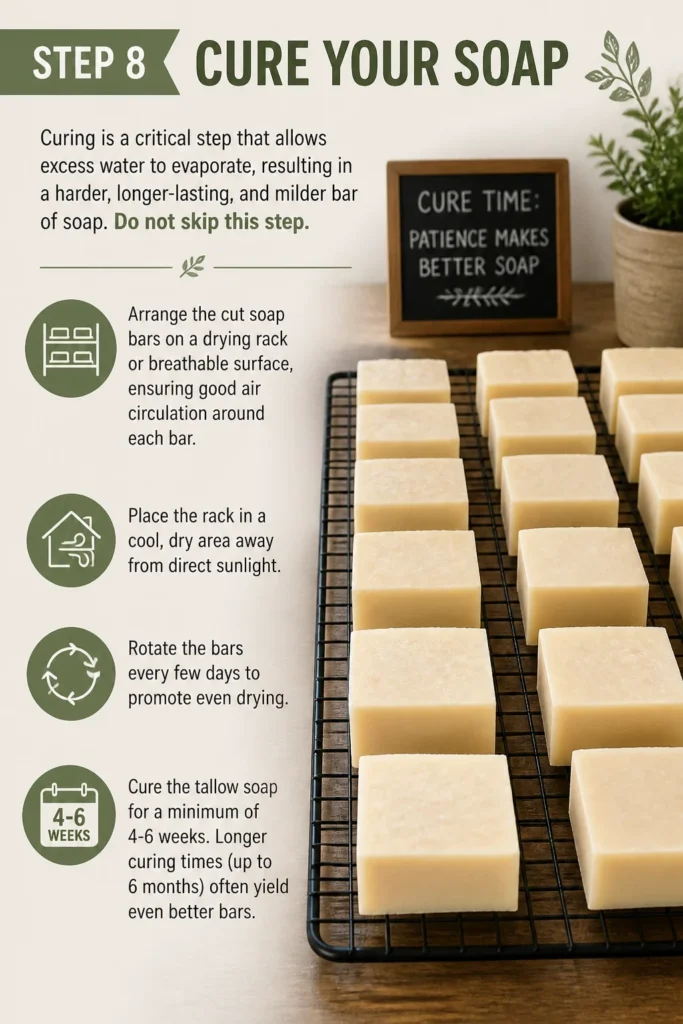
Curing is a critical step that allows excess water to evaporate, resulting in a harder, longer-lasting, and milder bar of soap. Do not skip this step.
- Arrange the cut soap bars on a drying rack or breathable surface, ensuring good air circulation around each bar.
- Place the rack in a cool, dry area away from direct sunlight.
- Rotate the bars every few days to promote even drying.
- Cure the tallow soap for a minimum of 4-6 weeks. Longer curing times (up to 6 months) often yield even better bars.
Step 9: Enjoy Your Handmade Tallow Soap
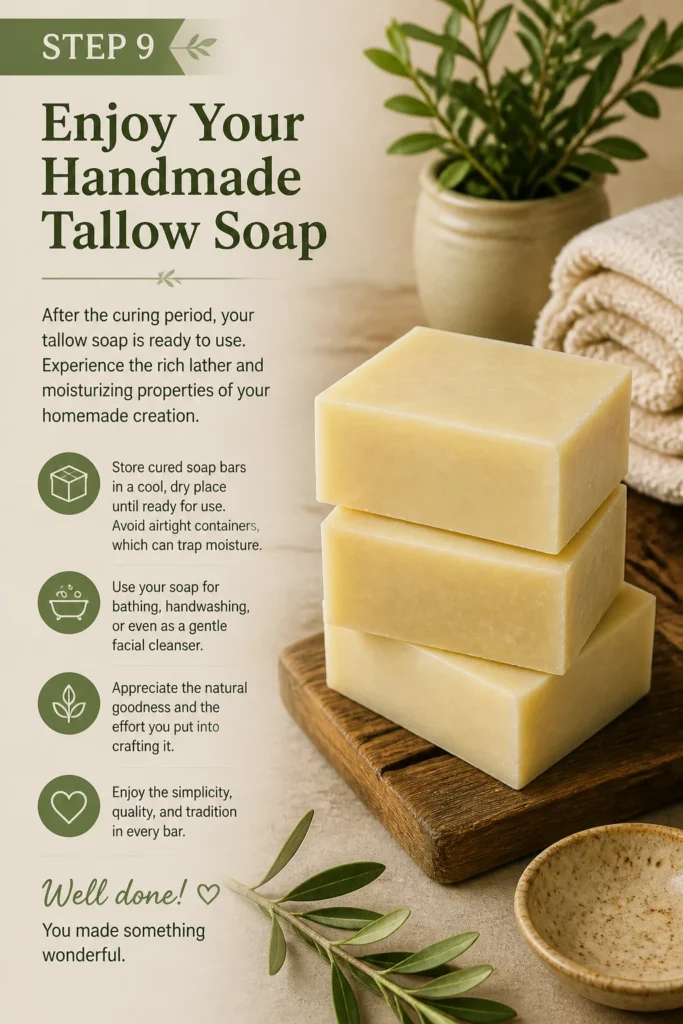
After the curing period, your tallow soap is ready to use. Experience the rich lather and moisturizing properties of your homemade creation.
- Store cured soap bars in a cool, dry place until ready for use. Avoid airtight containers, which can trap moisture.
- Use your soap for bathing, handwashing, or even as a gentle facial cleanser.
- Appreciate the natural goodness and the effort you put into crafting it.
Common Mistakes to Avoid
Inaccurate Measurements
Soap making is a precise chemical reaction. Guessing or rounding off measurements, especially for lye and water, can lead to soap that is either too caustic (lye-heavy) or too soft and oily (fat-heavy). Always use a digital scale and measure ingredients to the gram.
Skipping Safety Gear
Lye is extremely corrosive and can cause severe burns to skin and eyes. Neglecting to wear safety glasses, gloves, and long sleeves puts you at serious risk. Treat lye with the utmost respect and always prioritize personal protection.
Impatient Curing
The curing phase is not optional; it’s essential for a high-quality soap. Cutting the curing time short means your soap will be softer, dissolve faster in the shower, and may feel less gentle on the skin. Allow the full 4-6 weeks for the best results.
Incorrect Temperatures
While there’s some flexibility, drastically different temperatures between your lye solution and your oils can cause issues. If the lye is too hot, it can scorch the oils; if too cold, it might not fully emulsify. Aim for temperatures within the recommended 100-120F (38-49C) range for both mixtures.
Troubleshooting
Soap Not Tracing
If your soap mixture isn’t thickening after prolonged blending, it often means the oils and lye solution haven’t fully emulsified. This can be due to temperature differences or insufficient blending. Continue blending with your immersion blender, ensuring you reach all parts of the pot. Sometimes, a very small amount of extra liquid oil (like olive oil) can help kickstart the process, but this is a last resort.
Lye Pockets / Caustic Soap
If your finished soap has white, powdery spots or feels irritating to the skin, it might have lye pockets or be lye-heavy. This usually happens from inaccurate lye measurements or incomplete mixing. The only safe solution is to rebatch the soap, carefully adding more oil, or discard it if you’re unsure. Always perform a “zap test” (touch a tiny bit to your tongue – if it zaps, it’s caustic) on a small piece after curing.
Soft or Oily Soap
Soap that remains soft or feels oily after curing often indicates too much oil (superfatting too high) or insufficient lye for the amount of oils. This can also happen if the soap isn’t fully cured. Ensure precise measurements and allow the full cure time. If it’s still soft, it might need even longer to dry out.
Key Takeaways
- Safety is your absolute priority when working with lye; always wear protective gear.
- Accurate measurements with a digital scale are non-negotiable for successful soap making.
- Achieving “trace” is the visual cue that saponification has begun and it’s time to pour.
- The 4-6 week curing period allows for water evaporation, creating a hard, long-lasting, and mild bar.
- Tallow soap produces a rich, creamy lather and is known for its skin-nourishing properties.
- Embrace the process; patience and attention to detail yield the best results.
Frequently Asked Questions
Is tallow soap good for sensitive skin?
Yes, many people find tallow soap to be excellent for sensitive skin. Tallow is rich in vitamins and fatty acids that are very similar to those found naturally in human skin, making it highly compatible and moisturizing. It’s often free from harsh chemicals and synthetic fragrances that can irritate sensitive skin.
Can I use other fats besides tallow?
Absolutely. While this guide focuses on tallow, you can substitute or combine tallow with other fats like coconut oil, olive oil, shea butter, or cocoa butter. Each fat contributes different qualities to the final soap, affecting hardness, lather, and moisturizing properties. Just remember to recalculate your lye amount using a soap calculator for any changes in your oil blend.
How long does tallow soap last?
A well-cured bar of tallow soap is exceptionally hard and long-lasting. When stored properly in a well-draining soap dish between uses, a typical bar can last for several weeks, often longer than commercial soaps. Its durability is one of its most prized characteristics.
What is “trace”?
“Trace” refers to the point in the soap-making process where the lye solution and oils have fully emulsified and begun to saponify, thickening the mixture. When you drizzle a small amount of the soap batter from your immersion blender or spoon onto the surface, it should leave a distinct, visible mark or “trace” before sinking back in. It indicates the soap is ready to be poured into molds.
Our Top Recommended Finds
- Digital Kitchen Scale: Essential for precise measurements of lye, water, and oils, ensuring a balanced and safe soap.
- Immersion Blender: Greatly speeds up the saponification process, helping you achieve trace quickly and consistently.
- Silicone Soap Molds: Flexible and non-stick, making unmolding your finished soap bars effortless without damaging their shape.
Your Journey into Artisan Soapmaking
Creating your own tallow soap is more than just a craft; it’s a step towards self-sufficiency and a deeper understanding of the products you use daily. The satisfaction of holding a bar you made yourself, knowing every ingredient, is truly unmatched.
Now that you have the knowledge and steps, gather your supplies and prepare to transform simple ingredients into something truly special. Embrace this rewarding process and discover the joy of handmade, natural soap.