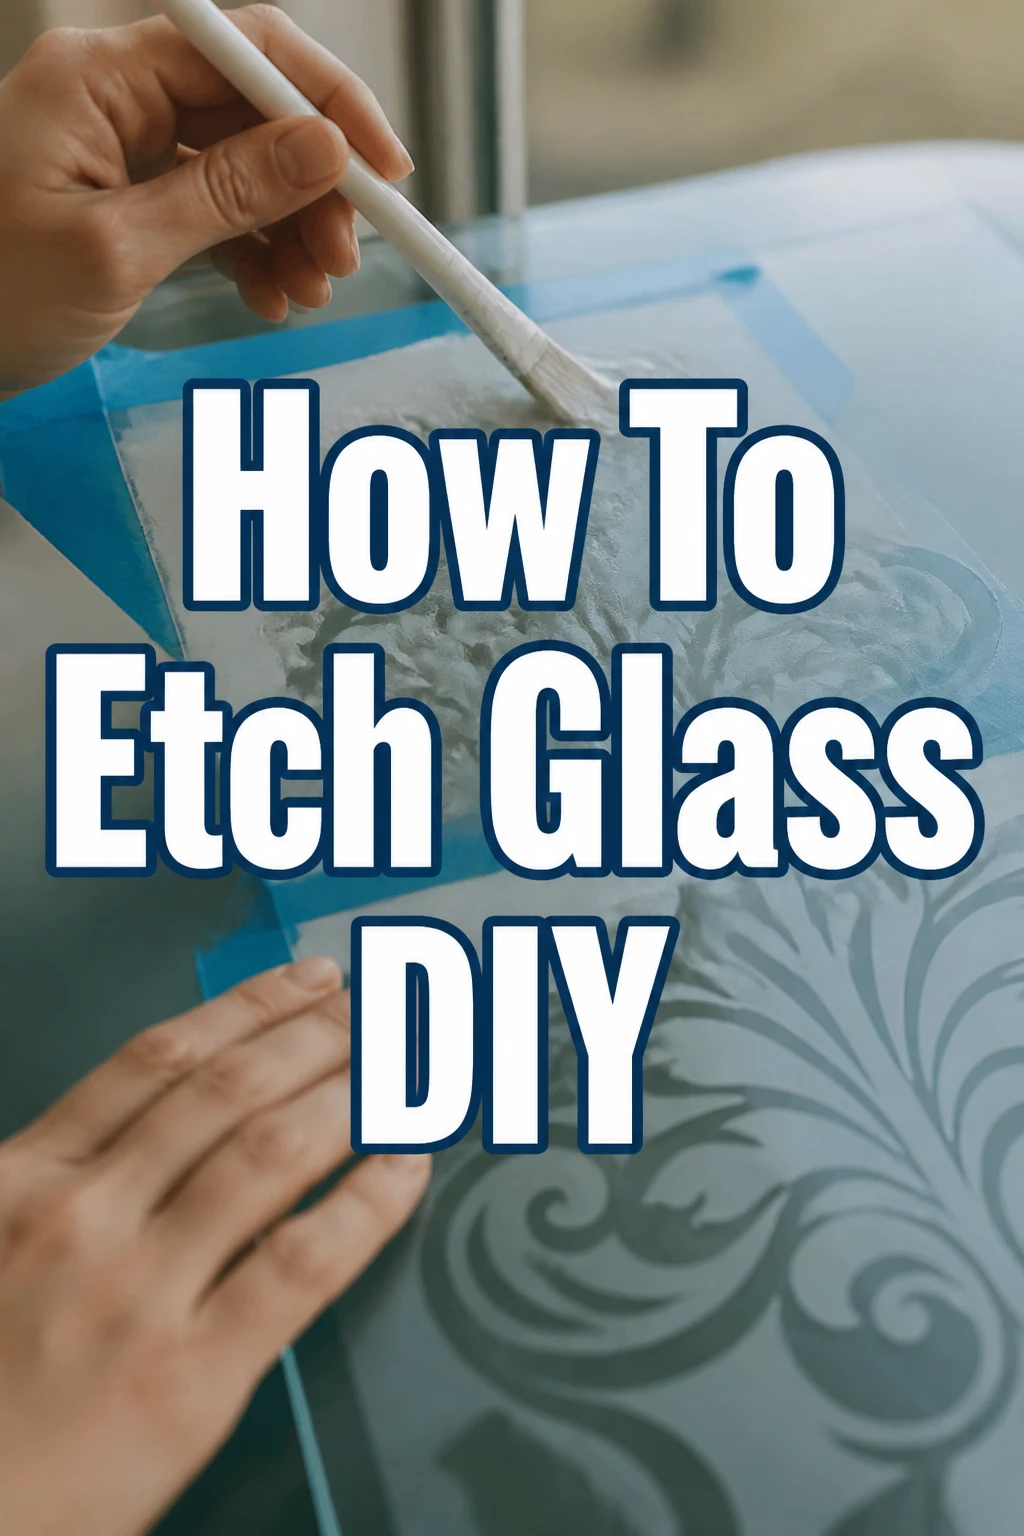
How To Etch Glass DIY
I remember the first time I tried to customize a set of wine glasses for a friend’s wedding.
I was nervous about ruining the glass, but the moment I washed away the cream to reveal a crisp, frosted design, I was hooked.
Glass etching is one of those rare DIY projects that looks professional and expensive while being surprisingly simple to execute at home.
This guide draws on years of trial and error to help you master the technique without the common frustrations of splotchy finishes or ruined stencils.
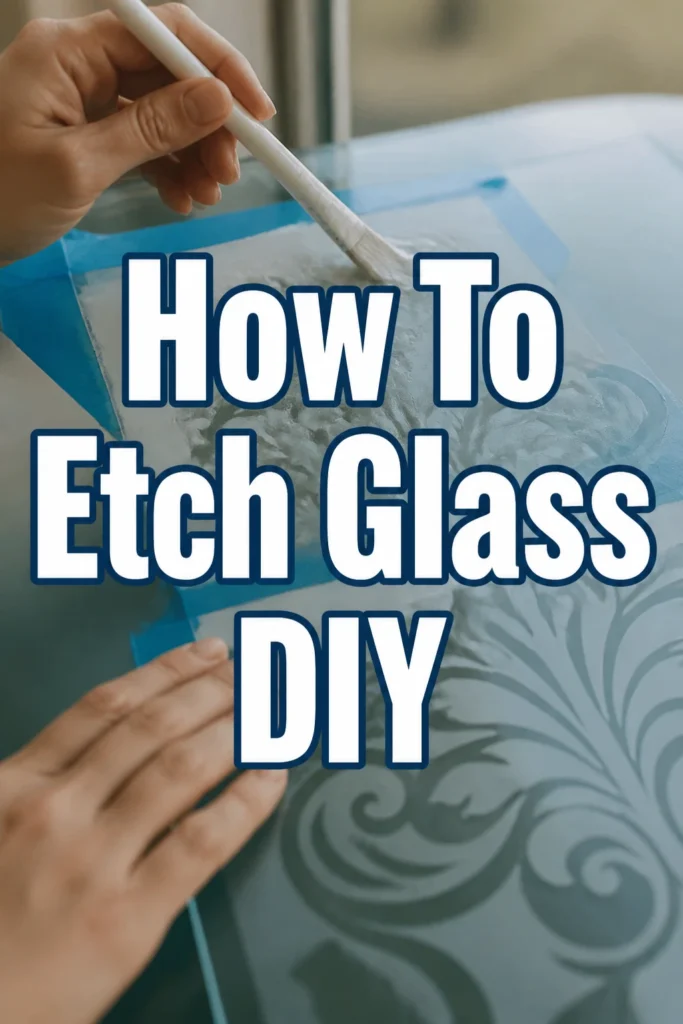
Quick Overview
You are about to learn how to permanently transform plain glassware into custom art using a chemical etching process.
This method creates a beautiful frosted appearance that is dishwasher safe and will never peel or fade.
- Time needed: 45 to 60 minutes (including prep and drying time)
- Difficulty: Beginner
- What you’ll need: Glass etching cream, adhesive stencils, glass cleaner, painter’s tape, and protective gear.
Step 1: Prepare Your Workspace and Safety Gear
Before you even touch your glassware, you must set up a safe and organized environment.
Etching cream contains dilute chemicals that are designed to eat away at glass, so they can also irritate your skin and eyes.
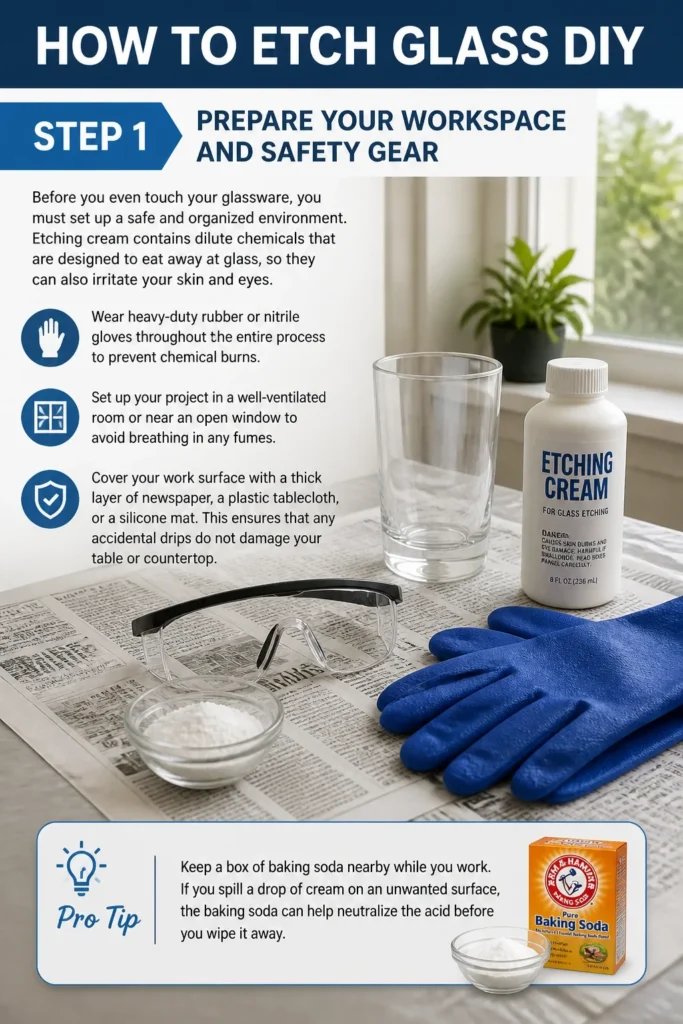
Wear heavy-duty rubber or nitrile gloves throughout the entire process to prevent chemical burns.
Set up your project in a well-ventilated room or near an open window to avoid breathing in any fumes.
Cover your work surface with a thick layer of newspaper, a plastic tablecloth, or a silicone mat.
This ensures that any accidental drips do not damage your table or countertop.
Pro Tip: Keep a box of baking soda nearby while you work. If you spill a drop of cream on an unwanted surface, the baking soda can help neutralize the acid before you wipe it away.
Step 2: Select and Clean Your Glassware
The success of your etch depends entirely on how clean the glass is before you start.
Even a tiny fingerprint contains oils that can act as a barrier, preventing the etching cream from reacting with the glass surface.
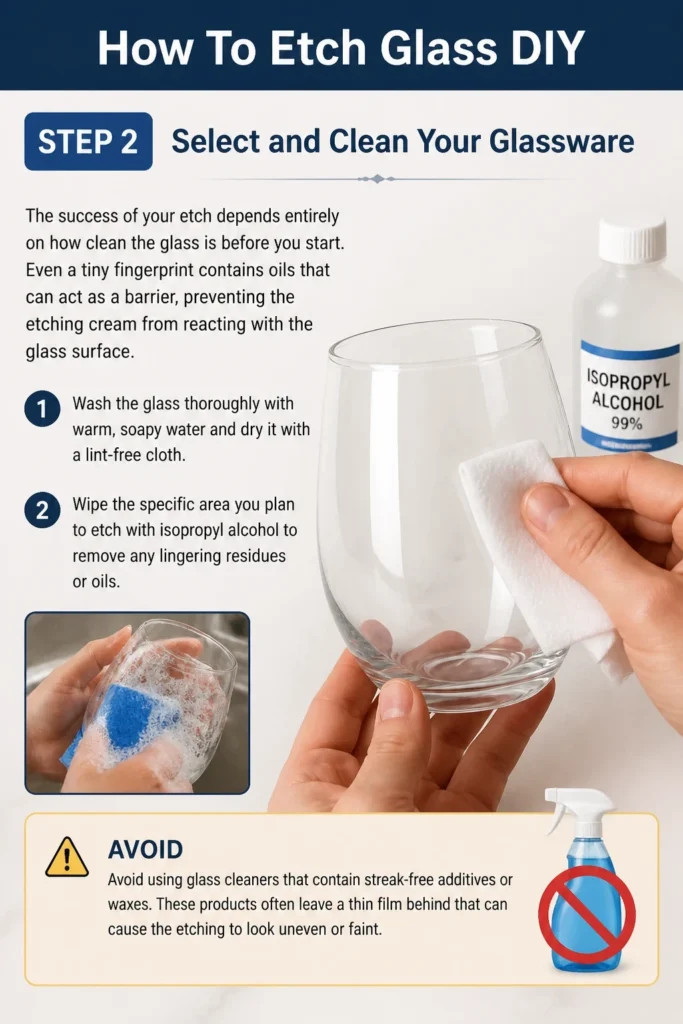
Wash the glass thoroughly with warm, soapy water and dry it with a lint-free cloth.
Wipe the specific area you plan to etch with isopropyl alcohol to remove any lingering residues or oils.
Avoid using glass cleaners that contain “streak-free” additives or waxes.
These products often leave a thin film behind that can cause the etching to look uneven or faint.
Step 3: Choose and Cut Your Stencil
You have several options for stencils, ranging from pre-cut adhesive designs to custom creations made with a cutting machine.
The key is using a material that has a strong adhesive backing to prevent the cream from seeping underneath.
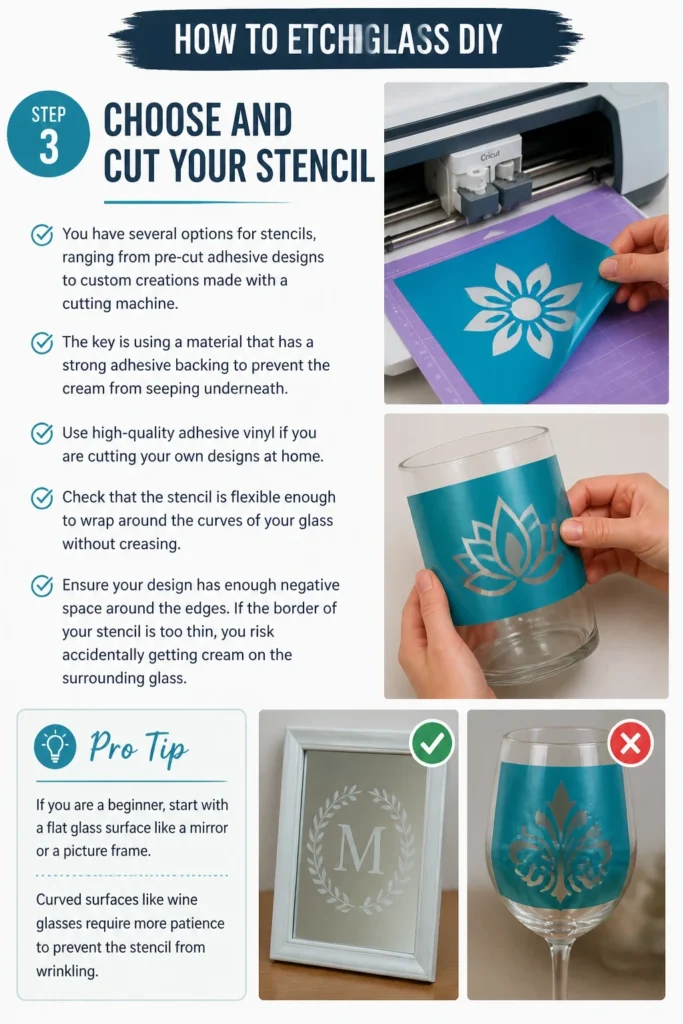
Use high-quality adhesive vinyl if you are cutting your own designs at home.
Check that the stencil is flexible enough to wrap around the curves of your glass without creasing.
Ensure your design has enough “negative space” around the edges.
If the border of your stencil is too thin, you risk accidentally getting cream on the surrounding glass.
Pro Tip: If you are a beginner, start with a flat glass surface like a mirror or a picture frame. Curved surfaces like wine glasses require more patience to prevent the stencil from wrinkling.
Step 4: Apply the Stencil Carefully
Applying the stencil is the most critical part of the entire DIY process.
Any gap or air bubble at the edge of your design will allow the cream to bleed, resulting in a blurry image.
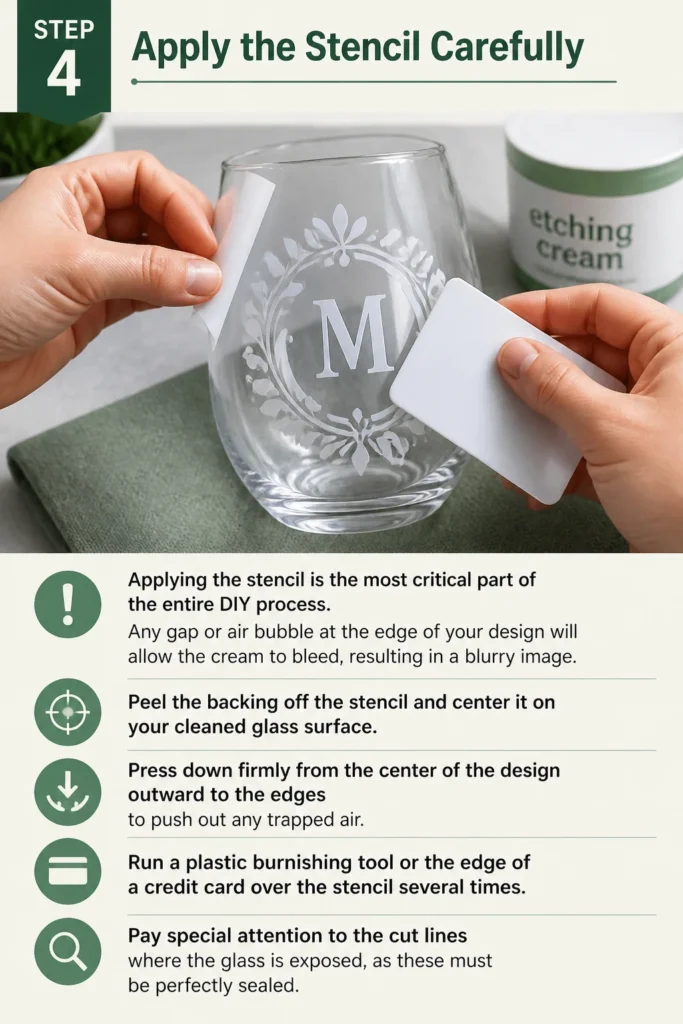
Peel the backing off the stencil and center it on your cleaned glass surface.
Press down firmly from the center of the design outward to the edges to push out any trapped air.
Run a plastic burnishing tool or the edge of a credit card over the stencil several times.
Pay special attention to the “cut lines” where the glass is exposed, as these must be perfectly sealed.
Step 5: Mask the Surrounding Areas
Etching cream is very thick, but accidents still happen during application or rinsing.
Masking ensures that only the intended design gets frosted.
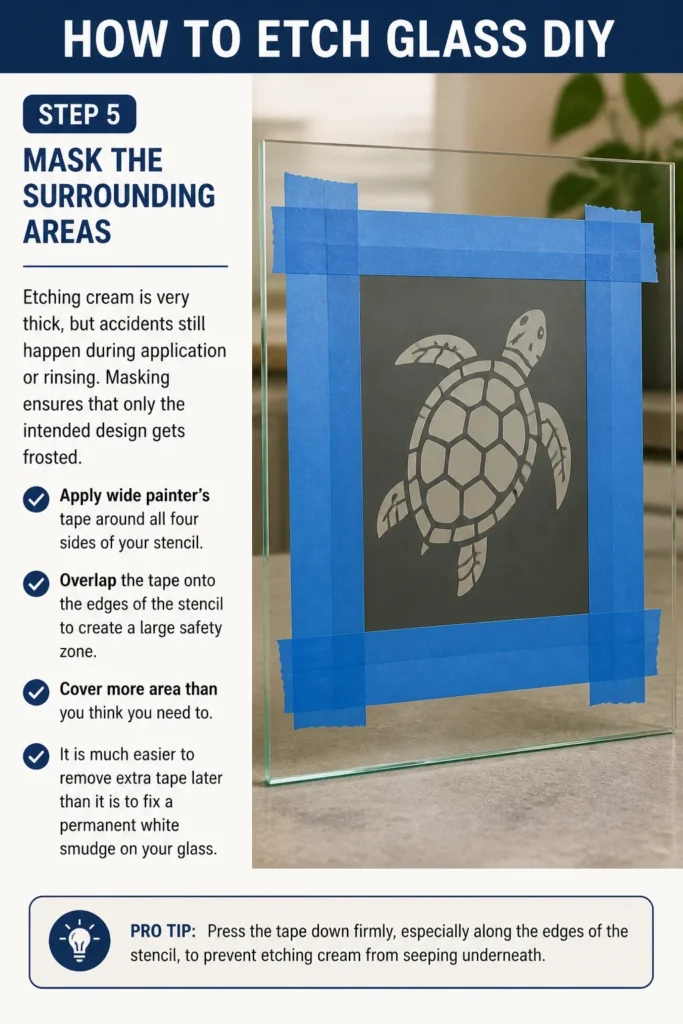
Apply wide painter’s tape around all four sides of your stencil.
Overlap the tape onto the edges of the stencil to create a large safety zone.
Cover more area than you think you need to.
It is much easier to remove extra tape later than it is to fix a permanent white smudge on your glass.
Step 6: Apply a Thick Layer of Etching Cream
When it comes to etching cream, more is usually better for a consistent finish.
A thin layer can dry out too quickly or leave “brush strokes” in the final etch.
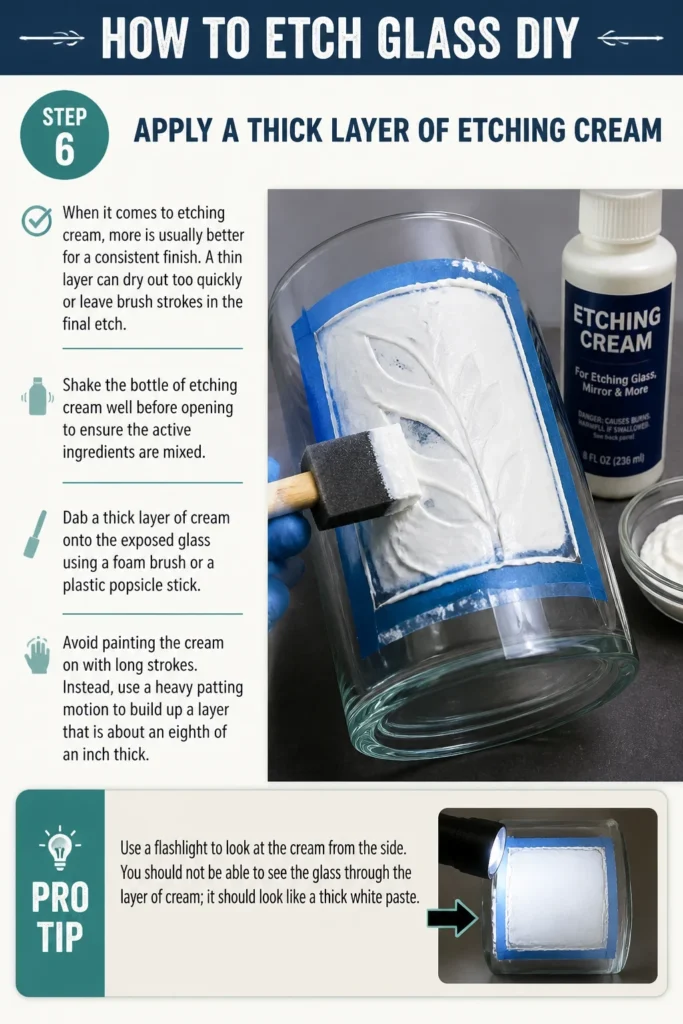
Shake the bottle of etching cream well before opening to ensure the active ingredients are mixed.
Dab a thick layer of cream onto the exposed glass using a foam brush or a plastic popsicle stick.
Avoid “painting” the cream on with long strokes.
Instead, use a heavy patting motion to build up a layer that is about an eighth of an inch thick.
Pro Tip: Use a flashlight to look at the cream from the side. You should not be able to see the glass through the layer of cream; it should look like a thick white paste.
Step 7: Let the Cream React
The chemical reaction needs time to bite into the glass, but leaving it on too long can actually damage the stencil.
Most manufacturers recommend a specific time, usually between two and five minutes.
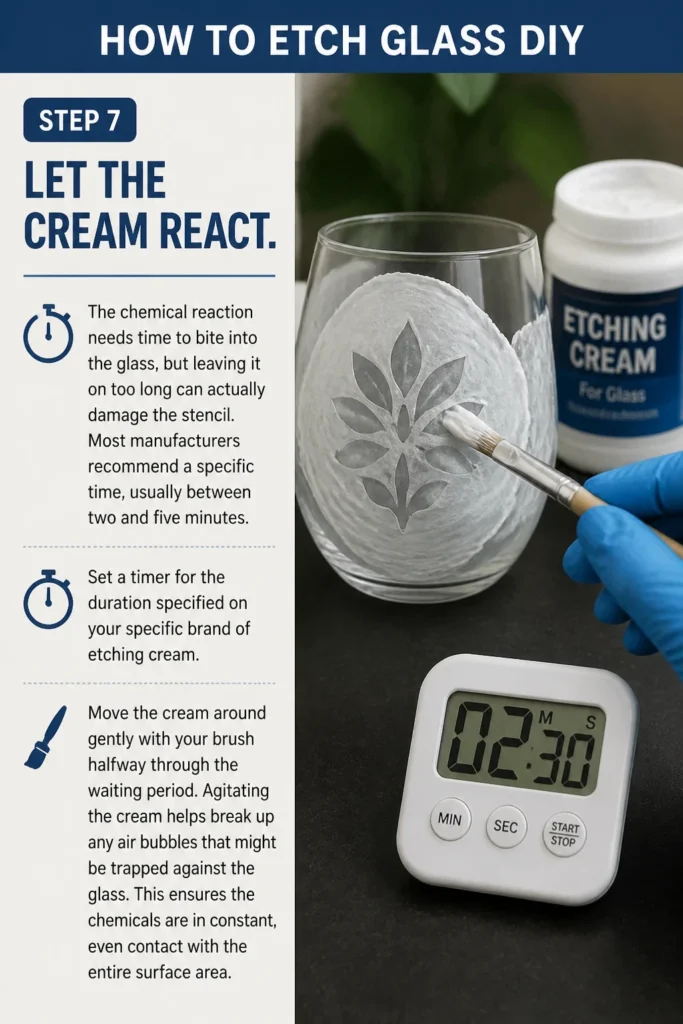
Set a timer for the duration specified on your specific brand of etching cream.
Move the cream around gently with your brush halfway through the waiting period.
Agitating the cream helps break up any air bubbles that might be trapped against the glass.
This ensures the chemicals are in constant, even contact with the entire surface area.
Step 8: Rinse the Cream Away
Once the timer goes off, you must stop the chemical reaction immediately.
This step requires caution to ensure the rinse water doesn’t carry cream to unmasked parts of the glass.
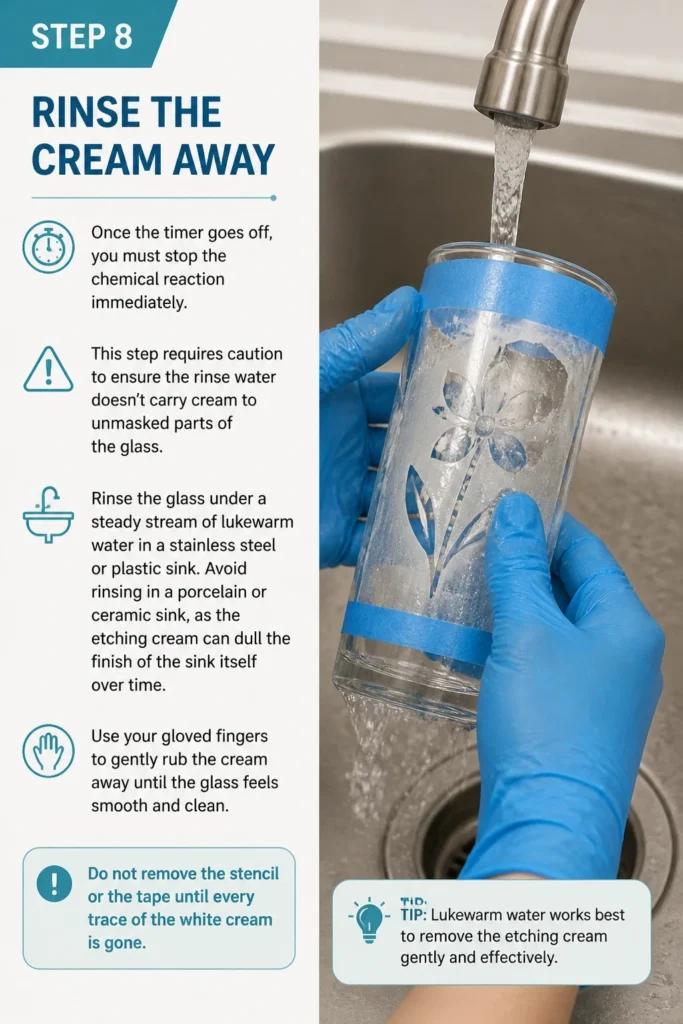
Rinse the glass under a steady stream of lukewarm water in a stainless steel or plastic sink.
Avoid rinsing in a porcelain or ceramic sink, as the etching cream can dull the finish of the sink itself over time.
Use your gloved fingers to gently rub the cream away until the glass feels smooth and clean.
Do not remove the stencil or the tape until every trace of the white cream is gone.
Step 9: Remove the Stencil and Dry
Now comes the most satisfying part of the project.
The glass will look clear while it is wet, but the frosted design will appear as it dries.
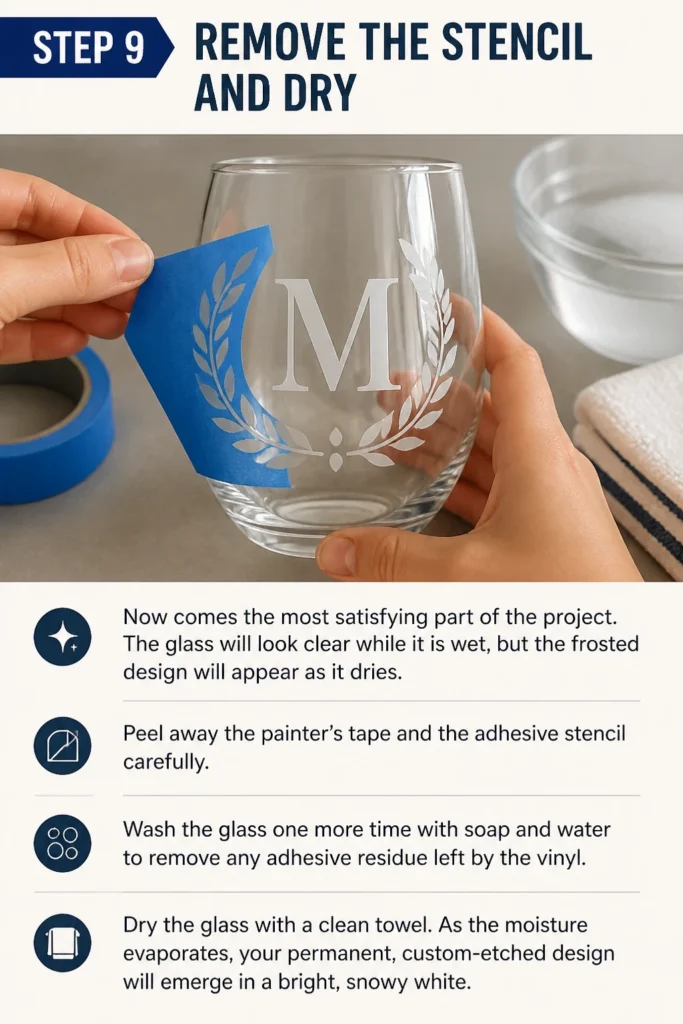
Peel away the painter’s tape and the adhesive stencil carefully.
Wash the glass one more time with soap and water to remove any adhesive residue left by the vinyl.
Dry the glass with a clean towel.
As the moisture evaporates, your permanent, custom-etched design will emerge in a bright, snowy white.
Common Mistakes to Avoid
Using the Wrong Type of Glass
Not all glass is created equal when it comes to chemical etching.
Some types of glass, particularly highly tempered glass or certain brands of borosilicate ovenware, are resistant to the acid in etching cream.
If you try to etch these items, the cream may sit for ten minutes and leave no mark at all, or it may result in a very faint, blotchy texture.
Always test a small, inconspicuous area on the bottom of the glass before committing to a large design.
Applying the Cream Too Thinly
Many beginners treat etching cream like paint and try to spread it out to save material.
When the cream is applied in a thin layer, the chemicals can’t work uniformly across the surface.
This results in visible brush marks or “streaking” where some parts of the glass are etched more deeply than others.
The cream should be applied in a thick, “globby” fashion to ensure the entire design is submerged in the active ingredients.
Ignoring Air Bubbles in the Stencil
An air bubble at the edge of your stencil is an invitation for the etching cream to migrate.
Because the cream is a thick paste, it can get squeezed under the vinyl if the bond isn’t perfect.
Once the cream gets under the stencil, it creates “spidering” or fuzzy edges that cannot be removed.
Spend extra time pressing down the edges of your stencil with a firm tool to ensure a liquid-tight seal.
Troubleshooting
The Etching Looks Splotchy or Uneven
Splotchiness is usually caused by oils on the glass or failure to agitate the cream during the process.
If you encounter this, it means the cream didn’t have equal access to all parts of the glass.
To fix this on future projects, ensure you use a 90 percent isopropyl alcohol wipe before applying the stencil.
Additionally, remember to stir the cream around on the glass with your brush every minute or so to keep the chemicals active.
The Design is Too Faint to See
If your etch is barely visible, the cream may not have been left on long enough or the temperature was too cold.
Chemical reactions happen more slowly in cold environments, so try to work in a room that is at least 70 degrees Fahrenheit.
You can also try leaving the cream on for an extra minute beyond the manufacturer’s recommendation.
Just be careful not to leave it so long that the acid begins to eat through the adhesive on your stencil.
Key Takeaways
- Safety first: Always wear gloves and eye protection when handling etching chemicals.
- Preparation is key: Use isopropyl alcohol to remove all fingerprints and oils from the glass surface.
- Seal the edges: Use a burnishing tool to ensure your stencil has no air bubbles or gaps.
- Apply heavily: Layer the etching cream thickly rather than brushing it on like paint.
- Rinse thoroughly: Use a plastic or stainless steel sink to wash away the cream before removing the stencil.
- Permanent results: Remember that glass etching is permanent and cannot be undone once the reaction occurs.
Frequently Asked Questions
Is etched glass food and dishwasher safe?
Yes, chemically etched glass is perfectly safe for food use and can be placed in the dishwasher.
Since the process removes a microscopic layer of the glass itself rather than adding a coating, there is nothing to peel or flake off into your food.
The frosted texture is permanent and will withstand hundreds of dishwasher cycles without losing its detail.
Can I reuse my stencils after etching?
Most adhesive vinyl stencils are intended for one-time use because they tend to stretch or lose their “tack” during removal.
Additionally, the etching cream can weaken the edges of the vinyl, making a second use less crisp.
If you want to create multiple identical items, it is best to cut a fresh stencil for each piece of glass to ensure professional results.
What happens if I get etching cream on my skin?
If you get cream on your skin, you should immediately rinse the area with cool, running water for at least 15 minutes.
Etching cream contains acid that can cause irritation or chemical burns if left in contact with the skin.
If you experience persistent burning or redness after rinsing, seek medical attention and bring the product container with you.
Can I etch mirrors with this method?
Mirror etching is a popular project and follows the exact same steps as glassware.
You are etching the front surface of the glass, which creates a beautiful contrast against the reflective backing.
Just be careful not to get any cream on the back of the mirror, as it can eat through the silvering and ruin the reflective quality.
Our Top Recommended Finds
- Armour Etch Cream: This is the industry standard for DIY glass etching and provides a consistent, professional-grade frost.
- Oracal 651 Adhesive Vinyl: This vinyl has a strong enough adhesive to prevent bleeds while remaining easy to remove after the project.
- Precision Burnishing Tool: A dedicated felt-tipped squeegee or plastic burnisher helps you seal stencil edges without scratching the glass.
Expanding Your Glass Crafting Skills
Now that you have mastered the basics of chemical etching, you can experiment with more complex designs.
Consider trying “reverse etching,” where you mask the design and etch the background to create a striking negative-space effect.
You can also explore using etching cream on larger projects like glass pantry doors or bathroom windows for added privacy.
The skills you learned today provide a foundation for endless home decor and gift-giving possibilities.
Pick up a plain glass jar or a simple tumbler today and try your first design.
The more you practice, the more confident you will become in creating intricate, permanent works of art.