How To Do Tie Dye
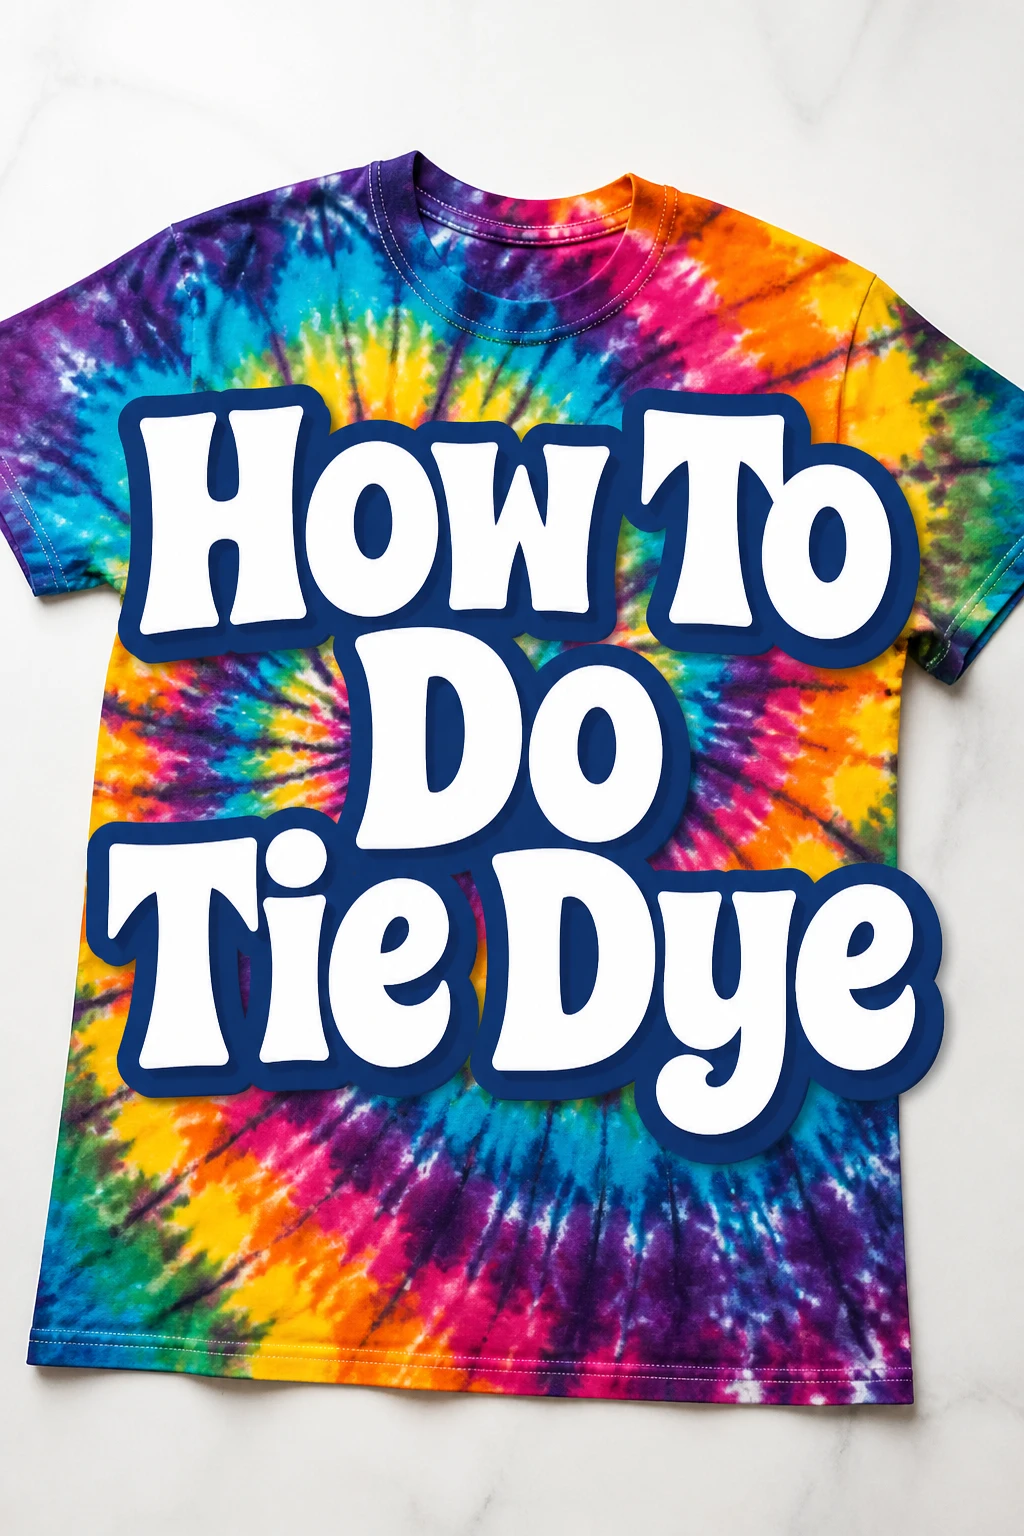
There’s something uniquely satisfying about transforming a plain white shirt into a vibrant, wearable piece of art.
I’ve spent countless afternoons folding, twisting, and dyeing fabric, creating everything from simple spirals to intricate mandalas.
This guide distills years of hands-on experience into clear, practical steps, ensuring your tie-dye project is a colorful success.
Quick Overview
You’re about to embark on a creative journey, turning ordinary fabric into a personalized masterpiece. This process is beginner-friendly and incredibly rewarding.
- Time needed: 4-6 hours (active dyeing time: 1-2 hours)
- Difficulty: Beginner
- What you’ll need: Fabric, dye kit (dyes, soda ash, rubber bands, gloves), plastic wrap, protective surface, bucket.
Step-by-Step Instructions
Step 1: Gather Your Supplies
Choose your fabric carefully. Natural fibers like cotton, rayon, and hemp absorb dye best, yielding the most vibrant results.
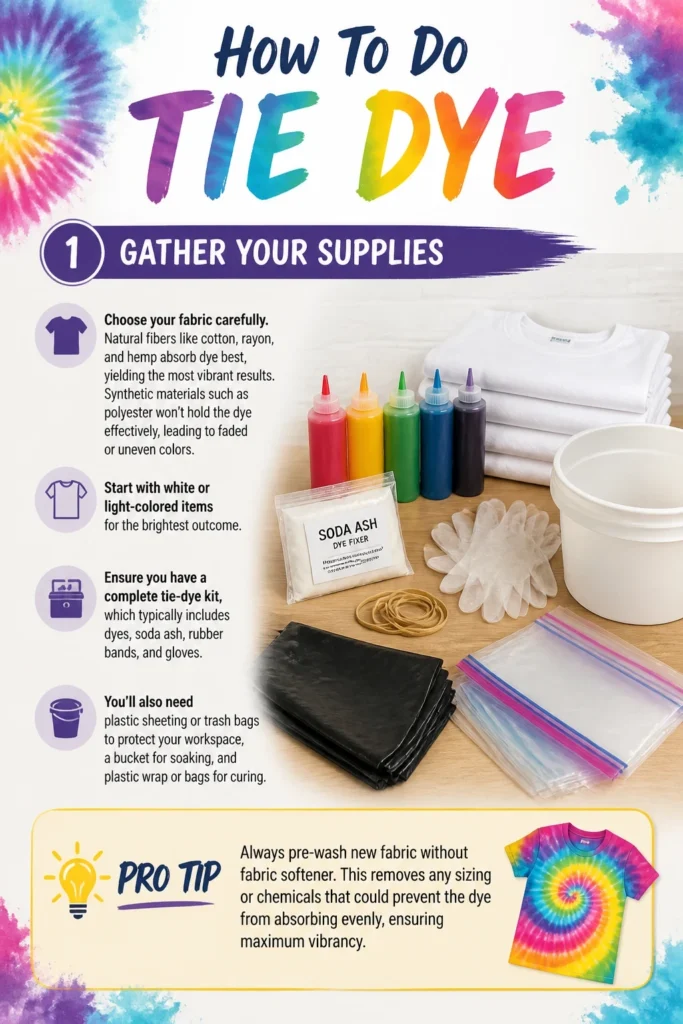
Synthetic materials such as polyester won’t hold the dye effectively, leading to faded or uneven colors. Start with white or light-colored items for the brightest outcome.
Ensure you have a complete tie-dye kit, which typically includes dyes, soda ash, rubber bands, and gloves. You’ll also need plastic sheeting or trash bags to protect your workspace, a bucket for soaking, and plastic wrap or bags for curing.
Pro Tip: Always pre-wash new fabric without fabric softener. This removes any sizing or chemicals that could prevent the dye from absorbing evenly, ensuring maximum vibrancy.
Step 2: Prepare Your Fabric with Soda Ash
Soak your fabric in a soda ash solution. This crucial step raises the pH of the fabric, helping the dye bond permanently to the fibers.
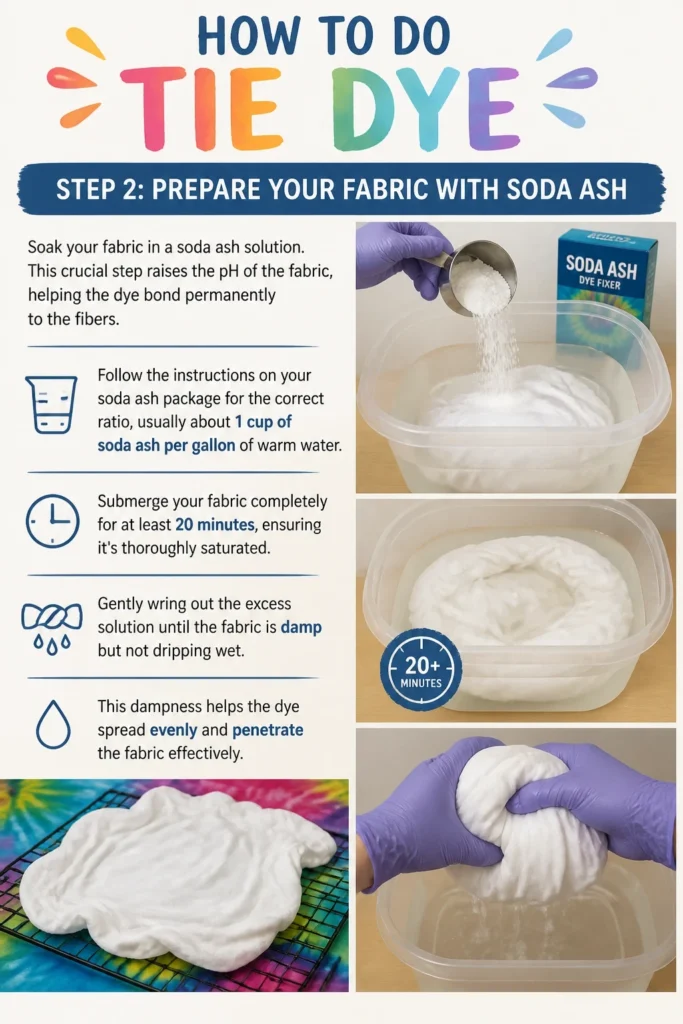
Follow the instructions on your soda ash package for the correct ratio, usually about 1 cup of soda ash per gallon of warm water. Submerge your fabric completely for at least 20 minutes, ensuring it’s thoroughly saturated.
Gently wring out the excess solution until the fabric is damp but not dripping wet. This dampness helps the dye spread evenly and penetrate the fabric effectively.
Step 3: Plan Your Design and Fold Your Fabric
Decide on your desired pattern. Popular choices include spirals, crumbles, bullseyes, and stripes, each offering a distinct visual effect.
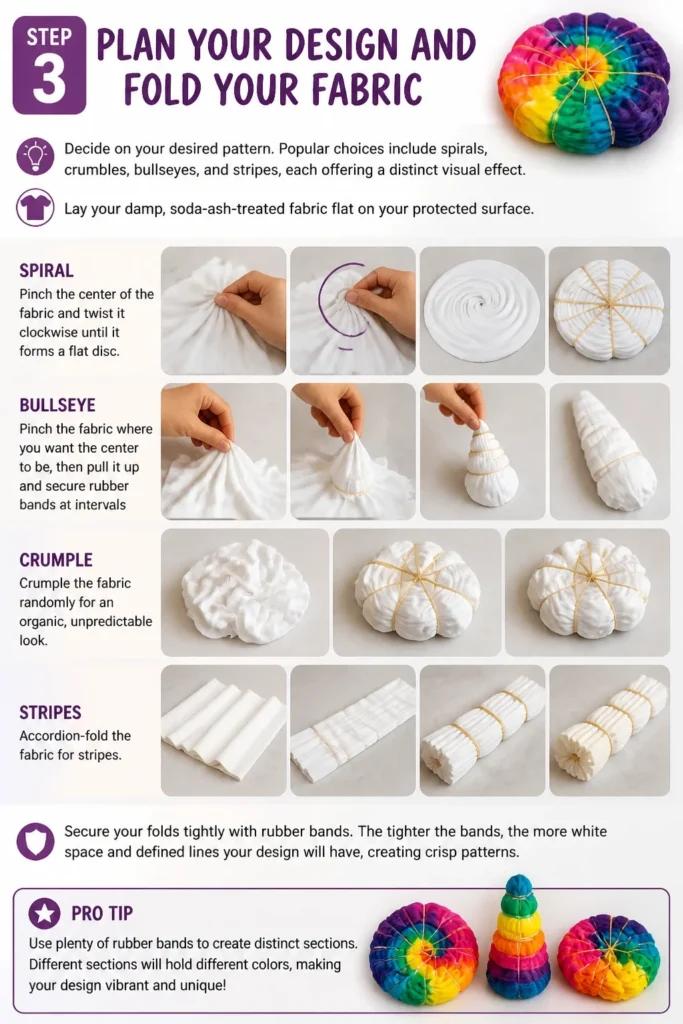
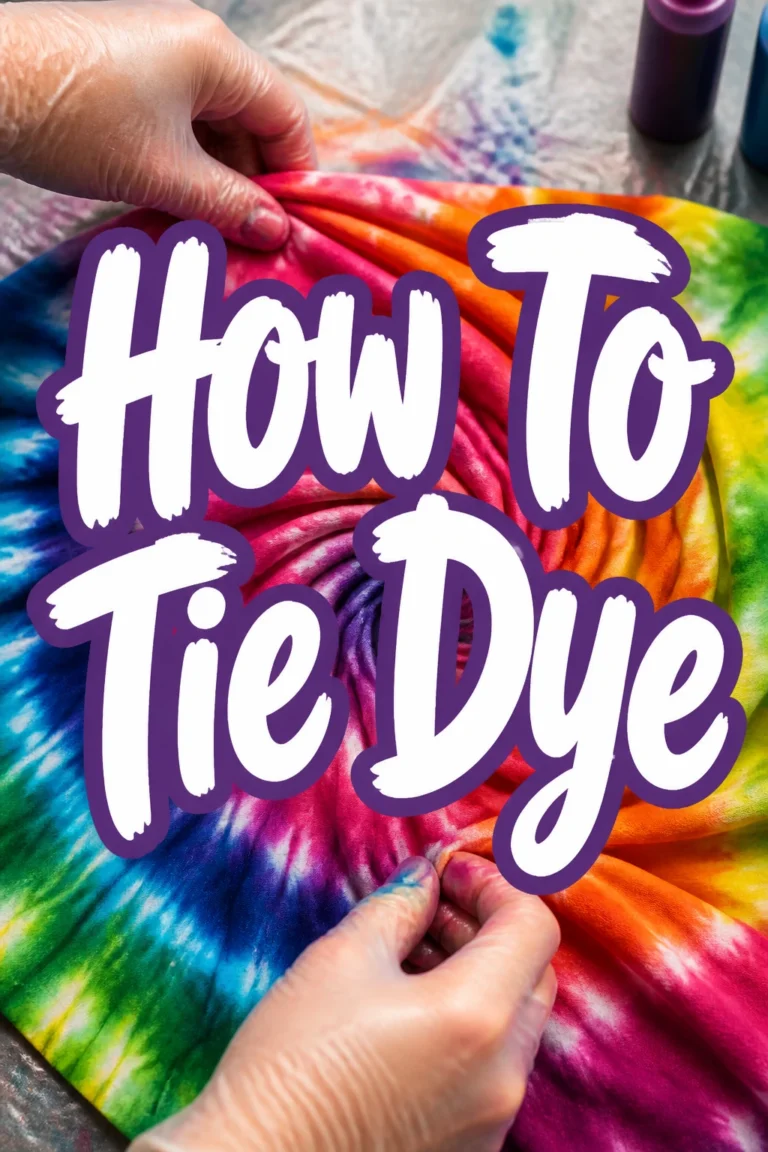
Lay your damp, soda-ash-treated fabric flat on your protected surface. For a classic spiral, pinch the center of the fabric and twist it clockwise until it forms a flat disc.
For a bullseye, pinch the fabric where you want the center to be, then pull it up and secure rubber bands at intervals below the pinch. Crumple the fabric randomly for an organic, unpredictable look, or accordion-fold it for stripes.
Secure your folds tightly with rubber bands. The tighter the bands, the more white space and defined lines your design will have, creating crisp patterns.
Pro Tip: Use plenty of rubber bands to create distinct sections. Different sections will hold different colors, defining your pattern and preventing unwanted color blending.
Step 4: Mix and Apply Your Dyes
Put on your gloves before handling any dyes. Prepare your dyes according to the kit instructions, typically by adding water to powder in squeeze bottles.
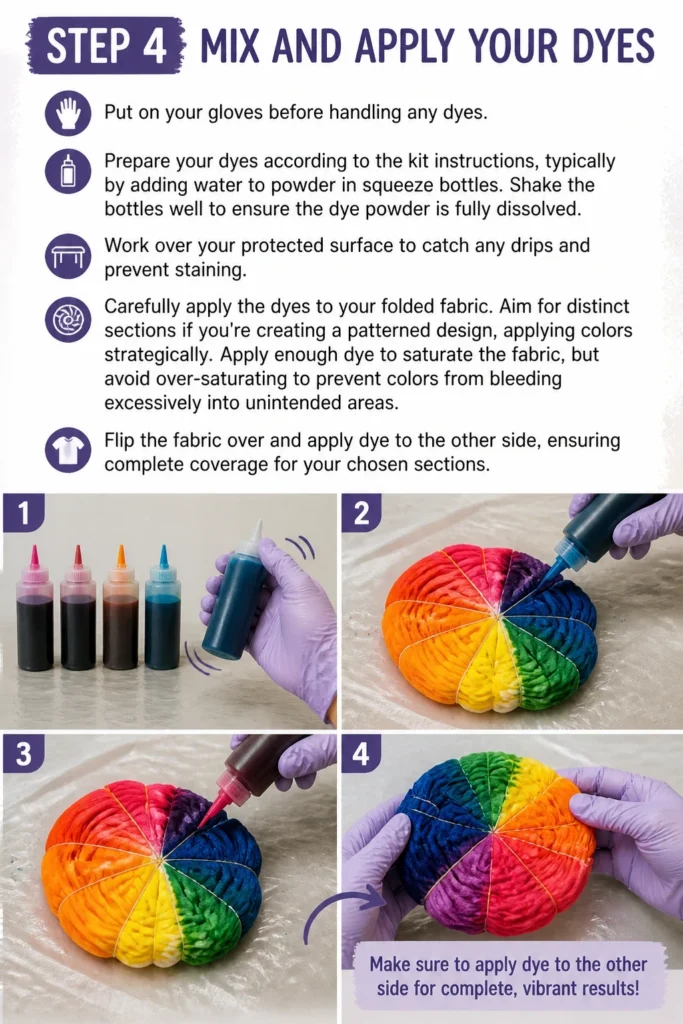
Shake the bottles well to ensure the dye powder is fully dissolved. Work over your protected surface to catch any drips and prevent staining.
Carefully apply the dyes to your folded fabric. Aim for distinct sections if you’re creating a patterned design, applying colors strategically.
Apply enough dye to saturate the fabric, but avoid over-saturating to prevent colors from bleeding excessively into unintended areas. Flip the fabric over and apply dye to the other side, ensuring complete coverage for your chosen sections.
Step 5: Cure the Fabric
Once the dye is applied, carefully place your dyed fabric into a plastic bag or wrap it tightly in plastic wrap. This creates a moist environment that allows the dye to react fully with the soda ash and bond with the fabric fibers.
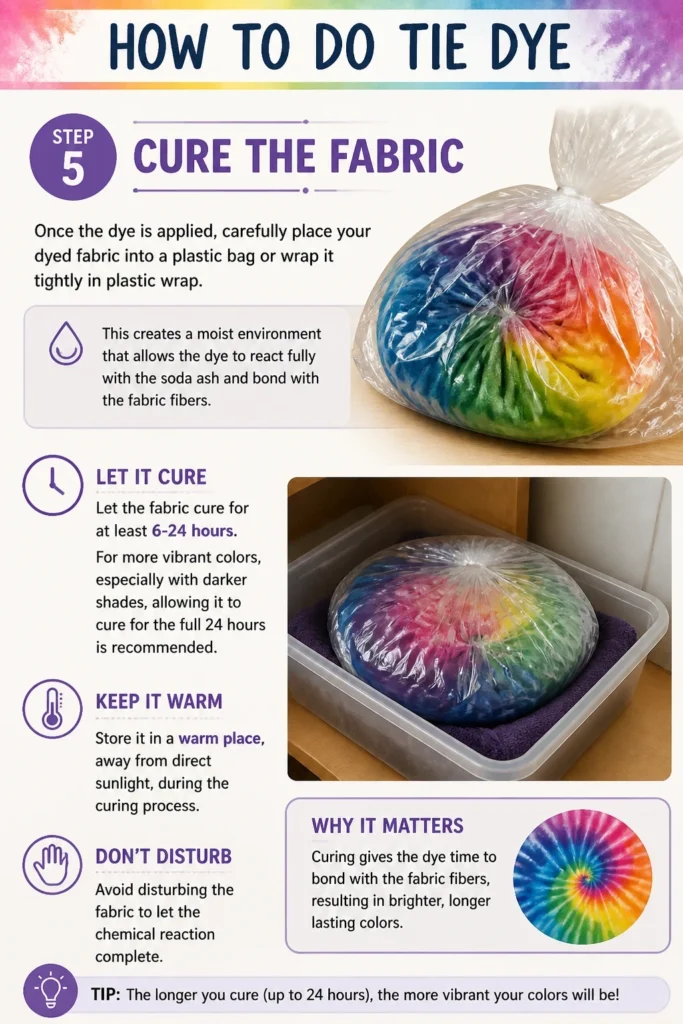
Let the fabric cure for at least 6-24 hours. For more vibrant colors, especially with darker shades, allowing it to cure for the full 24 hours is recommended.
Store it in a warm place, away from direct sunlight, during the curing process. Avoid disturbing the fabric to let the chemical reaction complete.
Step 6: Rinse and Wash Your Creation
After curing, put your gloves back on. Take the fabric to a sink or outdoor spigot and rinse it under cool running water while still bound with rubber bands.
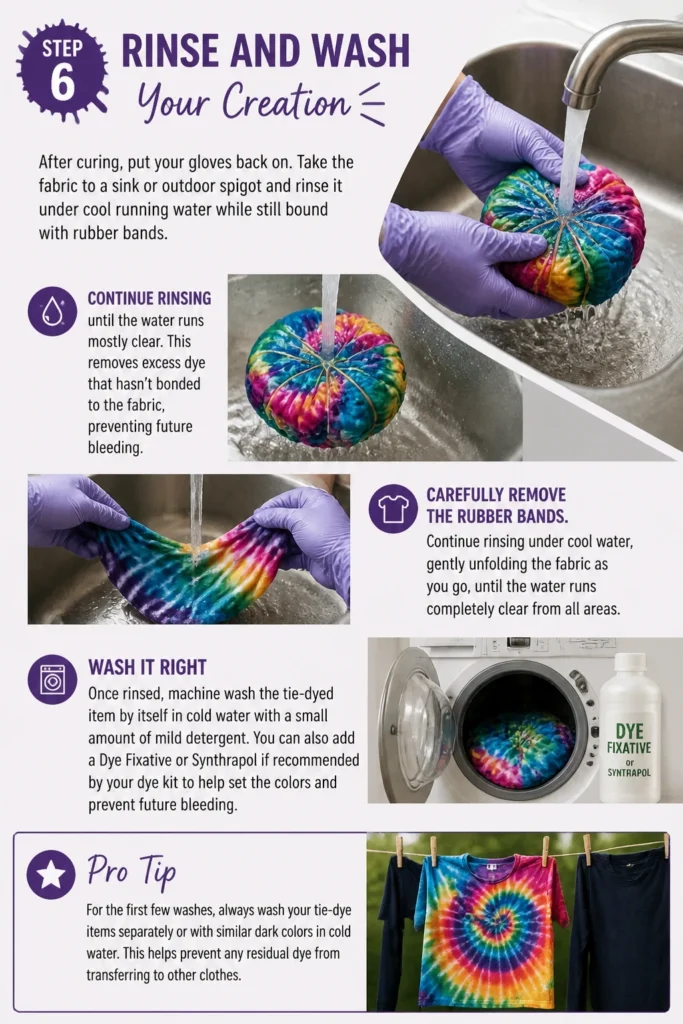
Continue rinsing until the water runs mostly clear. This removes excess dye that hasn’t bonded to the fabric, preventing future bleeding.
Carefully remove the rubber bands. Continue rinsing under cool water, gently unfolding the fabric as you go, until the water runs completely clear from all areas.
Once rinsed, machine wash the tie-dyed item by itself in cold water with a small amount of mild detergent. You can also add a “Dye Fixative” or “Synthrapol” if recommended by your dye kit to help set the colors and prevent future bleeding.
Pro Tip: For the first few washes, always wash your tie-dye items separately or with similar dark colors to prevent any residual dye from staining other garments. This is crucial for maintaining color integrity.
Step 7: Dry and Enjoy
After its initial wash, you can either tumble dry your tie-dyed item on a low setting or hang it to air dry. Air drying can sometimes help preserve colors.
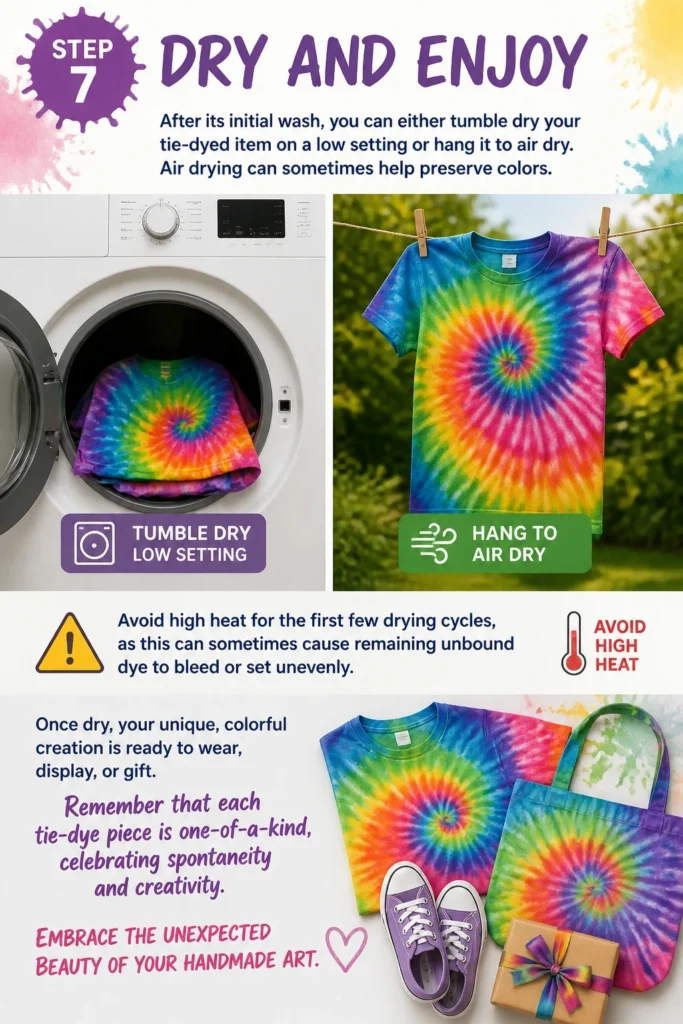
Avoid high heat for the first few drying cycles, as this can sometimes cause remaining unbound dye to bleed or set unevenly. Once dry, your unique, colorful creation is ready to wear, display, or gift.
Remember that each tie-dye piece is one-of-a-kind, celebrating spontaneity and creativity. Embrace the unexpected beauty of your handmade art.
Common Mistakes to Avoid
Skipping the Soda Ash Soak
Many beginners overlook the soda ash step, thinking it’s optional. However, soda ash is a crucial chemical that raises the pH of the fabric, allowing fiber reactive dyes to bond permanently with the fibers.
Without it, your colors will be dull, wash out quickly, and lack vibrancy. Always pre-soak your fabric for at least 20 minutes for the best, most lasting results.
Not Using Enough Dye
A common error is being too conservative with dye application. If you don’t saturate the fabric thoroughly, you’ll end up with large, pale undyed areas, especially in the interior folds.
Ensure you apply enough dye to penetrate all layers of the folded fabric, flipping it over to dye both sides evenly for a strong, consistent color throughout your design.
Rinsing Too Soon or with Hot Water
Impatience can lead to faded designs. Rinsing before the dye has fully cured (at least 6-24 hours) means the dye hasn’t had enough time to bond with the fabric fibers, causing it to wash away prematurely.
Additionally, rinsing with hot water initially can cause more dye to bleed out prematurely, leading to a muddied appearance. Always rinse with cool water until clear to properly remove unbound dye.
Washing with Other Clothes
Even after a thorough initial rinse, tie-dye items can release small amounts of residual dye during their first few washes. Washing them with other garments can lead to unwanted stains on your other clothing.
Always wash new tie-dye pieces separately or with similar dark colors for their first few cycles to prevent any dye transfer and keep your other laundry safe.
Troubleshooting
Colors Are Dull or Faded
If your colors aren’t as vibrant as you hoped, the issue often relates to the soda ash soak. Make sure your fabric was properly saturated in the soda ash solution for the recommended time, as this is key for dye activation.
Another factor could be insufficient curing time; allowing the dye to sit on the fabric for the full 24 hours often yields deeper, richer hues. Also, verify your dye isn’t expired or improperly mixed.
Colors Bled Together and Muddled
Excessive bleeding usually happens if the fabric was too wet when dye was applied, or if too much dye was used, causing it to pool and spread uncontrollably. Ensure your fabric is damp, not dripping.
It can also occur if the fabric wasn’t rinsed thoroughly enough before the initial wash. Rinse under cool water until it runs completely clear before washing to remove all unbound dye.
Large Undyed Areas Appear
This often indicates that the dye didn’t penetrate all layers of the folded fabric. When applying dye, make sure to saturate all sections, especially if your folds are very tight or intricate.
Sometimes, very tight rubber bands can also create impenetrable barriers. While tightness is good for creating white spaces, ensure dye can still reach the areas you intend to color for a complete pattern.
Key Takeaways
- Preparation is paramount: Always pre-wash fabric and soak it in soda ash for vibrant, lasting colors.
- Fold with intention: Your folding technique directly dictates the final pattern, so plan your design carefully and secure it tightly.
- Saturate thoroughly: Apply enough dye to penetrate all layers of the fabric for full, rich color coverage, avoiding pale spots.
- Curing is critical: Allow adequate time (6-24 hours) for the dye to bond with the fabric fibers before rinsing for maximum vibrancy.
- Rinse until clear: Thorough rinsing removes unbound dye, preventing muddiness and ensuring clean, crisp designs.
- Wash separately initially: Protect other garments by washing new tie-dye items on their own for the first few cycles to prevent dye transfer.
Frequently Asked Questions
Can I tie-dye synthetic fabrics?
Tie-dye works best on natural fibers like cotton, rayon, and hemp because these materials have cellulose fibers that readily absorb fiber-reactive dyes. Synthetic fabrics such as polyester or nylon generally do not hold these types of dyes well, resulting in very pale, if any, color that washes out quickly.
How do I prevent colors from bleeding into each other?
To minimize bleeding, ensure your fabric is damp, not soaking wet, when applying dye. Use distinct sections for different colors and avoid over-saturating. Most importantly, rinse thoroughly with cool water until the water runs clear before the initial wash, as this removes all excess, unbound dye.
What if my dye kit doesn’t include soda ash?
If your kit lacks soda ash, you can often purchase it separately from craft stores or online. It’s a vital component for fiber-reactive dyes to bond permanently with fabric. Alternatively, some all-in-one dyes might have it pre-mixed, so always check the product instructions carefully.
Can I use food coloring for tie-dye?
While food coloring can temporarily stain some natural fibers, it is not designed to be permanent. It will fade significantly or wash out completely after just a few washes. For lasting, vibrant tie-dye, always use dyes specifically formulated for fabric, as these are engineered for durability.
Our Top Recommended Finds
- Pro-Grade Fiber Reactive Dye Kit: These kits offer concentrated, vibrant dyes that are easy to mix and produce professional-quality results on natural fabrics, ensuring your creations truly pop.
- Bulk Cotton T-Shirts: Starting with a multipack of plain white cotton tees provides a perfect, affordable canvas for practicing different techniques and creating multiple projects without worry.
- Plastic Drop Cloths/Sheeting: Essential for protecting your workspace from inevitable dye spills and splashes, making cleanup much easier and preventing permanent stains on your surfaces.
Unleash Your Inner Artist
You now possess the knowledge to transform plain fabric into extraordinary, personalized art. Tie-dye is more than just a craft; it’s an expression of creativity and a joyful journey into color.
Experiment with different folding techniques, explore new color combinations, and try various fabric types. Each project offers a chance to learn and refine your skills, building your artistic confidence.
Don’t hesitate—grab your supplies and start your first tie-dye adventure today. The world is waiting for your unique splash of color and your personal touch.