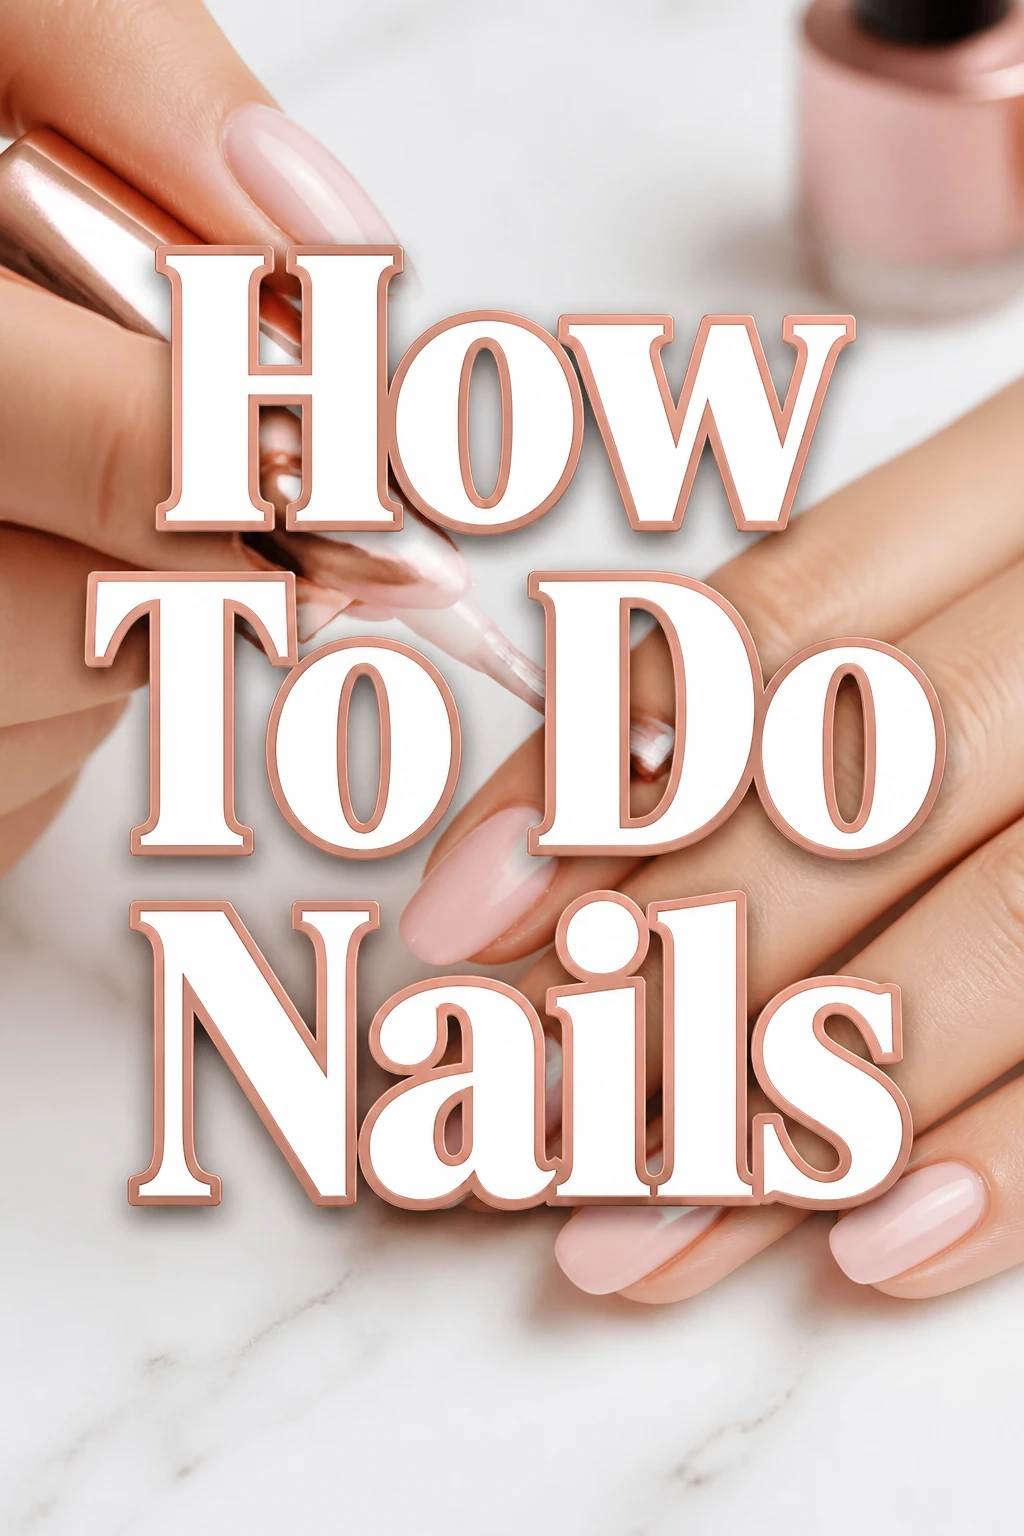
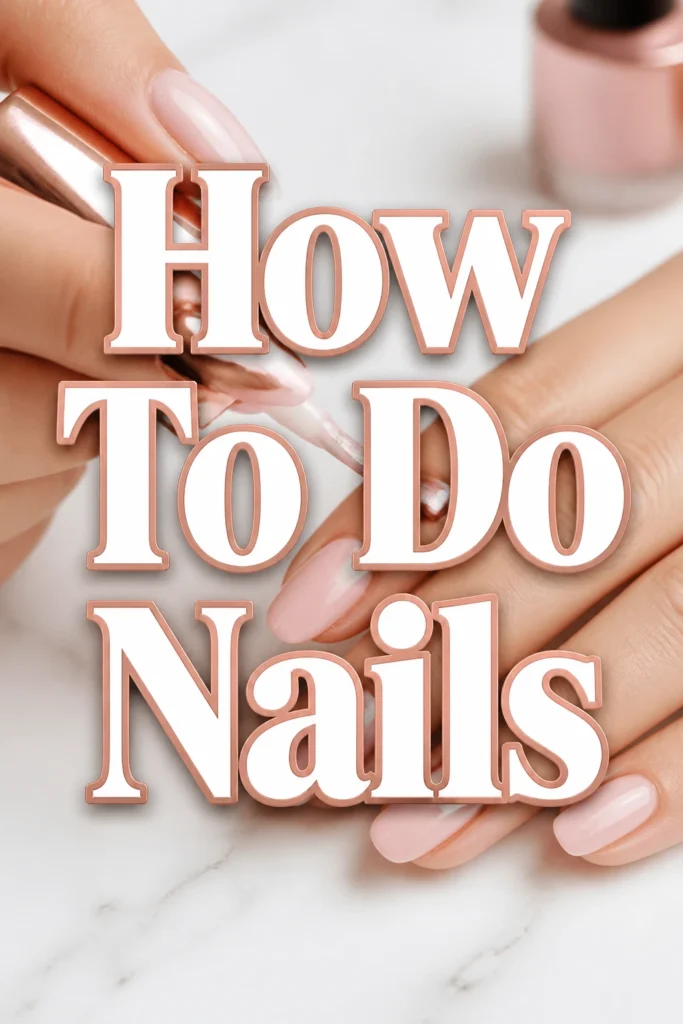
How To Do Nails
I remember my first attempts at an at-home manicure, a wobbly, smudged affair that left more polish on my skin than my nails.
Over the years, I’ve refined my technique, learning the secrets to achieving salon-worthy results right from my living room.
This guide distills all that practical learning, offering a straightforward, step-by-step approach you can trust to master your manicure.
Quick Overview
Transforming your nails from dull to dazzling is a rewarding process that’s easier than you might think. This guide will walk you through every stage, ensuring you achieve a beautiful, long-lasting finish.
- Time needed: 60-90 minutes (including drying time)
- Difficulty: Beginner
- What you’ll need: Nail file, clippers, buffer, cuticle pusher, nail polish remover, cotton pads, base coat, color polish, top coat, cuticle oil.
Step-by-Step Instructions
Step 1: Prepare Your Workspace and Gather Tools
A clean, organized space is the foundation of a successful manicure. Lay out all your tools and products before you begin.
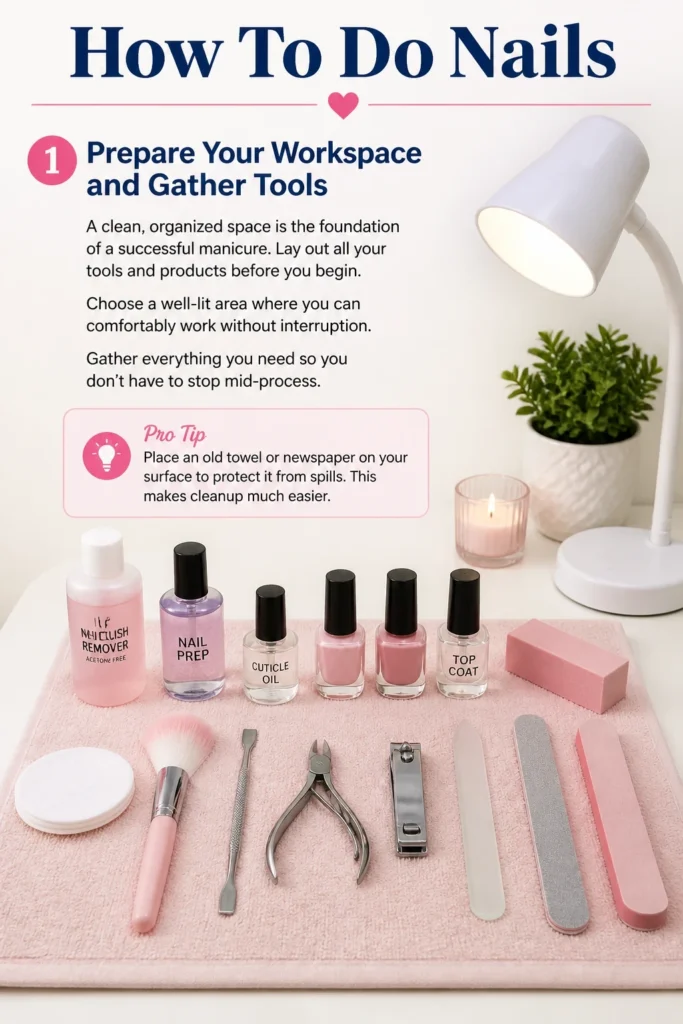
Choose a well-lit area where you can comfortably work without interruption. Gather everything you need so you don’t have to stop mid-process.
Pro Tip: Place an old towel or newspaper on your surface to protect it from spills. This makes cleanup much easier.
Step 2: Remove Old Polish and Trim Nails
Start with a clean slate for the best results. Completely remove any old polish, even clear coats.
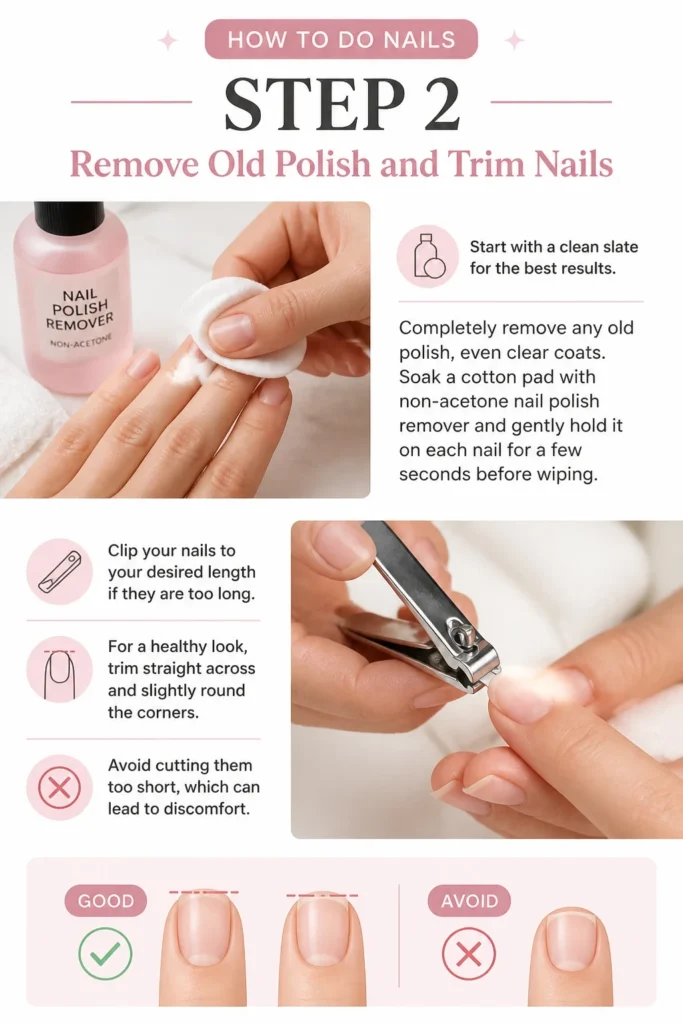
Soak a cotton pad with non-acetone nail polish remover and gently hold it on each nail for a few seconds before wiping. Clip your nails to your desired length if they are too long.
For a healthy look, trim straight across and slightly round the corners. Avoid cutting them too short, which can lead to discomfort.
Step 3: Shape and File Your Nails
Achieving a consistent shape makes a huge difference in the final look. Decide on your preferred nail shape, whether it’s square, oval, almond, or round.
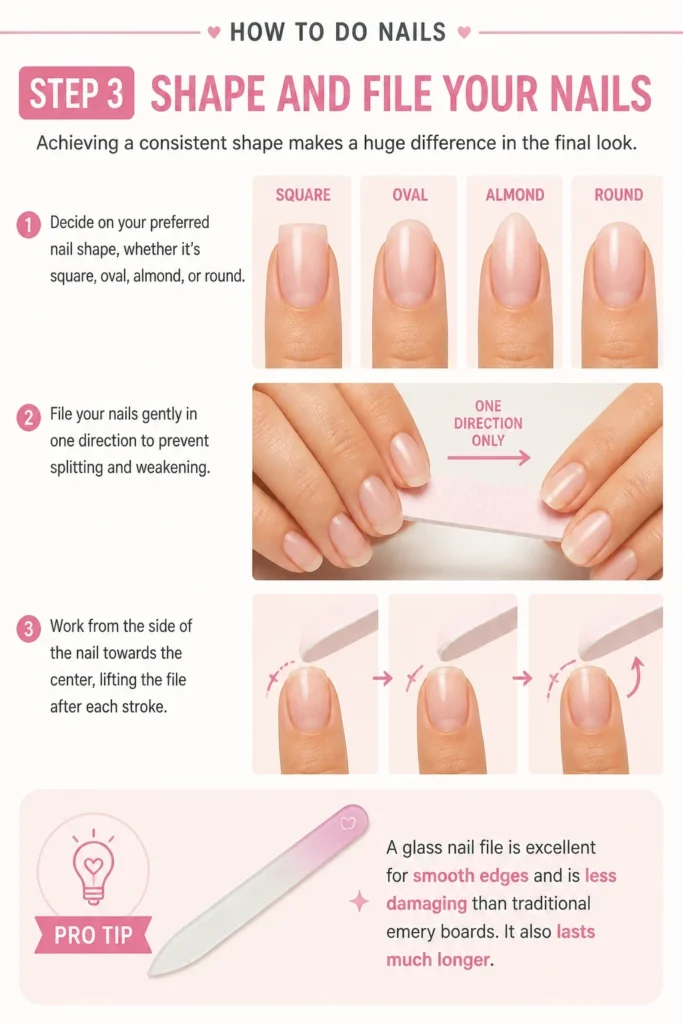
File your nails gently in one direction to prevent splitting and weakening. Work from the side of the nail towards the center, lifting the file after each stroke.
Pro Tip: A glass nail file is excellent for smooth edges and is less damaging than traditional emery boards. It also lasts much longer.
Step 4: Gently Push Back Cuticles
Healthy cuticles are essential for nail health and a clean manicure. Never cut your cuticles, as this can lead to infection and damage.
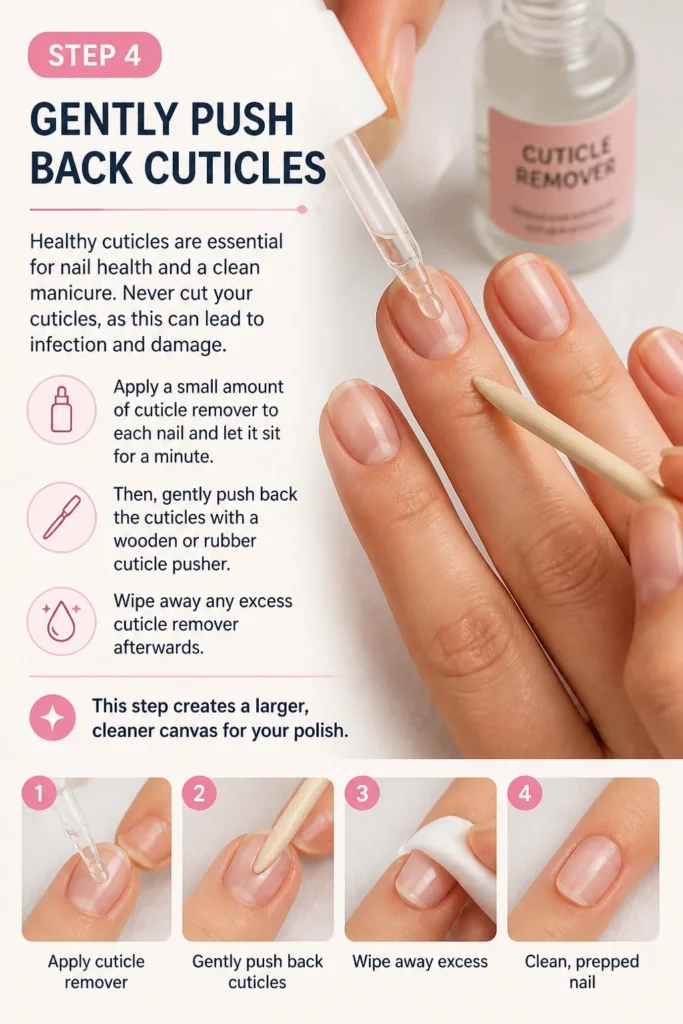
Apply a small amount of cuticle remover to each nail and let it sit for a minute. Then, gently push back the cuticles with a wooden or rubber cuticle pusher.
Wipe away any excess cuticle remover afterwards. This step creates a larger, cleaner canvas for your polish.
Step 5: Buff for a Smooth Surface
Buffing helps create an even surface for polish adhesion and can add a natural shine. This step is optional but highly recommended for a professional finish.
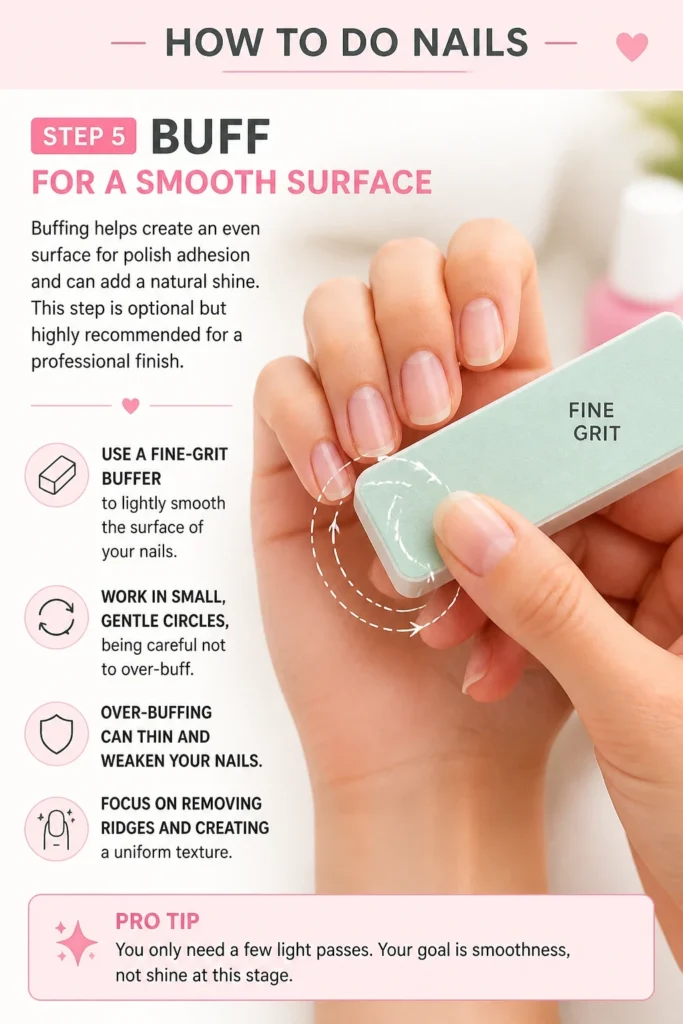
Use a fine-grit buffer to lightly smooth the surface of your nails. Work in small, gentle circles, being careful not to over-buff.
Over-buffing can thin and weaken your nails. Focus on removing ridges and creating a uniform texture.
Step 6: Cleanse and Dehydrate Nails
This crucial step removes any oils, dust, or residue that could prevent your polish from adhering properly. Skipping this can lead to premature chipping.
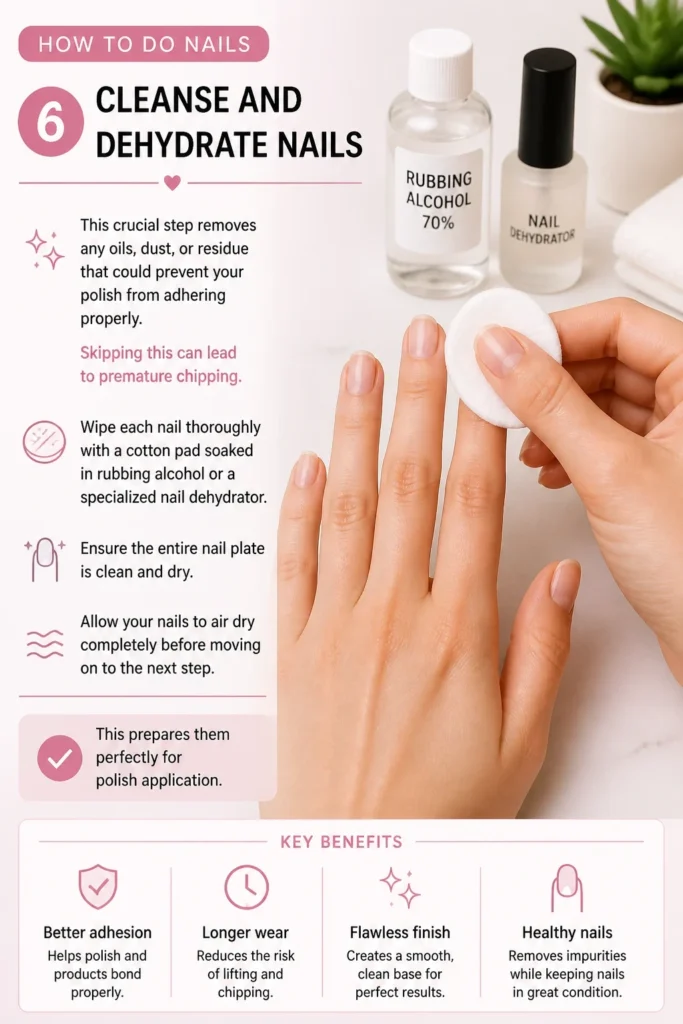
Wipe each nail thoroughly with a cotton pad soaked in rubbing alcohol or a specialized nail dehydrator. Ensure the entire nail plate is clean and dry.
Allow your nails to air dry completely before moving on to the next step. This prepares them perfectly for polish application.
Step 7: Apply Base Coat
A good base coat is non-negotiable for a lasting manicure. It acts as a protective layer, preventing polish from staining your nails and helping the color adhere better.
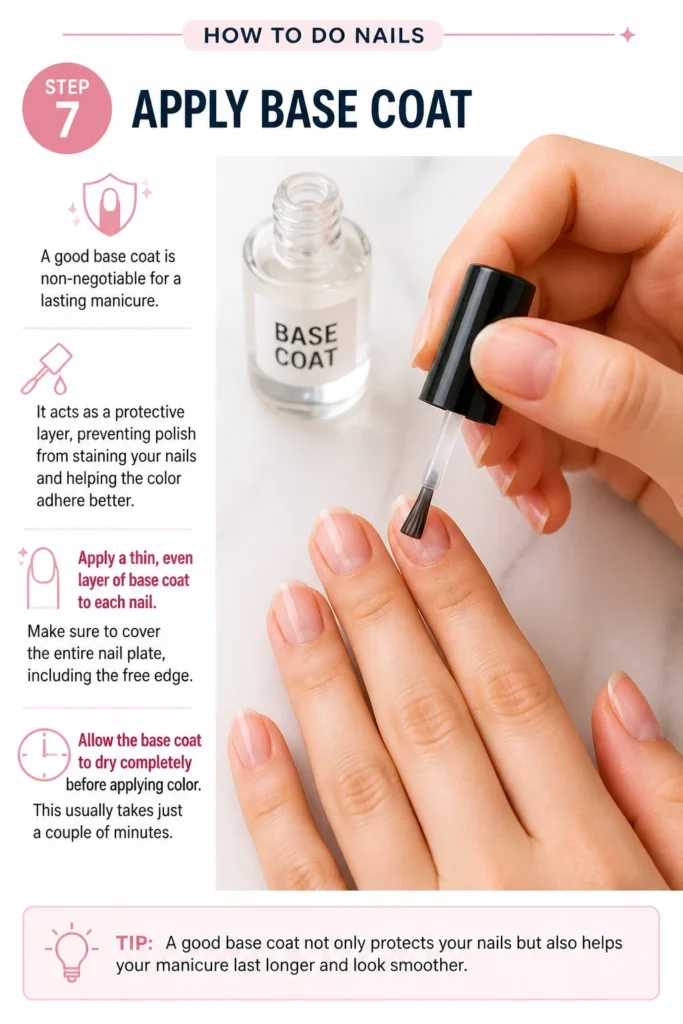
Apply a thin, even layer of base coat to each nail. Make sure to cover the entire nail plate, including the free edge.
Allow the base coat to dry completely before applying color. This usually takes just a couple of minutes.
Step 8: Paint with Color Polish
Now comes the fun part – adding your chosen color! Patience and thin layers are key to a smooth, even application.
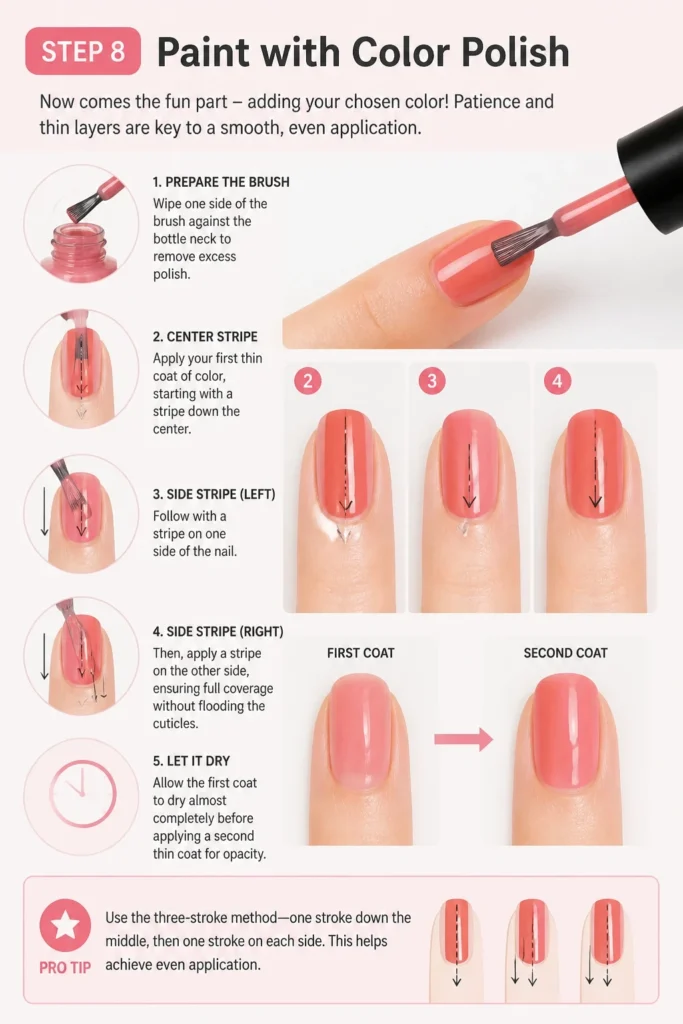
Wipe one side of the brush against the bottle neck to remove excess polish. Apply your first thin coat of color, starting with a stripe down the center.
Follow with a stripe on each side, ensuring full coverage without flooding the cuticles. Allow the first coat to dry almost completely before applying a second thin coat for opacity.
Pro Tip: Use the “three-stroke method”: one stroke down the middle, then one stroke on each side. This helps achieve even application.
Step 9: Seal with Top Coat
The top coat is your manicure’s bodyguard, providing shine, protection, and extending its wear time. It’s the final layer that seals everything in.
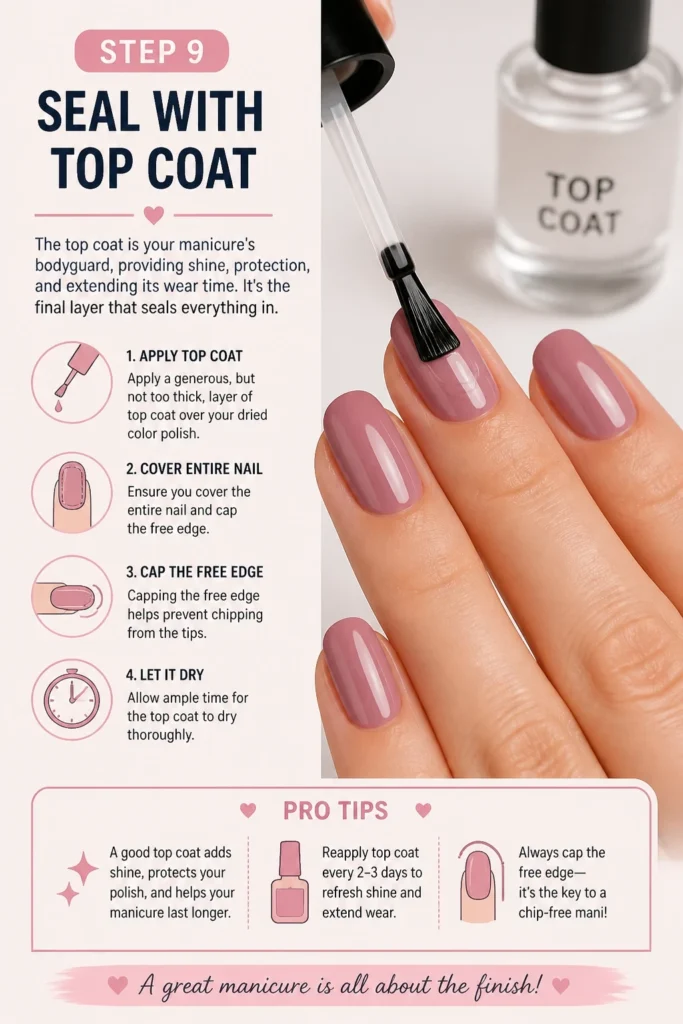
Apply a generous, but not too thick, layer of top coat over your dried color polish. Ensure you cover the entire nail and “cap” the free edge.
Capping the free edge helps prevent chipping from the tips. Allow ample time for the top coat to dry thoroughly.
Step 10: Finish with Hydration
Once your polish is dry to the touch, it’s time to nourish your nails and cuticles. This step completes your manicure, leaving your hands looking healthy and polished.
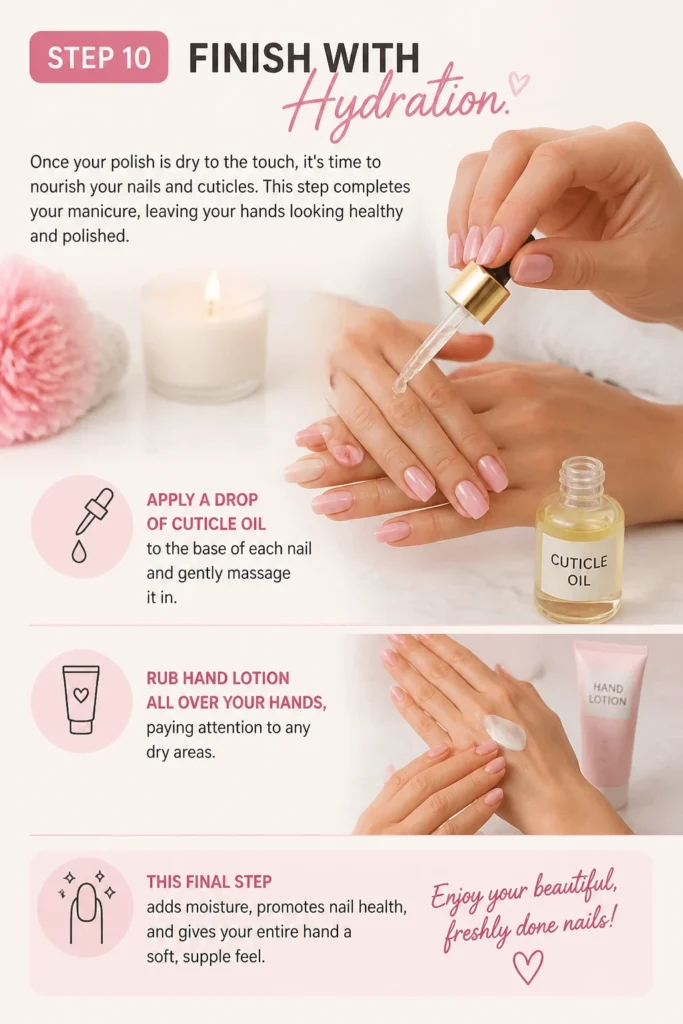
Apply a drop of cuticle oil to the base of each nail and gently massage it in. Rub hand lotion all over your hands, paying attention to any dry areas.
This final step adds moisture, promotes nail health, and gives your entire hand a soft, supple feel. Enjoy your beautiful, freshly done nails!
Common Mistakes to Avoid
Cutting Cuticles
Cutting your cuticles can seem like a quick way to clean up your nail beds, but it’s a major no-no. Cuticles protect your nails from bacteria and infection.
Removing them leaves your nail matrix vulnerable. Instead, always gently push them back after softening them with cuticle remover.
Applying Thick Coats of Polish
It’s tempting to apply one thick coat of polish to save time, but this often leads to a messy, uneven finish. Thick coats take much longer to dry.
They are also more prone to smudging, bubbling, and chipping. Always apply two or three thin, even coats, allowing each to dry slightly in between.
Skipping Base and Top Coat
Some people skip these steps to speed up the process, but they are essential for a long-lasting and healthy manicure. The base coat protects your nails from staining and helps polish adhere.
The top coat adds shine, prevents chipping, and extends wear. Think of them as the primer and sealant for your nail art.
Shaking the Polish Bottle
When your polish separates, it’s natural to want to shake it vigorously. However, shaking introduces tiny air bubbles into the polish.
These bubbles will transfer to your nails, creating an uneven, bumpy finish. Instead, gently roll the bottle between your palms to mix the contents without creating bubbles.
Troubleshooting
Polish Smudges Easily
If your polish is smudging even after waiting, it likely means you haven’t allowed enough drying time between coats or for the final top coat. Thicker coats are also a common culprit.
Ensure each layer is thin and given adequate time to dry before applying the next. Consider using a quick-dry top coat or a drying spray to speed up the process, but still be gentle with your hands for at least an hour after finishing.
Polish Chips Quickly
Premature chipping is frustrating, but often preventable. It can be due to inadequate nail preparation, like not dehydrating the nail plate, or skipping the base and top coats.
Always ensure your nails are clean and oil-free before applying base coat. Don’t forget to “cap” the free edge of your nail with both the base coat, color, and top coat to seal it against daily wear and tear.
Bubbles Appear in Polish
Those tiny bubbles can ruin an otherwise perfect manicure. The most common cause is shaking your polish bottle too vigorously, introducing air.
Always roll the polish bottle gently between your palms instead of shaking it. Also, applying polish in very thick layers can trap air, so stick to thin, even coats.
Key Takeaways
- Preparation is paramount: Clean, shaped, and buffed nails are the foundation of a great manicure.
- Never cut your cuticles; gently push them back to protect your nail health.
- Always apply thin, even coats of polish, allowing each to dry for a smooth finish.
- Base coat and top coat are non-negotiable for protection, adhesion, and longevity.
- Patience is key: Rushing the drying process leads to smudges and chips.
- Finish with hydration to nourish your cuticles and hands, completing your nail care routine.
Frequently Asked Questions
How long does a home manicure usually last?
A well-executed home manicure, using quality products and following all steps, can typically last anywhere from 5 to 7 days. Factors like your daily activities and nail health play a significant role.
Can I do gel nails at home with regular polish?
No, regular nail polish cannot be cured like gel polish. Gel polish requires a special LED or UV lamp to harden and last. You can achieve a gel-like shine and durability with a good quality gel-effect top coat over regular polish, but it won’t have the same wear time as true gel.
What’s the best way to make my manicure last longer?
To extend your manicure’s life, reapply a thin layer of top coat every two to three days. Wear gloves for household chores like washing dishes, and keep your hands and cuticles moisturized daily with oil and lotion. Avoid using your nails as tools.
Is it bad if I get polish on my skin around the nail?
While it’s ideal to keep polish off the skin, a little spill isn’t harmful. It can, however, make your manicure look less neat and can lift polish from the nail edge, leading to chipping. Clean up any mistakes immediately with a small brush dipped in nail polish remover for a crisp line.
Our Top Recommended Finds
- Glass Nail File: Provides a smooth, sealed edge that prevents splitting better than traditional files.
- Quick-Dry Top Coat: Significantly reduces drying time, minimizing the risk of smudges and dents.
- Cuticle Oil with Dropper: Essential for daily hydration, promoting healthy cuticles and stronger nails.
Your Journey to Perfect Nails Begins Now
Mastering the art of the at-home manicure is a skill that brings both satisfaction and a touch of everyday luxury. With these practical steps, you have everything you need to create beautiful nails.
Don’t be discouraged if your first attempt isn’t flawless; practice truly makes perfect. Grab your tools, pick your favorite color, and start your journey to perfectly polished nails today.