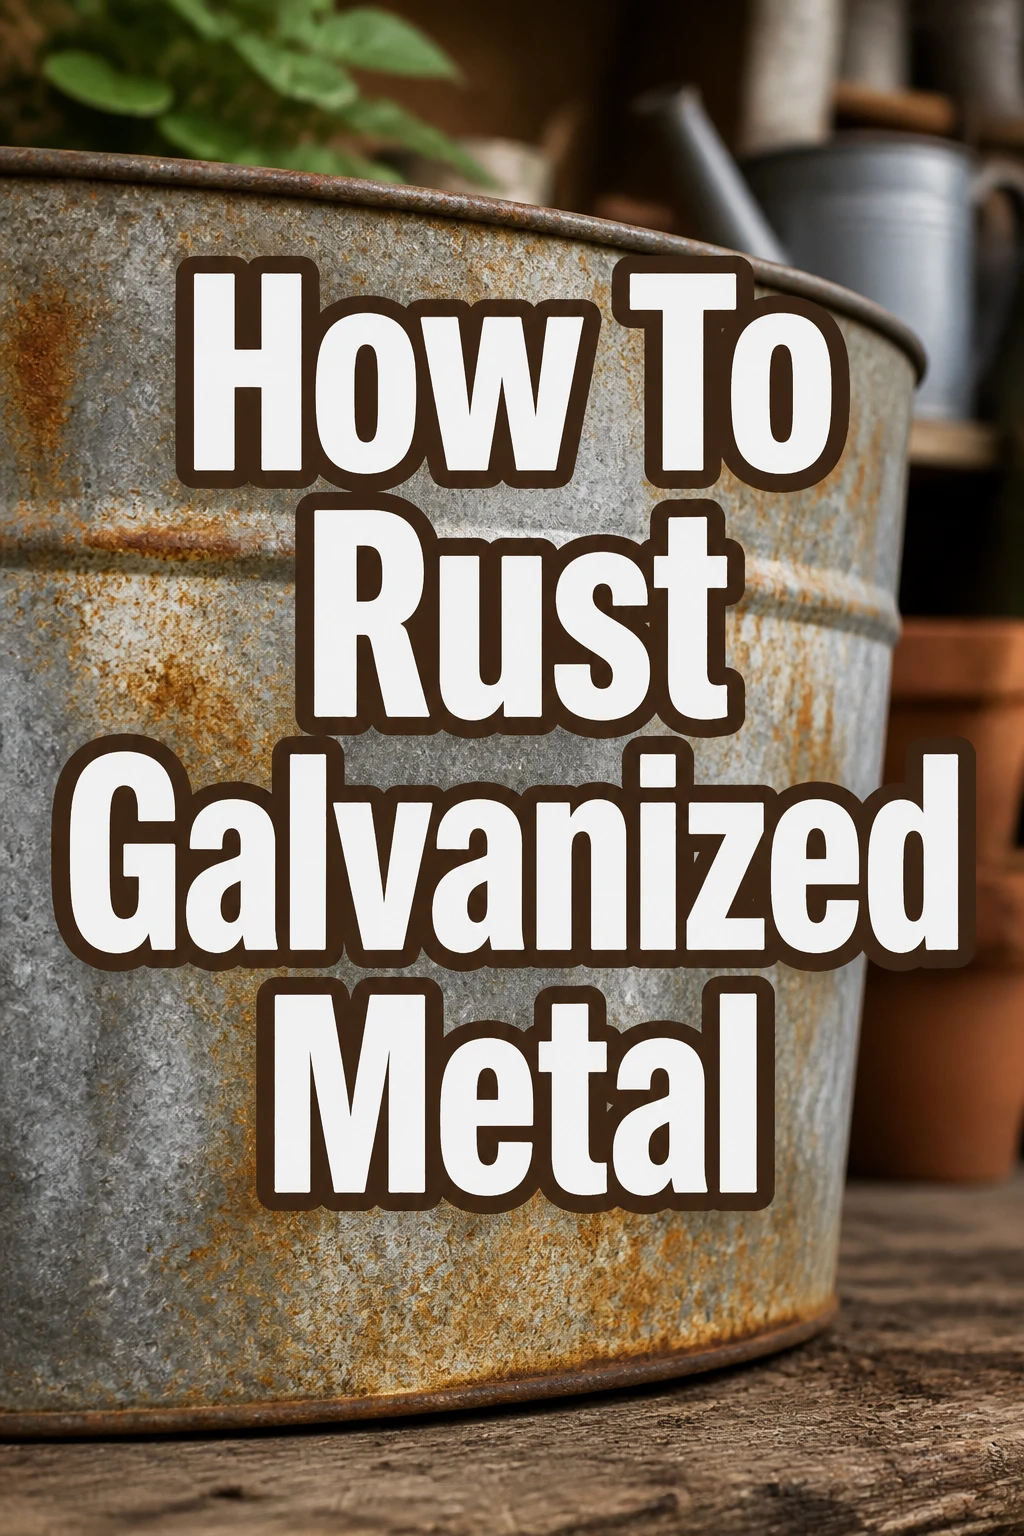
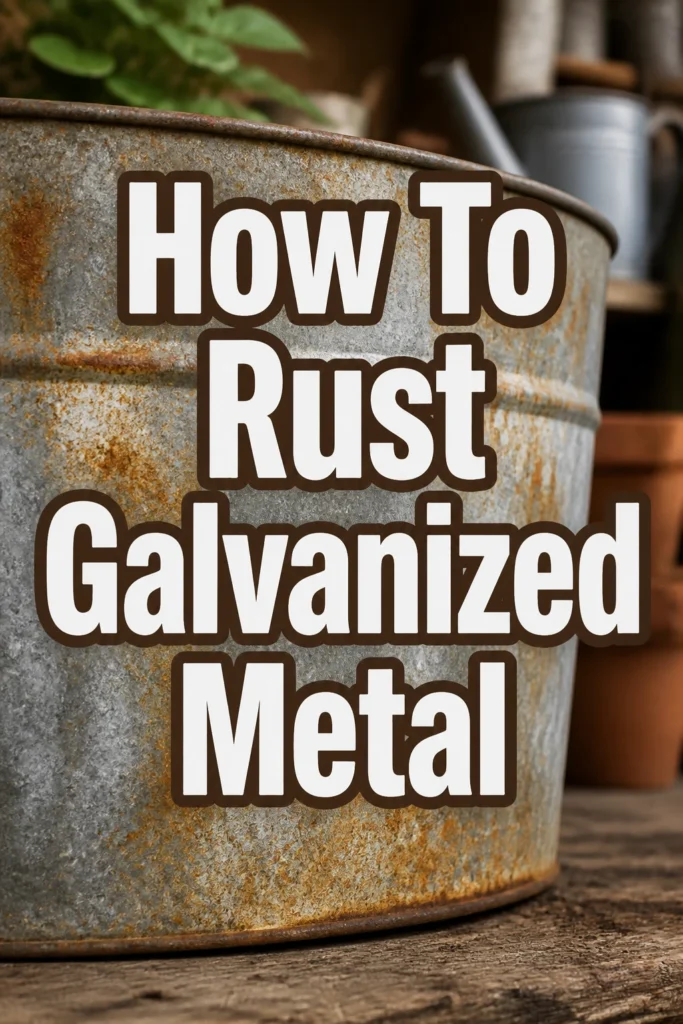
How To Rust Galvanized Metal
I remember my first attempt at aging a new metal sign for my workshop. The shiny galvanized surface just didn’t fit the rustic aesthetic I was going for.
It took some careful experimentation, but I discovered reliable methods to transform that bright finish into a beautifully rusted patina.
This guide shares those proven techniques, ensuring you can achieve the same authentic, aged look for your galvanized projects.
Quick Overview
This guide will walk you through the process of removing the protective zinc coating from galvanized metal, then accelerating its natural oxidation to create an attractive, authentic rust finish.
- Time needed: 2-24 hours active work, plus 1-7 days for full rust development
- Difficulty: Intermediate
- What you’ll need: Safety gear, degreaser, acid (muriatic or vinegar), wire brush, spray bottle, salt, hydrogen peroxide, sealant
Step-by-Step Instructions
Step 1: Gather Your Safety Gear
Working with acids requires serious precautions. Always protect yourself from splashes and fumes.
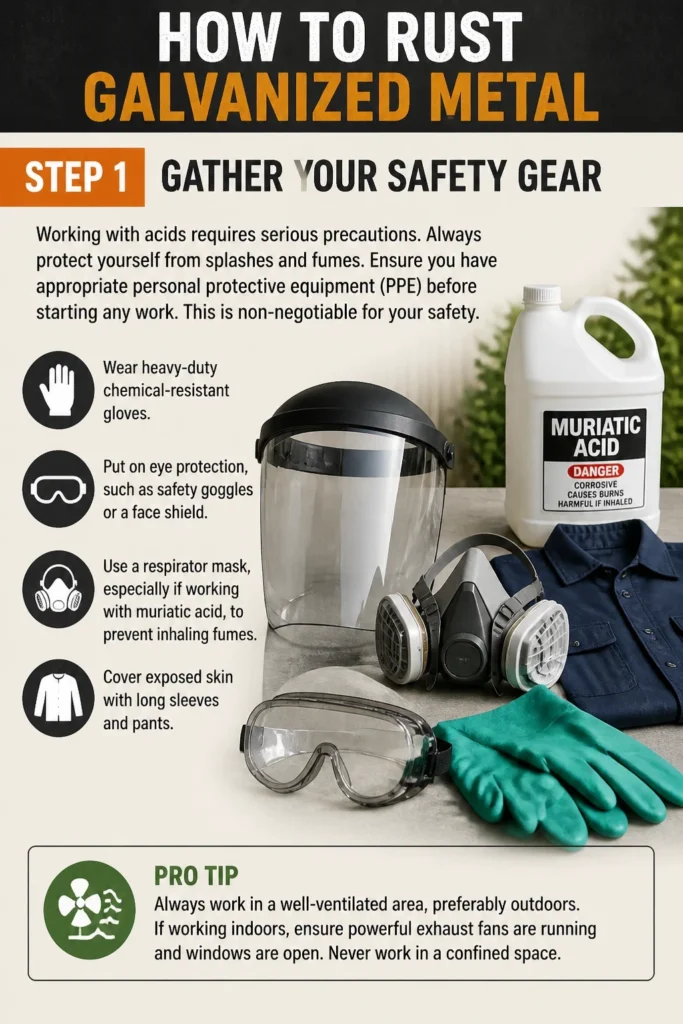
Ensure you have appropriate personal protective equipment (PPE) before starting any work. This is non-negotiable for your safety.
- Wear heavy-duty chemical-resistant gloves.
- Put on eye protection, such as safety goggles or a face shield.
- Use a respirator mask, especially if working with muriatic acid, to prevent inhaling fumes.
- Cover exposed skin with long sleeves and pants.
Pro Tip: Always work in a well-ventilated area, preferably outdoors. If working indoors, ensure powerful exhaust fans are running and windows are open. Never work in a confined space.
Step 2: Clean the Galvanized Metal
The metal needs to be completely free of dirt, grease, and any manufacturing oils. A clean surface is essential for the acid to properly etch the zinc.
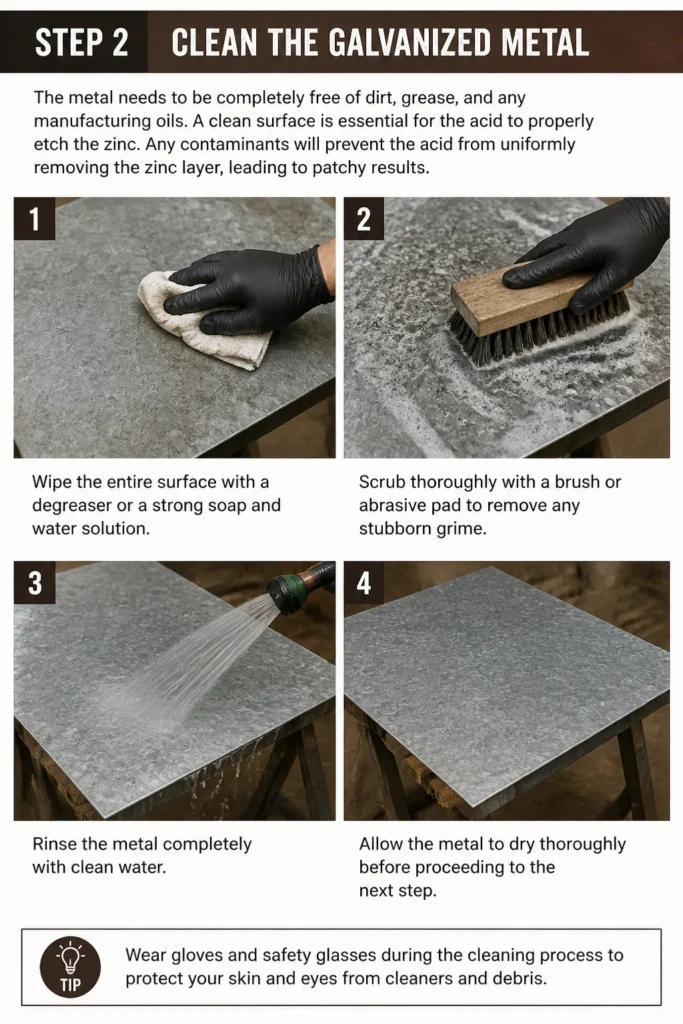
Any contaminants will prevent the acid from uniformly removing the zinc layer, leading to patchy results.
- Wipe the entire surface with a degreaser or a strong soap and water solution.
- Scrub thoroughly with a brush or abrasive pad to remove any stubborn grime.
- Rinse the metal completely with clean water.
- Allow the metal to dry thoroughly before proceeding to the next step.
Step 3: Etch the Zinc Coating with Acid
Galvanized metal is coated with a layer of zinc, which prevents rust. To induce rust, this zinc layer must be removed or etched away.
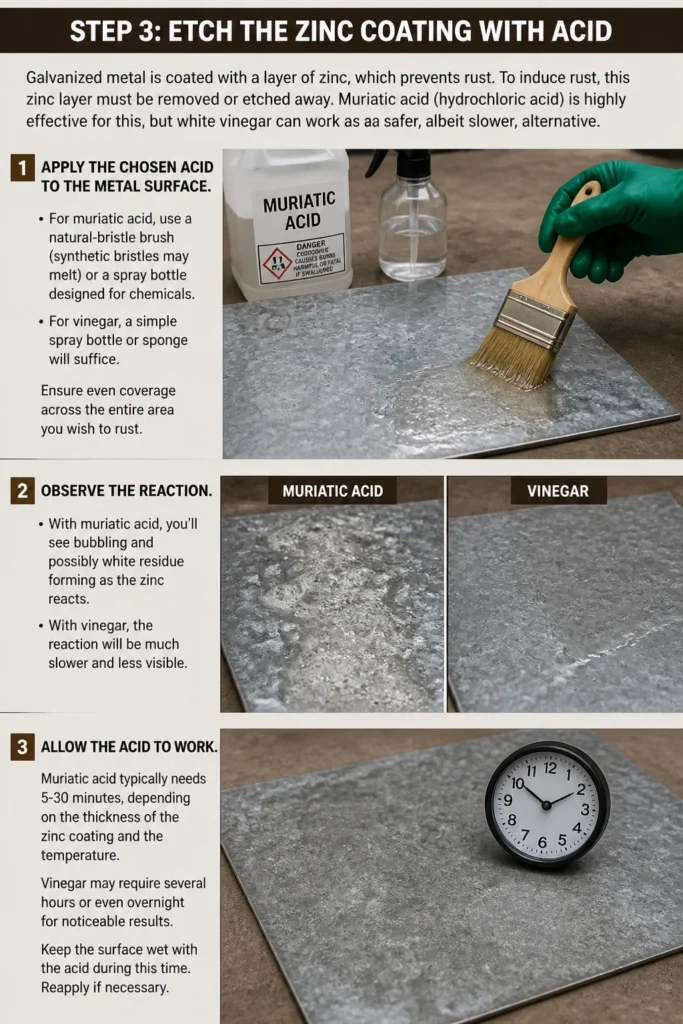
Muriatic acid (hydrochloric acid) is highly effective for this, but white vinegar can work as a safer, albeit slower, alternative.
- Apply the chosen acid to the metal surface. For muriatic acid, use a natural-bristle brush (synthetic bristles may melt) or a spray bottle designed for chemicals. For vinegar, a simple spray bottle or sponge will suffice.
- Ensure even coverage across the entire area you wish to rust.
- Observe the reaction. With muriatic acid, you’ll see bubbling and possibly white residue forming as the zinc reacts. With vinegar, the reaction will be much slower and less visible.
- Allow the acid to work. Muriatic acid typically needs 5-30 minutes, depending on the zinc thickness. Vinegar may need several hours or even overnight.
Pro Tip: For muriatic acid, consider diluting it slightly with water (e.g., 1 part acid to 1-2 parts water) if you are new to working with it. Always add acid to water, never water to acid, to prevent dangerous splashing and heat generation.
Step 4: Rinse and Neutralize the Acid
Once the zinc appears etched or removed, it’s crucial to stop the acid’s action and prevent further corrosion to the base metal beyond what’s intended.
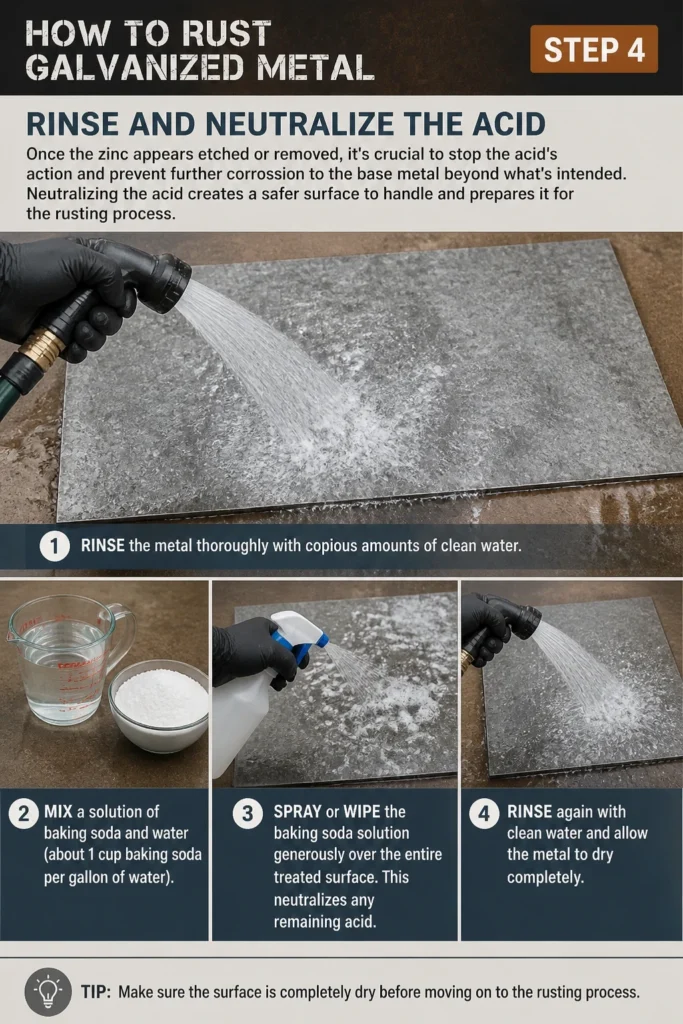
Neutralizing the acid creates a safer surface to handle and prepares it for the rusting process.
- Rinse the metal thoroughly with copious amounts of clean water.
- Mix a solution of baking soda and water (about 1 cup baking soda per gallon of water).
- Spray or wipe the baking soda solution generously over the entire treated surface. This neutralizes any remaining acid.
- Rinse again with clean water and allow the metal to dry completely.
Step 5: Inspect and Re-Etch if Necessary
After rinsing and drying, visually inspect the metal surface. You should see dull, gray patches where the zinc has been removed or significantly etched.
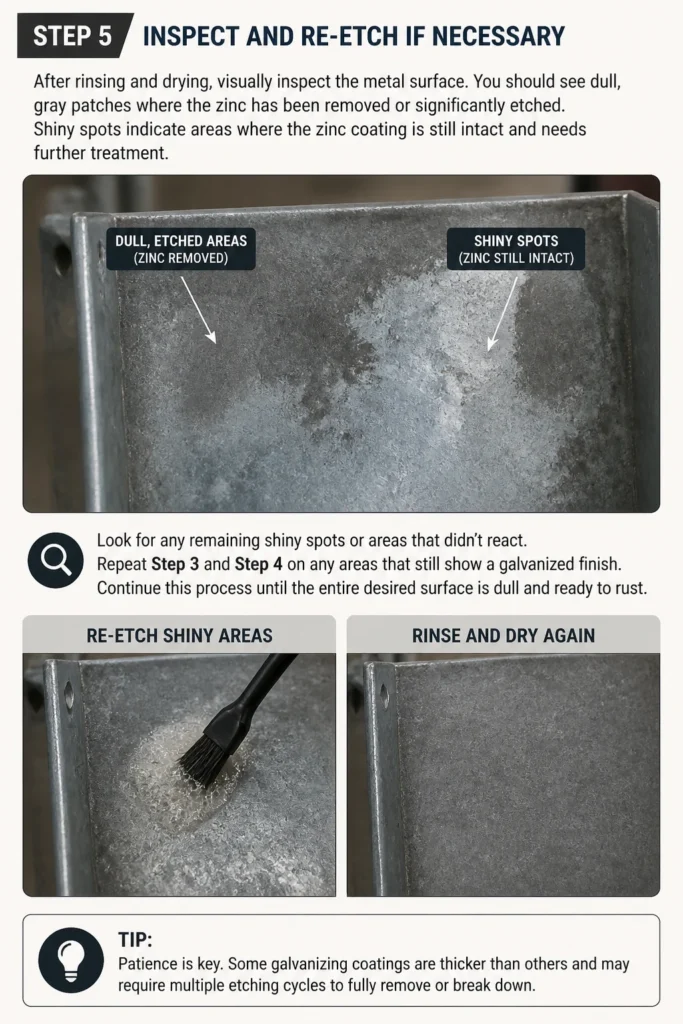
Shiny spots indicate areas where the zinc coating is still intact and needs further treatment.
- Look for any remaining shiny spots or areas that didn’t react.
- Repeat Step 3 and Step 4 on any areas that still show a galvanized finish.
- Continue this process until the entire desired surface is dull and ready to rust.
Step 6: Prepare the Rusting Solution
Now that the zinc is gone, you can accelerate the natural rusting process (oxidation of iron). A simple solution of hydrogen peroxide and salt is very effective.
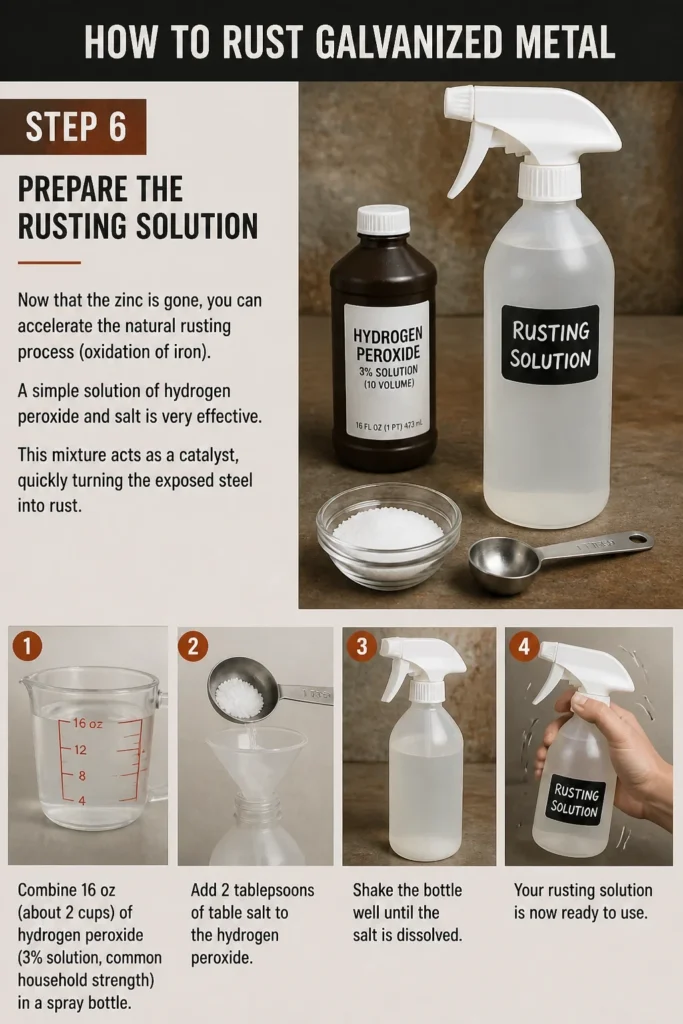
This mixture acts as a catalyst, quickly turning the exposed steel into rust.
- Combine 16 oz (about 2 cups) of hydrogen peroxide (3% solution, common household strength) in a spray bottle.
- Add 2 tablespoons of table salt to the hydrogen peroxide.
- Shake the bottle well until the salt is dissolved.
Step 7: Apply the Rusting Solution
Even application of the rusting solution is key to achieving a uniform rust finish. Repeated applications will deepen the color and texture.
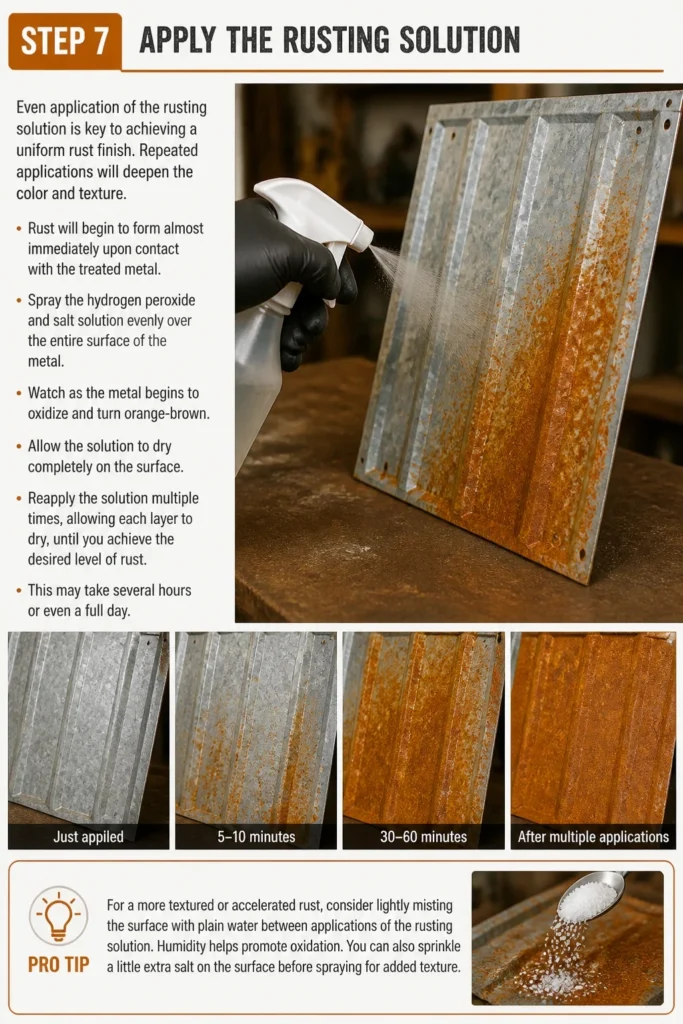
Rust will begin to form almost immediately upon contact with the treated metal.
- Spray the hydrogen peroxide and salt solution evenly over the entire surface of the metal.
- Watch as the metal begins to oxidize and turn orange-brown.
- Allow the solution to dry completely on the surface.
- Reapply the solution multiple times, allowing each layer to dry, until you achieve the desired level of rust. This may take several hours or even a full day.
Pro Tip: For a more textured or accelerated rust, consider lightly misting the surface with plain water between applications of the rusting solution. Humidity helps promote oxidation. You can also sprinkle a little extra salt directly onto the wet surface for a coarser finish.
Step 8: Rinse and Dry (Optional)
Once the desired rust effect is achieved, you may choose to rinse off any residual salt and peroxide.
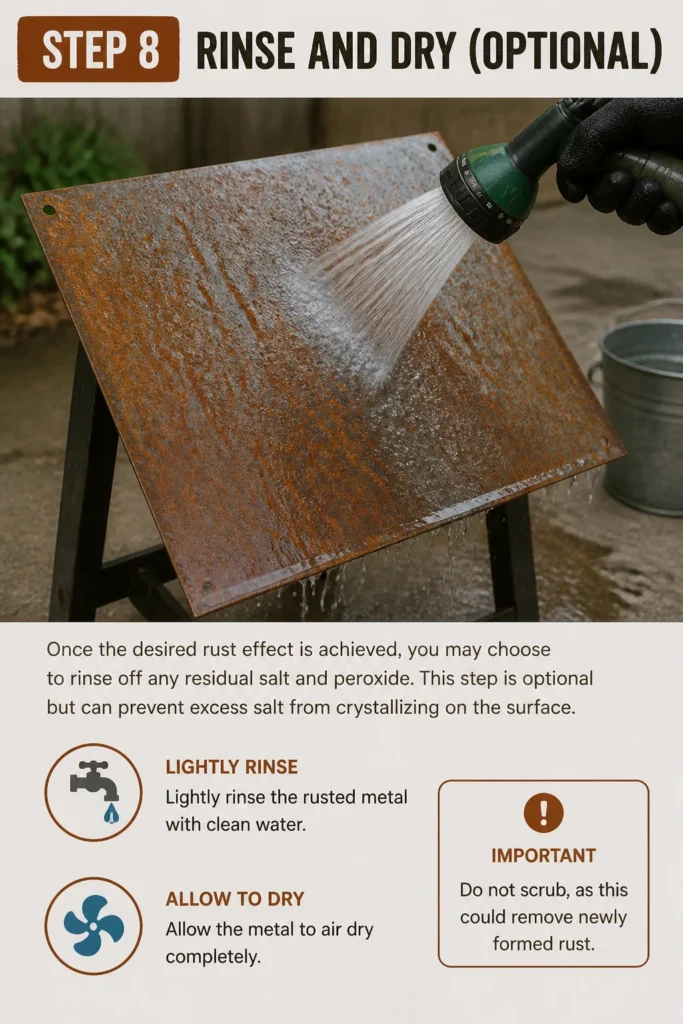
This step is optional but can prevent excess salt from crystallizing on the surface.
- Lightly rinse the rusted metal with clean water. Do not scrub, as this could remove newly formed rust.
- Allow the metal to air dry completely.
Step 9: Seal the Rust (Optional)
Sealing the rust is an important step if you want to stop the rusting process and prevent rust from flaking off or staining other surfaces.
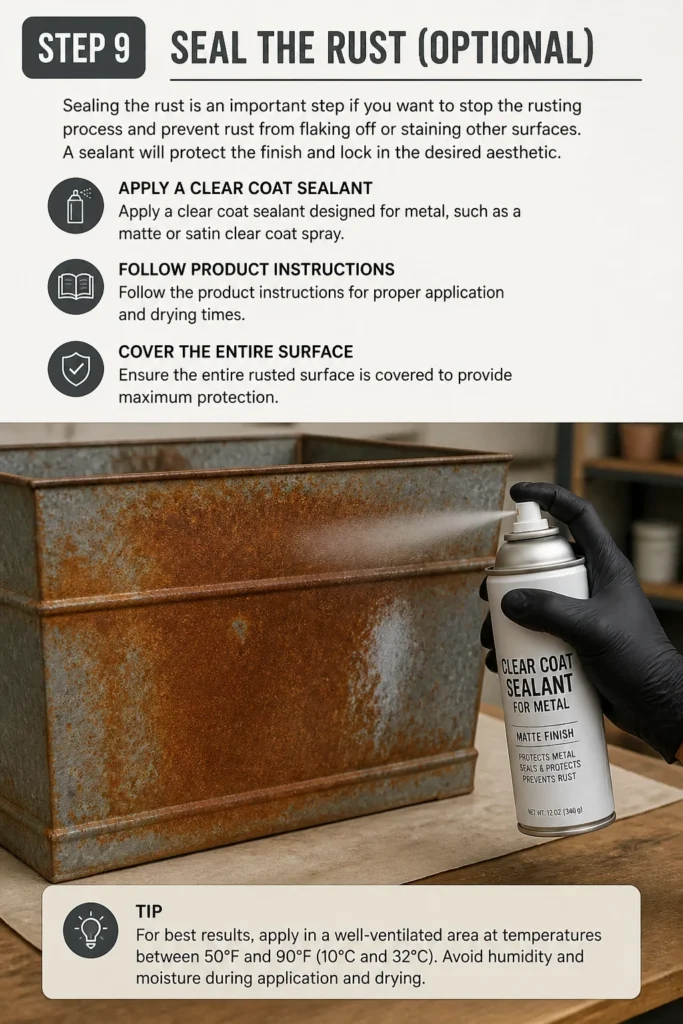
A sealant will protect the finish and lock in the desired aesthetic.
- Apply a clear coat sealant designed for metal, such as a matte or satin clear coat spray.
- Follow the product instructions for proper application and drying times.
- Ensure the entire rusted surface is covered to provide maximum protection.
Common Mistakes to Avoid
Inadequate Surface Preparation
Many people rush the cleaning and etching steps. If the galvanized metal isn’t thoroughly degreased and the zinc coating isn’t completely removed or etched, the rust will be patchy and inconsistent. Take your time with cleaning and inspecting the surface after acid treatment to ensure an even foundation for rusting.
Ignoring Safety Precautions
Working with muriatic acid without proper PPE (gloves, eye protection, respirator) is extremely dangerous. Fumes can damage lungs, and splashes can cause severe burns. Always prioritize safety, work in a well-ventilated area, and have a neutralizing agent (like baking soda solution) readily available.
Uneven Acid Application
If the acid is applied unevenly, some areas will have the zinc removed while others remain protected. This leads to an inconsistent rust pattern. Use a sprayer or a brush to ensure uniform coverage during the etching stage, and reapply to any missed spots before proceeding to the rusting solution.
Over-Rinsing or Scrubbing New Rust
Once the rust has started to form, it can be delicate, especially in its initial stages. Vigorously rinsing or scrubbing the metal at this point can remove the newly formed rust, forcing you to reapply the rusting solution. A gentle rinse, if necessary, is sufficient, or simply allow the solution to dry naturally.
Troubleshooting
Rust Not Forming Evenly
If you find that rust is only appearing in certain spots or is very light, the most common culprit is incomplete zinc removal. Re-examine the areas that are not rusting. They likely still have a protective zinc layer. Reapply the acid solution to these specific areas, rinse, neutralize, and then reapply the rusting solution.
White Residue on Metal After Acid Treatment
This white residue is typically zinc chloride, a byproduct of the muriatic acid reacting with the zinc. It indicates that the acid is doing its job. However, it needs to be thoroughly rinsed off. Ensure you rinse the metal completely with water, followed by the baking soda neutralizing solution, and then a final rinse with water to remove all traces of this residue.
Rust is Too Light or Not Dark Enough
The intensity of the rust is directly related to the number of applications of the rusting solution and the time allowed for oxidation. If your rust is too light, simply reapply the hydrogen peroxide and salt solution multiple times. Let each coat dry fully before applying the next, and give it more time to develop. Increasing the humidity around the piece can also help deepen the color.
Key Takeaways
- Thoroughly clean and degrease galvanized metal before any treatment.
- Always wear appropriate safety gear when handling acids.
- Etching the zinc layer with acid is a critical first step for rust formation.
- Neutralize the acid completely after etching to stop its action.
- A hydrogen peroxide and salt solution effectively accelerates the rusting process.
- Apply the rusting solution multiple times to achieve the desired rust depth and coverage.
- Consider sealing the finished rust to protect it and prevent flaking.
Frequently Asked Questions
Can I rust galvanized metal without using harsh acids?
Yes, you can. White vinegar is a milder acid that will etch the zinc, although it takes significantly longer, often several hours or even overnight. You might also need to use a wire brush to physically abrade the surface after the vinegar soak to fully expose the steel.
How long does it take for the rust to fully develop?
Once the zinc is removed and the rusting solution is applied, initial rust can appear within minutes. However, achieving a deep, rich, and consistent rust finish usually requires multiple applications over several hours, and the rust may continue to deepen over 1-7 days depending on environmental conditions and solution strength.
Will the rust continue to spread after I’ve achieved my desired look?
Yes, if left untreated, the rust will continue to form and potentially flake over time, especially in humid environments. To stop the rusting process and preserve the finish, it is highly recommended to apply a clear coat sealant designed for metal, such as a polyurethane or lacquer.
Is it possible to remove the rust if I don’t like it?
Removing rust from metal that has been intentionally rusted is challenging. You would need to mechanically remove the rust (e.g., sanding, wire brushing) and potentially re-galvanize or paint the surface. It’s best to proceed cautiously and test on a small, inconspicuous area first if you are unsure about the final look.
Our Top Recommended Finds
- Chemical-Resistant Gloves: Essential for protecting your hands from acids and other chemicals.
- Safety Goggles/Face Shield: Critical for preventing eye injuries from splashes.
- Heavy-Duty Spray Bottle: Ideal for even application of both acid (ensure it’s chemical-resistant) and rusting solutions.
Embrace the Patina
Transforming shiny galvanized metal into a piece with character and history is a rewarding project. The techniques shared here offer a reliable path to achieving that perfectly aged aesthetic.
Don’t shy away from the process; with careful preparation and attention to safety, you can create stunning results.
Gather your supplies today and begin your journey to crafting beautifully rusted metal art or functional pieces that tell a story.