How To Spiral Tie Dye
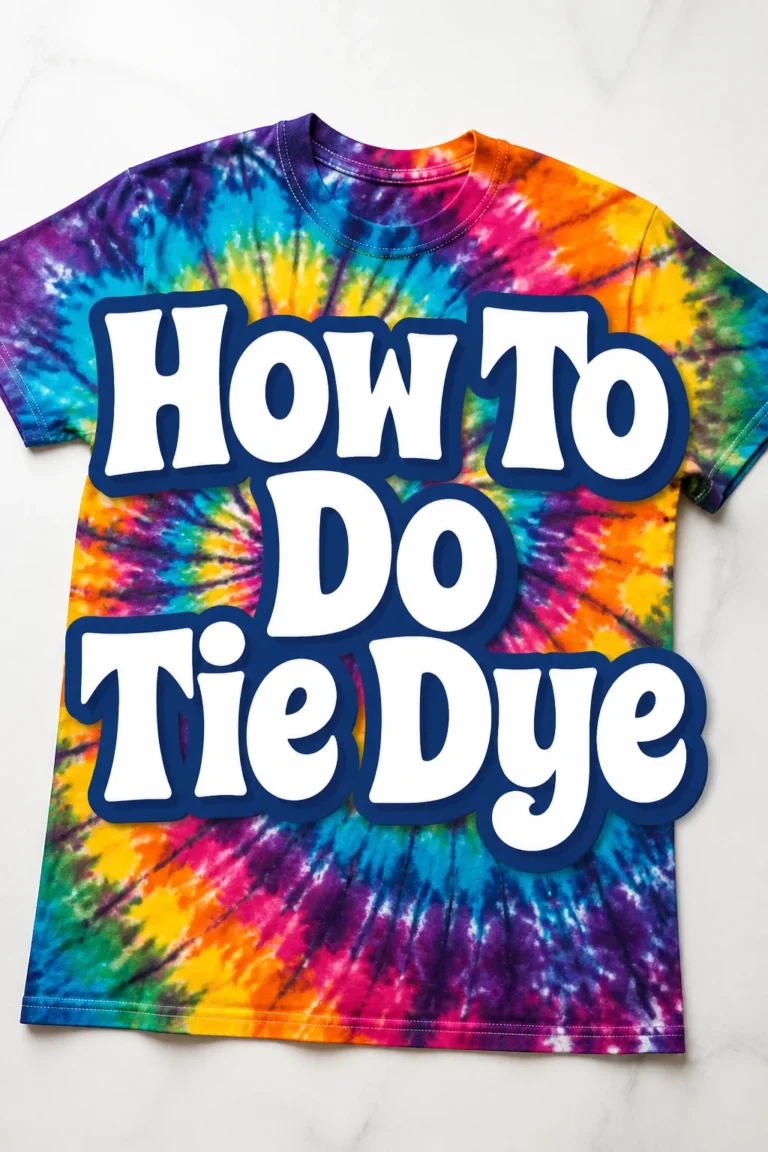
Tie-dyeing a spiral pattern creates a classic, vibrant design that’s surprisingly simple to achieve. I remember my first spiral shirt, a riot of purple and blue that instantly became a favorite. This guide will walk you through every step, ensuring you get fantastic results on your first try.
You’re about to create your own wearable art, a piece that truly reflects your personal style.
The satisfaction of wearing something you’ve crafted yourself is immense.
Having tied countless spirals over the years, I’ve gathered all the practical insights you’ll need for a brilliant outcome.
Quick Overview
This guide will empower you to transform a plain fabric item into a stunning, custom-designed spiral tie-dye masterpiece. You’ll learn the techniques for preparing your fabric, creating the perfect spiral, applying dyes effectively, and properly setting your colors for lasting vibrancy.
- Time needed: 2-4 hours (active time), plus 8-24 hours for dye setting
- Difficulty: Beginner
- What you’ll need: Fabric item, fiber reactive dyes, soda ash, rubber bands, squeeze bottles, gloves, plastic wrap, protective surface cover
Step-by-Step Instructions
Step 1: Gather Your Supplies and Prepare Your Workspace
Before you begin, collect all necessary materials. Having everything ready saves time and prevents interruptions during the dyeing process. This preparation is crucial for a smooth and enjoyable experience.
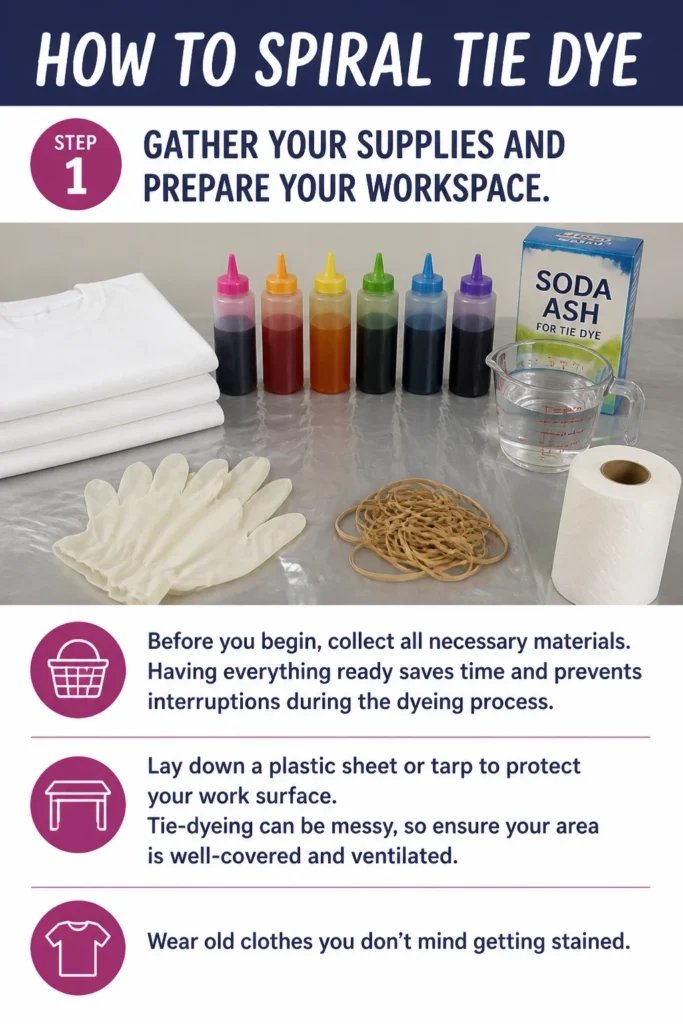
Lay down a plastic sheet or tarp to protect your work surface. Tie-dyeing can be messy, so ensure your area is well-covered and ventilated. Wear old clothes you don’t mind getting stained.
Step 2: Pre-Wash Your Fabric Item
Always wash your chosen fabric item before dyeing. This removes any sizing, oils, or dirt that might prevent the dye from adhering properly. Use hot water and detergent, then dry it completely.
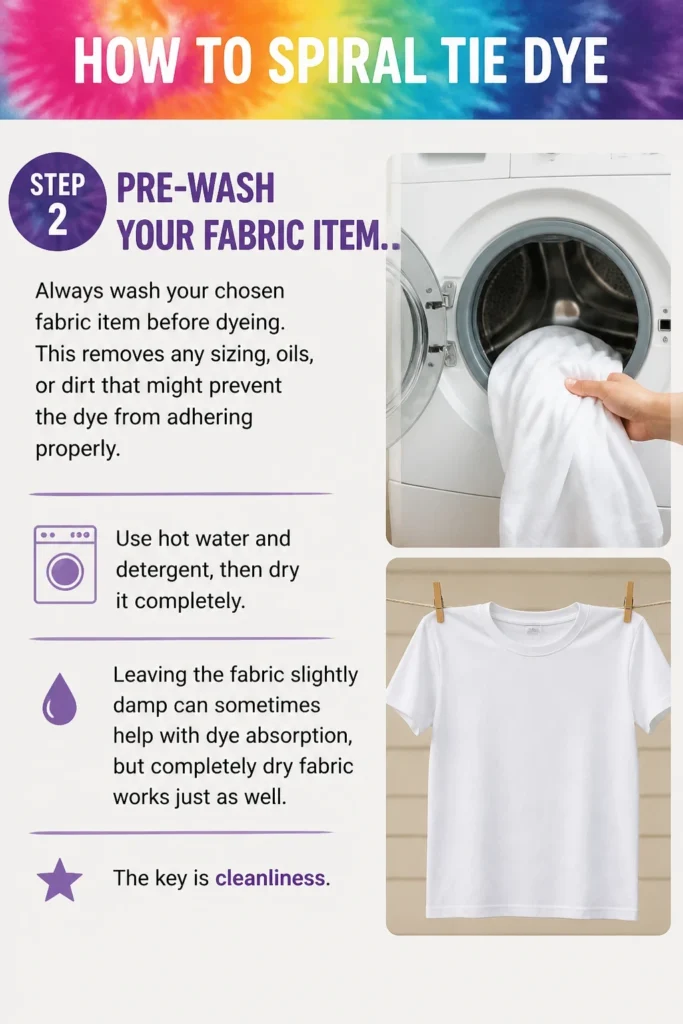
Leaving the fabric slightly damp can sometimes help with dye absorption, but completely dry fabric works just as well. The key is cleanliness.
Step 3: Prepare the Soda Ash Soak
Soda ash (sodium carbonate) is essential for fiber reactive dyes to bond with the fabric. Mix one cup of soda ash with one gallon of warm water in a bucket. Stir until the soda ash is fully dissolved.
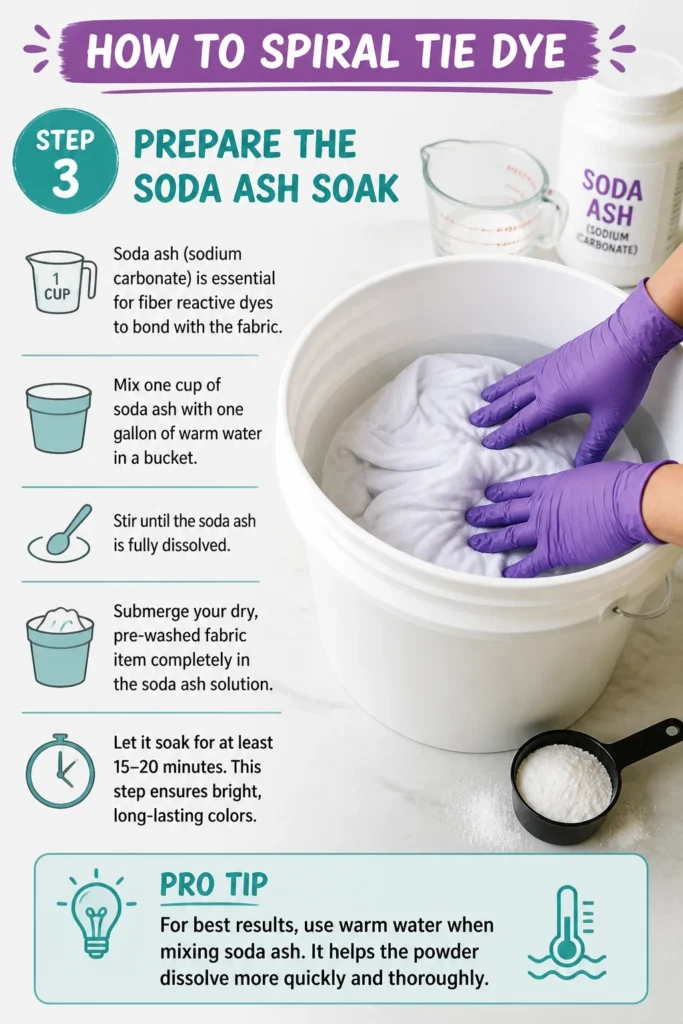
Submerge your dry, pre-washed fabric item completely in the soda ash solution. Let it soak for at least 15-20 minutes. This step ensures bright, long-lasting colors.
Pro Tip: For best results, use warm water when mixing soda ash. It helps the powder dissolve more quickly and thoroughly.
Step 4: Wring Out Excess Water
After soaking, remove the fabric from the soda ash solution. Wring it out thoroughly to remove as much excess liquid as possible. The fabric should be damp, not dripping wet.
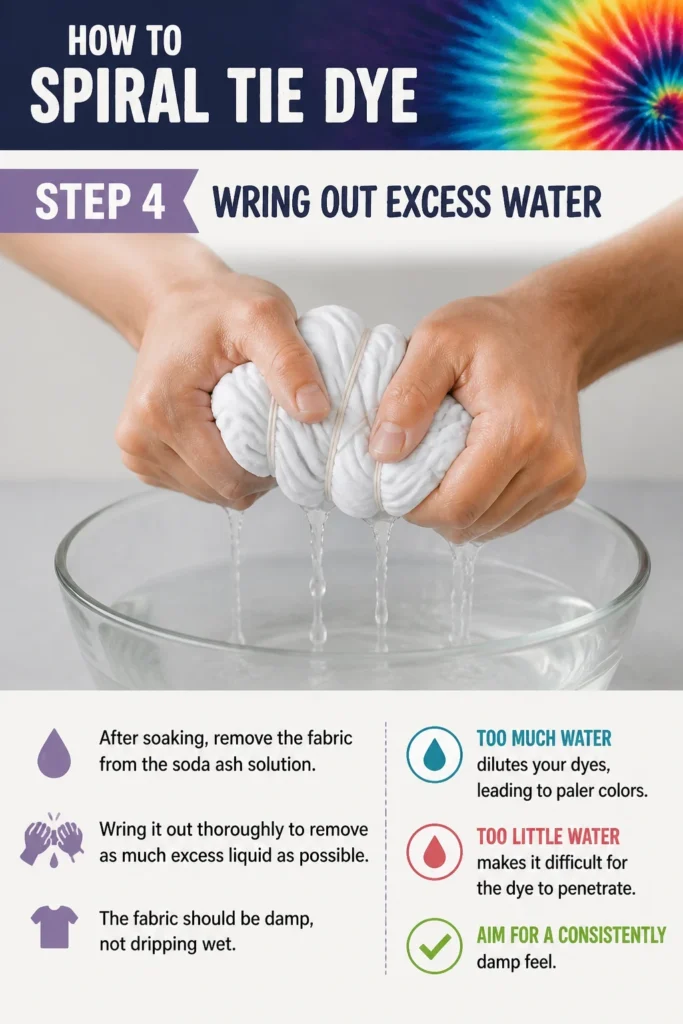
Too much water dilutes your dyes, leading to paler colors. Too little water makes it difficult for the dye to penetrate. Aim for a consistently damp feel.
Step 5: Create the Spiral Design
Lay your damp fabric flat on a clean, protected surface. Find the center point of where you want your spiral to originate. This is often the center of the shirt.
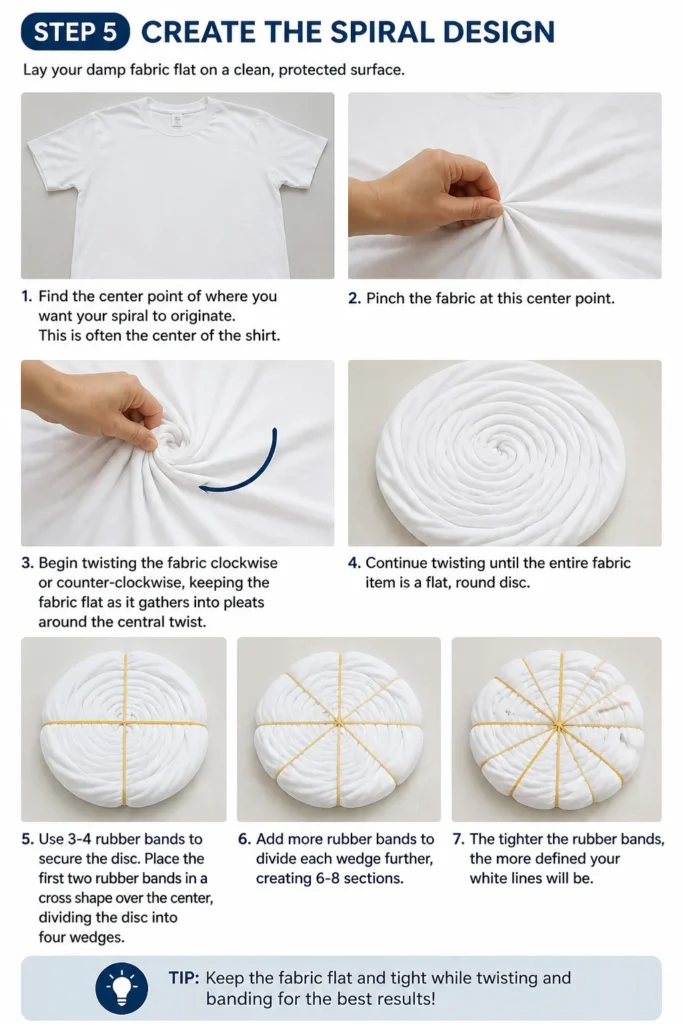
Pinch the fabric at this center point. Begin twisting the fabric clockwise or counter-clockwise, keeping the fabric flat as it gathers into pleats around the central twist. Continue twisting until the entire fabric item is a flat, round disc.
Use 3-4 rubber bands to secure the disc. Place the first two rubber bands in a cross shape over the center, dividing the disc into four wedges. Add more rubber bands to divide each wedge further, creating 6-8 sections. The tighter the rubber bands, the more defined your white lines will be.
Step 6: Mix Your Dyes
Prepare your fiber reactive dyes according to the manufacturer’s instructions. Typically, this involves mixing dye powder with warm water in squeeze bottles. Add urea if recommended by the dye brand, as it helps keep the dye wet and vibrant.
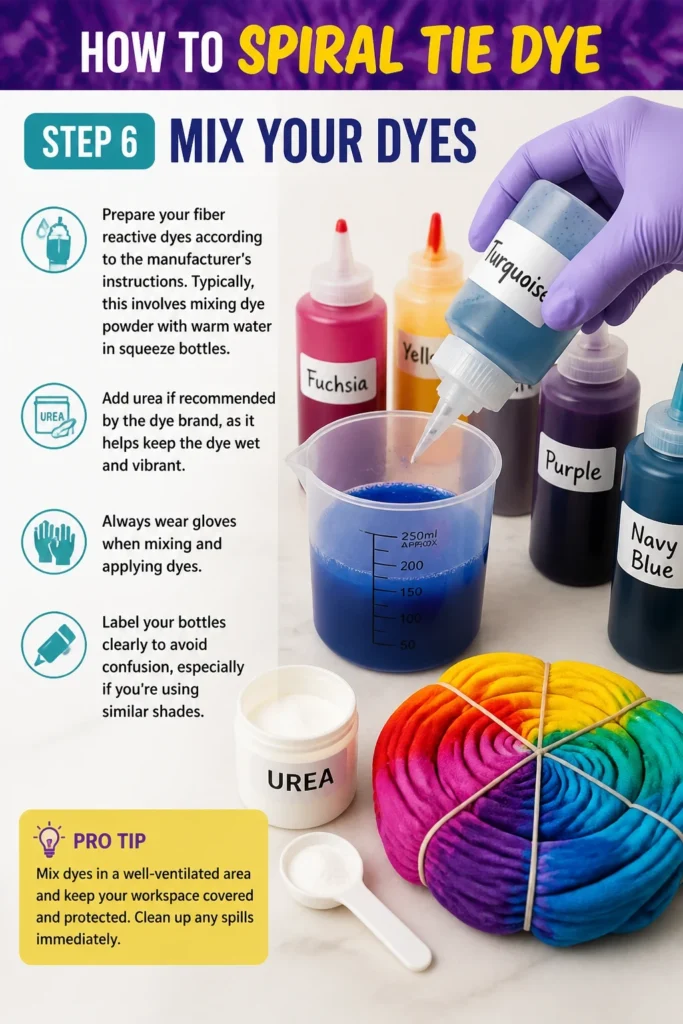
Always wear gloves when mixing and applying dyes. Label your bottles clearly to avoid confusion, especially if you’re using similar shades.
Step 7: Apply the Dyes to Your Spiral
Place your rubber-banded fabric disc on a wire rack over a plastic tub to catch excess dye. Apply dye to each section of the disc, alternating colors for a vibrant effect. Squeeze the dye directly onto the fabric, ensuring good saturation.
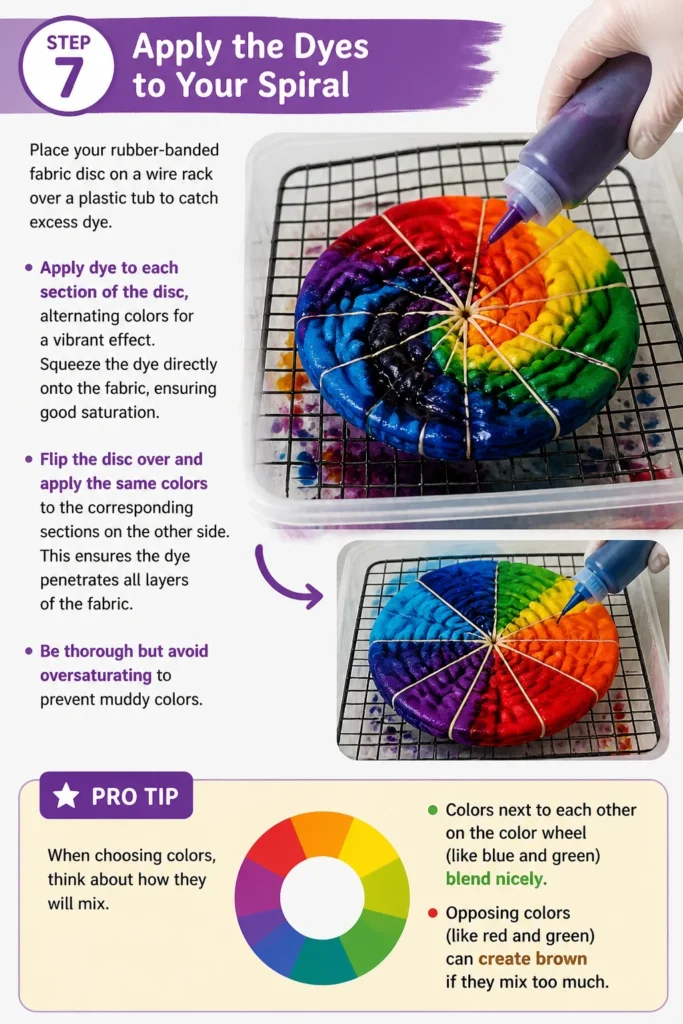
Flip the disc over and apply the same colors to the corresponding sections on the other side. This ensures the dye penetrates all layers of the fabric. Be thorough but avoid oversaturating to prevent muddy colors.
Pro Tip: When choosing colors, think about how they will mix. Colors next to each other on the color wheel (like blue and green) blend nicely, while opposing colors (like red and green) can create brown if they mix too much.
Step 8: Batch the Dyed Fabric
Carefully place your dyed fabric disc into a plastic bag or wrap it tightly with plastic wrap. This prevents the dye from drying out and allows the chemical reaction to occur. The dye needs time to bond with the fabric fibers.
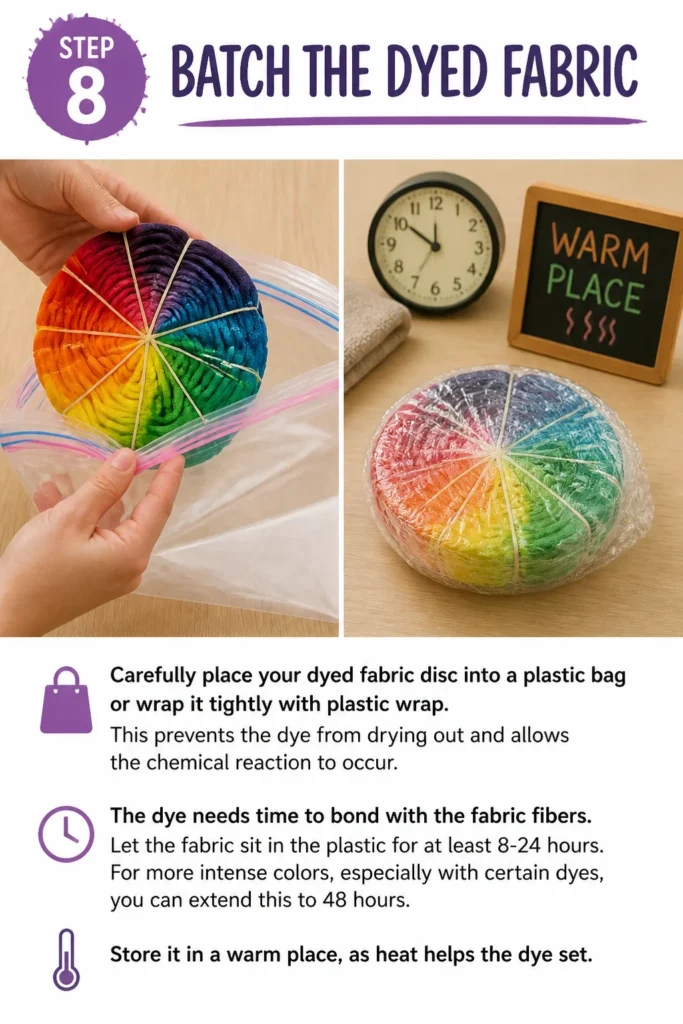
Let the fabric sit in the plastic for at least 8-24 hours. For more intense colors, especially with certain dyes, you can extend this to 48 hours. Store it in a warm place, as heat helps the dye set.
Step 9: Rinse and Wash Your Item
After the batching period, keeping the rubber bands on, rinse the fabric under cold running water. Continue rinsing until the water runs clear. This removes all unbound dye.
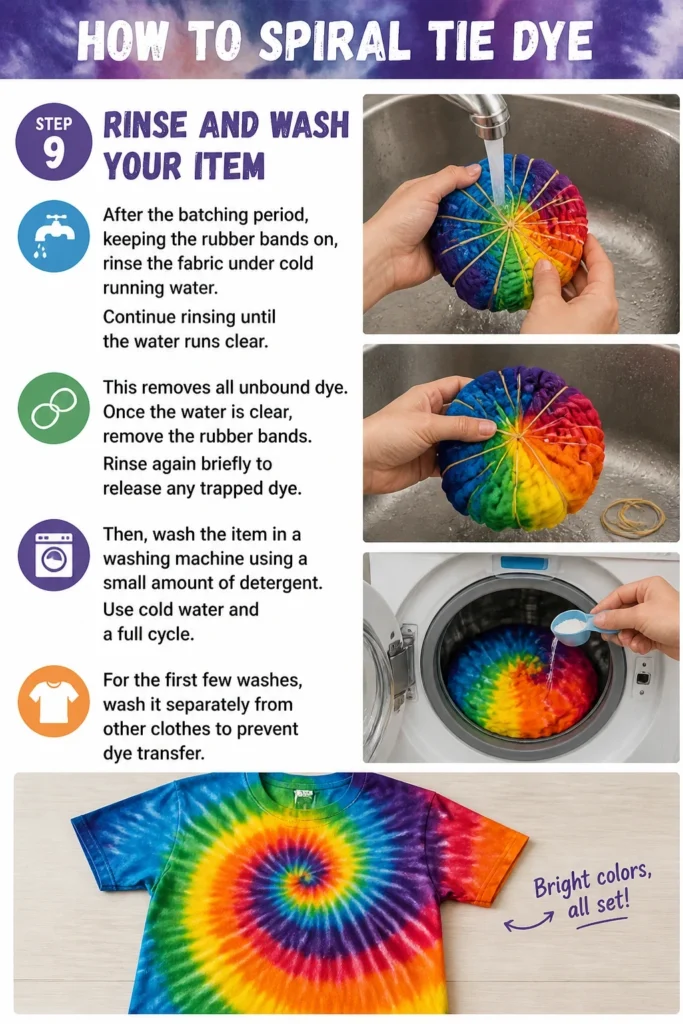
Once the water is clear, remove the rubber bands. Rinse again briefly to release any trapped dye. Then, wash the item in a washing machine using a small amount of detergent. Use cold water and a full cycle. For the first few washes, wash it separately from other clothes to prevent dye transfer.
Common Mistakes to Avoid
Not Using Soda Ash
Many beginners skip or skimp on the soda ash soak, thinking it’s an optional step. Without soda ash, fiber reactive dyes cannot properly bond with the fabric fibers. The result is dull, faded colors that wash out quickly. Always pre-soak your fabric in a soda ash solution for vibrant, long-lasting tie-dye.
Over-Saturating with Dye
It’s tempting to drench your fabric in dye to ensure good coverage. However, applying too much dye can lead to colors bleeding excessively and mixing unintentionally, often resulting in muddy brown or gray areas. Aim for thorough saturation, but stop before the dye pools excessively on the surface.
Rinsing Too Early or with Hot Water
Patience is key during the batching process. Rinsing your tie-dye before the recommended 8-24 hours can prevent the dye from fully setting, leading to weaker colors. Additionally, using hot water for the initial rinse can cause unbound dye to bond more aggressively to undyed areas, leading to unwanted staining. Always start with cold water rinses until the water runs clear.
Forgetting to Protect Your Workspace
Tie-dyeing is a wonderfully creative but potentially messy craft. Failing to adequately cover your work surfaces, floors, and even yourself can lead to permanent stains on unintended items. Always use plastic sheeting, wear gloves, and dress in old clothes to protect your environment and skin.
Troubleshooting
Colors Appear Muddy or Dull
If your tie-dye project resulted in muddy or dull colors, several factors could be at play. You might have applied too much dye, causing colors to bleed and mix undesirably, or you might have used colors that create brown when combined. Ensure you’re not over-saturating the fabric and consider using a color wheel to plan harmonious dye combinations.
Another common reason for dullness is insufficient soda ash or inadequate batching time. The soda ash is crucial for dye vibrancy, and the dye needs enough time to chemically bond with the fabric. Double-check your soda ash concentration and allow the fabric to batch for the full recommended period, ideally 24 hours.
White Spots or Undyed Areas
Finding unexpected white spots or large undyed sections can be frustrating. This usually indicates that the dye didn’t fully penetrate all layers of the fabric. When applying dye, ensure you’re squeezing it deeply into the folds and not just on the surface.
Also, remember to flip your spiraled fabric and apply dye to the underside as well. Sometimes, tight rubber bands can create resistance, so make sure to get dye into those crevices. A slightly wetter fabric can also help with dye penetration.
Dye Washes Out Too Easily
If your beautiful tie-dye fades significantly after the first wash, the dye likely didn’t set properly. The most common culprits are skipping the soda ash soak or not allowing enough batching time. Without soda ash, the dye won’t chemically react with the fabric, and without sufficient time, the reaction won’t complete.
Ensure your soda ash solution is correctly proportioned and that your fabric soaks for the full 15-20 minutes. Then, allow the dyed item to sit in a plastic bag for at least 24 hours, or even 48 hours for maximum color intensity, especially in cooler environments.
Key Takeaways
- Always pre-wash your fabric to remove sizing and ensure optimal dye absorption.
- A soda ash soak is non-negotiable for vibrant, long-lasting fiber reactive dye colors.
- Twist your fabric tightly and secure it firmly with rubber bands for crisp spiral lines.
- Apply dye thoroughly to both sides of the fabric to prevent undyed spots.
- Allow adequate batching time (8-24 hours) for the dye to fully set and bond with the fibers.
- Rinse with cold water until clear before washing separately to prevent dye transfer.
Frequently Asked Questions
What type of fabric works best for tie-dye?
Natural fibers like 100% cotton, rayon, hemp, and linen absorb fiber reactive dyes most effectively. Synthetic fabrics like polyester will not take these dyes well, resulting in very pale or no color. Always check the fabric content label before you begin.
Are tie-dye dyes permanent?
Yes, fiber reactive dyes, when used correctly with soda ash and proper batching, form a permanent chemical bond with the fabric fibers. This means the colors should remain vibrant and resist fading through many washes. Following all steps ensures the best permanence.
How long should I let the tie-dye sit?
For optimal vibrancy and dye setting, let your tie-dyed item sit in a plastic bag for a minimum of 8 hours. However, for the brightest and most intense colors, especially with darker shades, 24 hours is highly recommended. You can even extend this to 48 hours in cooler conditions.
Can I wash my tie-dye with other clothes?
For the first 2-3 washes, it is strongly recommended to wash your new tie-dye item separately in cold water. Even after thorough rinsing, some unbound dye may still be present and could transfer to other garments. After a few washes, it should be safe to wash with similar colors.
Our Top Recommended Finds
- Tie-Dye Kit: A beginner-friendly kit often includes dyes, soda ash, gloves, and rubber bands, making it easy to start.
- Fiber Reactive Procion Dyes: For more serious dyers, purchasing individual professional-grade dyes offers a wider color palette and superior vibrancy.
- Squeeze Bottles: These are invaluable for precise dye application, allowing you to control where your colors go on the fabric.
Unleash Your Inner Artist
You now possess all the knowledge needed to create stunning spiral tie-dye designs. This craft is not just about following steps; it’s about expressing your creativity and making something uniquely yours. Each twist and color choice tells a story.
Consider experimenting with different color combinations or trying a larger garment next. Perhaps a spiral on a canvas bag or even bed sheets? The possibilities are endless once you master this fundamental technique. So, gather your materials, embrace the vibrant potential, and start twisting your way to a colorful masterpiece today.