How To Make Paper Ball
I remember countless afternoons spent as a child, transforming discarded notes into perfect projectiles. This simple act of creation brought so much joy and endless possibilities for play. Making a paper ball isn’t just about crafting an object; it’s about engaging in a timeless, satisfying activity.
This guide will walk you through creating your own paper ball, ensuring it’s sturdy and ready for whatever adventure awaits. You’ll gain a useful skill that’s both practical and fun.
Quick Overview
This guide will show you how to transform a simple sheet of paper into a compact, throwable, and surprisingly durable paper ball. You’ll master techniques for optimal crumpling and shaping.
- Time needed: 2-5 minutes
- Difficulty: Beginner
- What you’ll need: A sheet of paper (any type will do)
Step-by-Step Instructions
Step 1: Choose Your Paper
Select your paper. Almost any type of paper works, from printer paper to newspaper to old homework assignments. The thickness and size of the paper will affect the final ball’s density and weight.
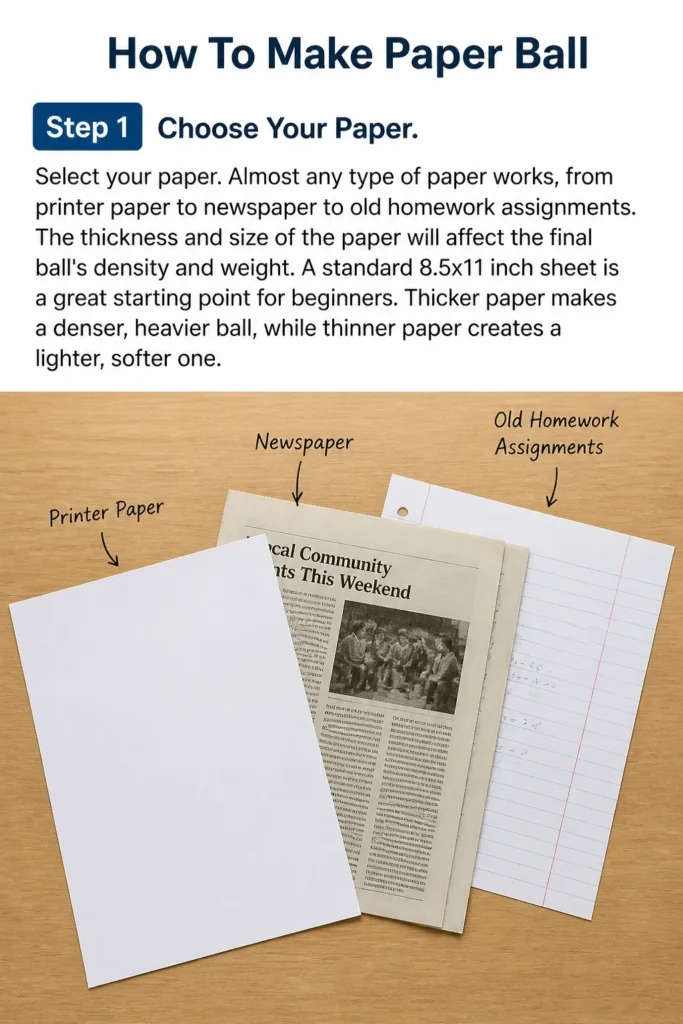
A standard 8.5×11 inch sheet is a great starting point for beginners. Thicker paper makes a denser, heavier ball, while thinner paper creates a lighter, softer one.
Step 2: Prepare for the First Crumple
Hold the paper flat in front of you. Ensure there are no major creases or folds already present that might interfere with the initial crumpling. This fresh start allows for a more even compaction.
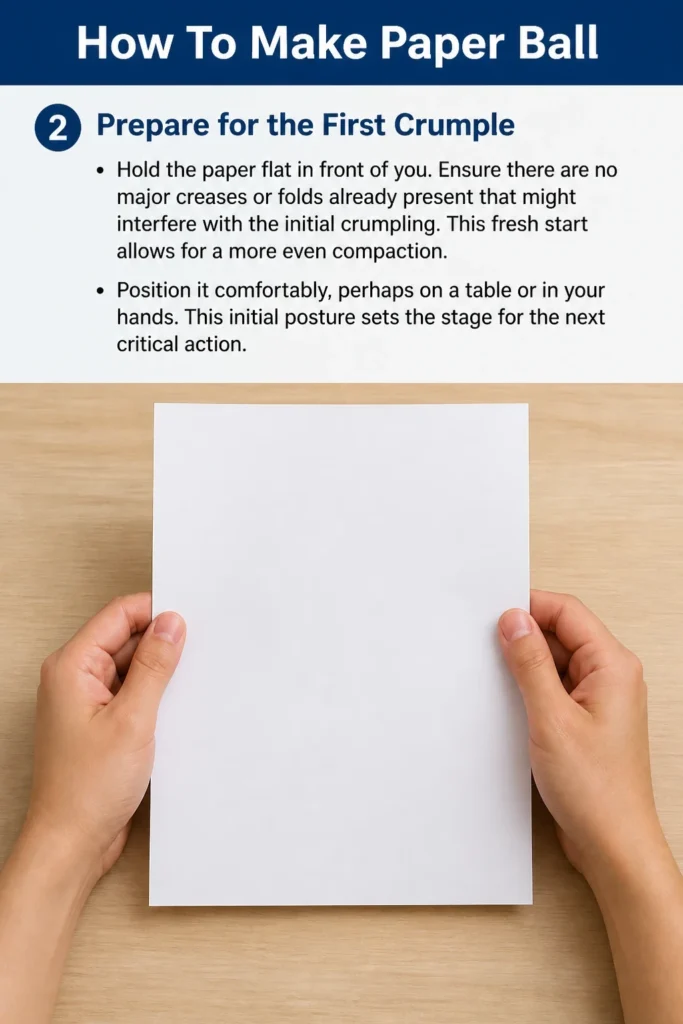
Position it comfortably, perhaps on a table or in your hands. This initial posture sets the stage for the next critical action.
Step 3: Initiate the Crumple
Begin crumpling the paper into a loose ball. Start by gathering the edges towards the center, gradually compressing it. Don’t worry about perfection at this stage; a rough sphere is all you need.
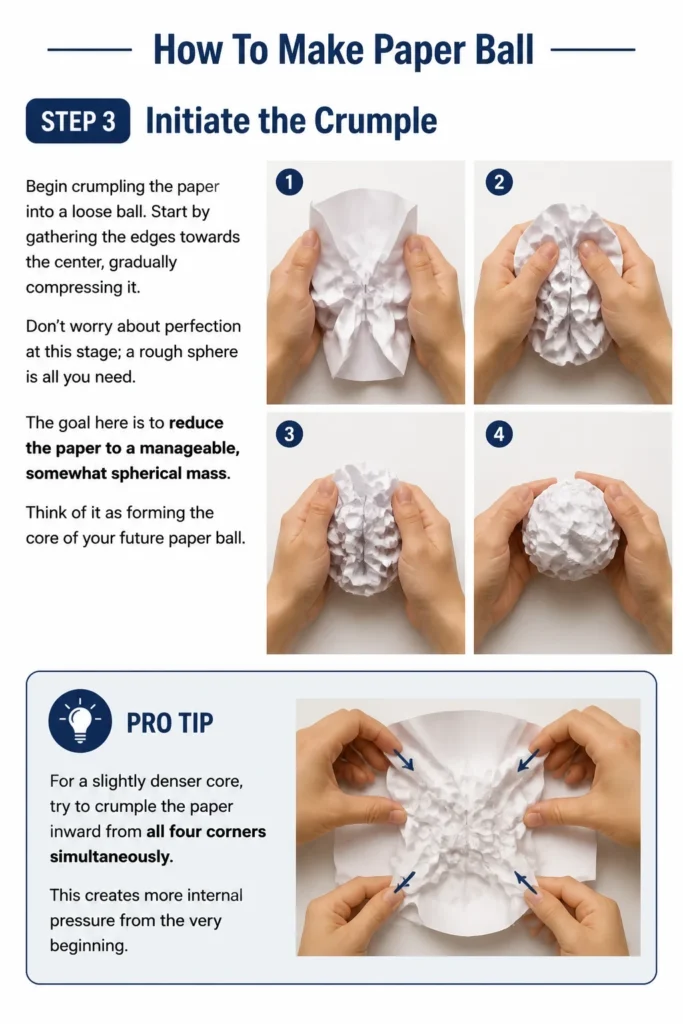
The goal here is to reduce the paper to a manageable, somewhat spherical mass. Think of it as forming the core of your future paper ball.
Pro Tip: For a slightly denser core, try to crumple the paper inward from all four corners simultaneously. This creates more internal pressure from the very beginning.
Step 4: Compact the Core
Squeeze the loosely crumpled paper firmly. Use both hands to apply pressure from all sides, aiming to make the ball as tight as possible. This step is crucial for removing air pockets and increasing density.
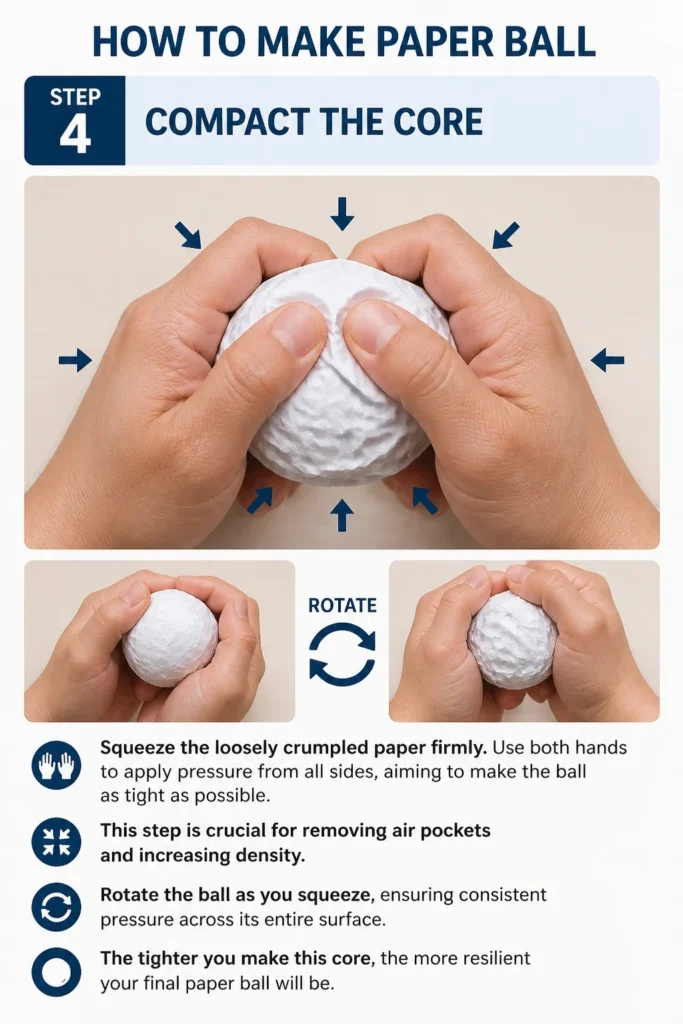
Rotate the ball as you squeeze, ensuring consistent pressure across its entire surface. The tighter you make this core, the more resilient your final paper ball will be.
Step 5: Refine the Shape
Roll the compacted ball between your palms. Use a circular motion, applying even pressure, to smooth out any sharp edges or protruding parts. This action helps to create a more uniformly round shape.
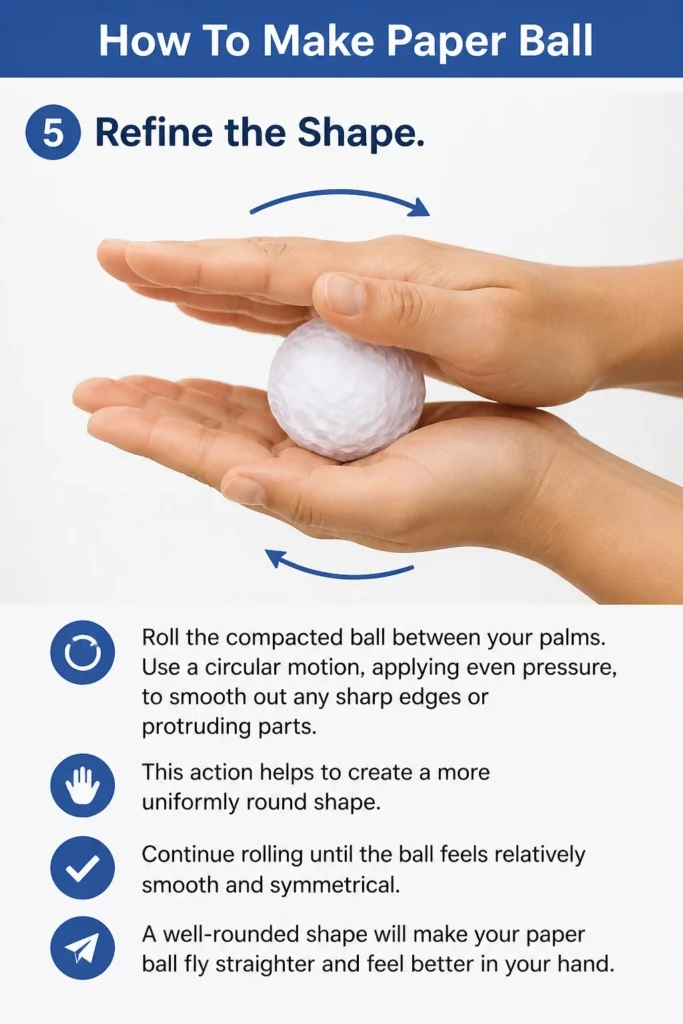
Continue rolling until the ball feels relatively smooth and symmetrical. A well-rounded shape will make your paper ball fly straighter and feel better in your hand.
Step 6: Reinforce with Layers (Optional, but Recommended)
Wrap additional sheets of paper around your core ball if you desire a larger or even denser result. Take a new sheet, crumple it loosely around the existing ball, and then repeat the compaction and shaping steps.
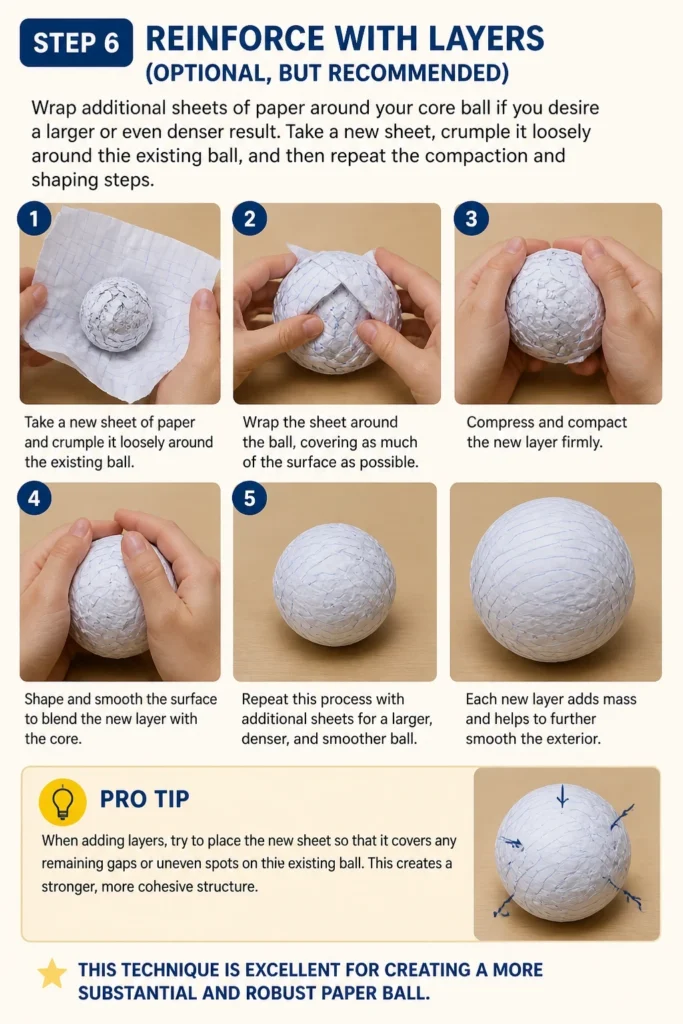
Each new layer adds mass and helps to further smooth the exterior. This technique is excellent for creating a more substantial and robust paper ball.
Pro Tip: When adding layers, try to place the new sheet so that it covers any remaining gaps or uneven spots on the existing ball. This creates a stronger, more cohesive structure.
Step 7: Final Compaction and Smoothing
Apply one last, strong squeeze to the entire paper ball. Use all your finger strength to press down on any remaining soft spots. This final compaction ensures maximum density.
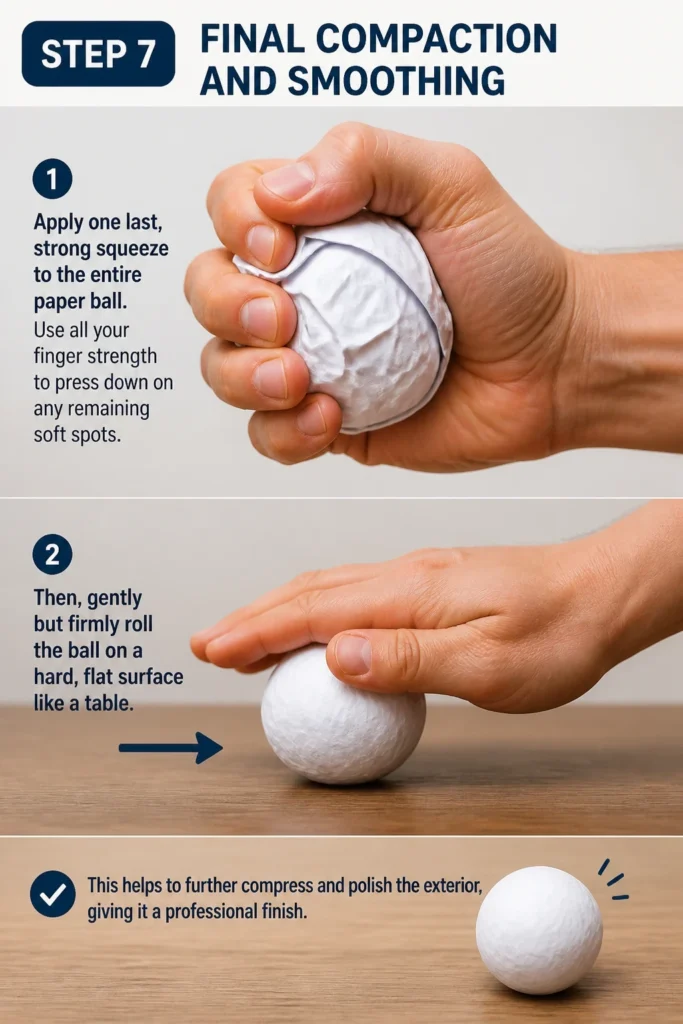
Then, gently but firmly roll the ball on a hard, flat surface like a table. This helps to further compress and polish the exterior, giving it a professional finish.
Common Mistakes to Avoid
Not Crumpling Tightly Enough
A common pitfall is leaving too much air inside the paper ball. If the initial crumpling is too loose, the ball will feel soft and easily fall apart. It won’t have the desired weight or durability.
Always aim for maximum compression from the very first squeeze. The goal is to eliminate as many air pockets as possible, creating a solid, dense core.
Uneven Pressure During Shaping
Applying pressure inconsistently can lead to an irregularly shaped paper ball. You might end up with flat sides or pointy edges instead of a smooth sphere. This can affect how the ball rolls or flies.
Ensure you rotate the ball frequently during compaction and shaping, applying even force from all directions. This promotes a balanced and symmetrical form.
Adding Too Many Layers Too Quickly
While adding layers can be beneficial, doing so without properly compacting each layer can result in a bulky, but still soft, ball. The internal layers won’t bind effectively if they are not dense.
If you choose to add more paper, make sure to fully compact and shape each layer individually before adding the next. This builds strength from the inside out.
Troubleshooting
My Paper Ball Feels Too Soft
If your paper ball lacks firmness, it likely has too much air trapped inside. The solution is to re-compact it more aggressively. Hold the ball tightly in both hands and squeeze with all your might, rotating it as you press.
You can also try rolling it firmly on a hard surface, like a wooden table or floor. This can help to crush any remaining air pockets and bind the paper fibers more closely together.
My Paper Ball Isn’t Round
An irregular shape often comes from uneven pressure during the shaping process. To fix this, identify the flat spots or protrusions on your ball. Focus your pressure specifically on these areas.
Work the ball between your palms, applying extra force to the parts that need to be rounded out. Rolling it vigorously on a flat surface can also help to force it into a more spherical shape over time.
The Paper Ball Keeps Unraveling
If your paper ball starts to unroll or fall apart, it means the internal structure isn’t holding together well. This usually happens if the initial crumpling wasn’t tight enough or if layers weren’t properly integrated.
The best fix is to re-crumple the entire thing, focusing on extreme tightness from the very beginning. If you’ve added layers, ensure each layer is thoroughly compacted and smoothed before adding the next, allowing them to interlock.
Key Takeaways
- Choose your paper wisely, considering its thickness and size for the desired ball.
- Start with a loose crumple, then apply firm, consistent pressure to compact the core.
- Rotate the ball as you squeeze and roll to achieve an even, spherical shape.
- Reinforce your paper ball by adding and compacting extra layers for increased density and durability.
- Always aim for maximum compression to eliminate air pockets and prevent unraveling.
- Practice makes perfect; the more you make, the better your paper balls will become.
Frequently Asked Questions
What kind of paper is best for making a paper ball?
Standard printer paper (copier paper) is excellent for beginners due to its readily available nature and moderate thickness. Newspaper or magazine pages work well for lighter, softer balls. For a very dense and durable ball, consider using cardstock or multiple sheets of regular paper.
Can I make a really large paper ball?
Yes, you can make very large paper balls by continuously adding layers of paper. Start with a well-compacted core and progressively wrap more sheets around it, compacting each new layer thoroughly. This iterative process allows you to build up significant size and density.
How can I make my paper ball more durable?
To increase durability, focus on extreme compaction at every stage. Use multiple layers of paper, ensuring each layer is squeezed as tightly as possible before adding the next. You can also experiment with slightly thicker paper, which inherently offers more resistance to tearing and unraveling.
Is there a way to make a paper ball waterproof?
While a paper ball won’t ever be truly waterproof, you can make it water-resistant. Once formed, you could try coating it with clear packing tape, a thin layer of glue (like Mod Podge), or even a clear sealant spray. These methods create a barrier that can protect it from minor splashes.
Our Top Recommended Finds
- Recycled Printer Paper: A sustainable choice, perfect for practicing and making countless paper balls without guilt.
- Cardstock Paper Pack: Ideal for crafting denser, heavier, and more robust paper balls that stand up to more vigorous play.
- Small Waste Bin: Essential for tidily collecting all your paper scraps and misfires as you perfect your paper ball-making technique.
Mastering the Art of the Humble Paper Ball
You’ve now learned the simple yet satisfying art of crafting a perfect paper ball. It’s a skill that requires minimal resources but offers endless possibilities for fun, stress relief, or even just keeping your hands busy. This seemingly trivial act is a testament to the power of transformation, turning something ordinary into something purposeful.
Why not grab a sheet of paper right now and put these steps into practice? Create your first perfectly spherical projectile, or refine your technique if you’re already a seasoned crumpler. The next time you need a quick distraction or a simple toy, remember the humble paper ball.