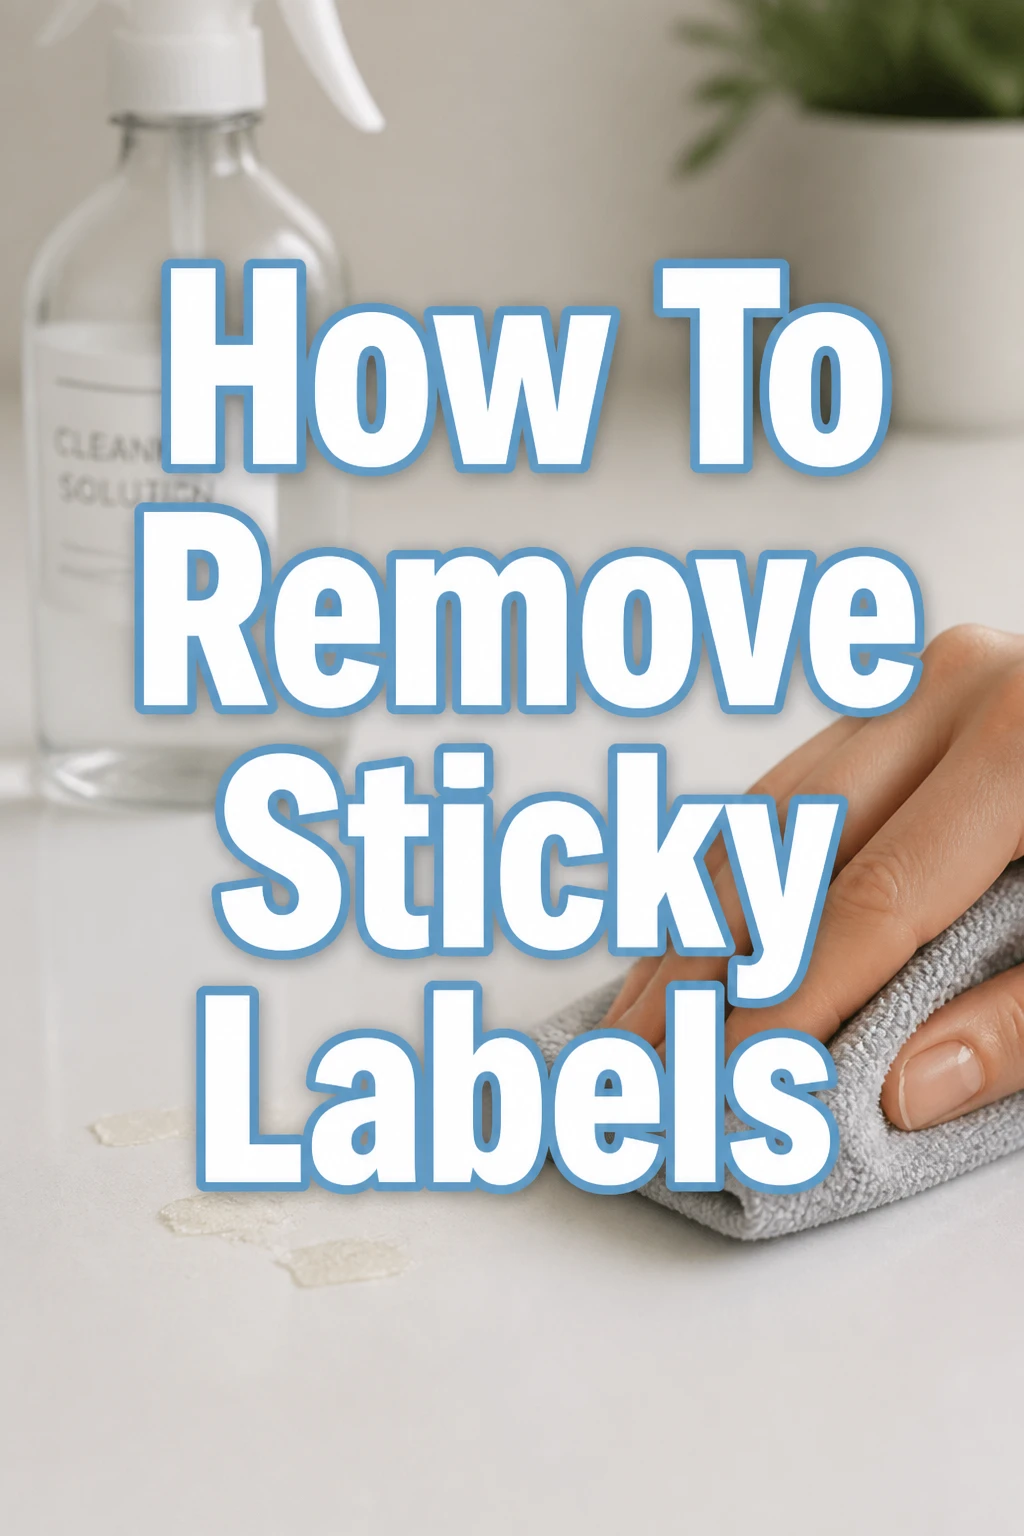
How To Remove Sticky Labels
We’ve all faced the frustration of a stubborn sticky label.
Whether it’s a price tag, a shipping label, or a product sticker, these adhesive remnants can mar an otherwise perfect item.
I’ve personally ruined a few new purchases trying to aggressively scrape off labels, learning the hard way what works and what doesn’t. This guide distills years of trial and error into simple, effective steps, ensuring you can tackle any sticky situation with confidence and protect your belongings.
Quick Overview
This guide will equip you with the knowledge and techniques to safely and effectively remove sticky labels from various surfaces. You’ll learn how to approach different types of adhesives and materials.
- Time needed: 10-30 minutes, depending on label size and stubbornness
- Difficulty: Beginner
- What you’ll need: Rubbing alcohol, white vinegar, hairdryer, various oils (cooking oil, olive oil, baby oil), plastic scraper, clean cloths, mild dish soap, water.
Step-by-Step Instructions
Step 1: Gather Your Supplies
Before you begin, assemble all the necessary tools and cleaning agents. Having everything at hand prevents interruptions and makes the process smoother.
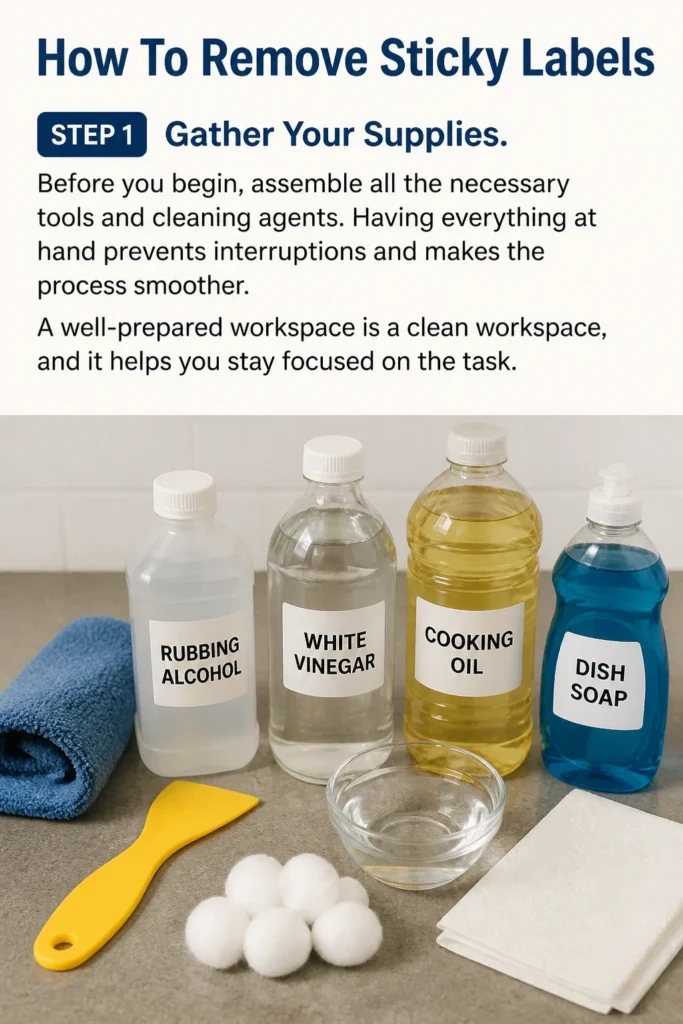
A well-prepared workspace is a clean workspace, and it helps you stay focused on the task.
Step 2: Prepare the Work Area and Item
Choose a well-lit, flat surface where you can work comfortably. Place a protective mat or old towel underneath your item to catch any spills or residue.
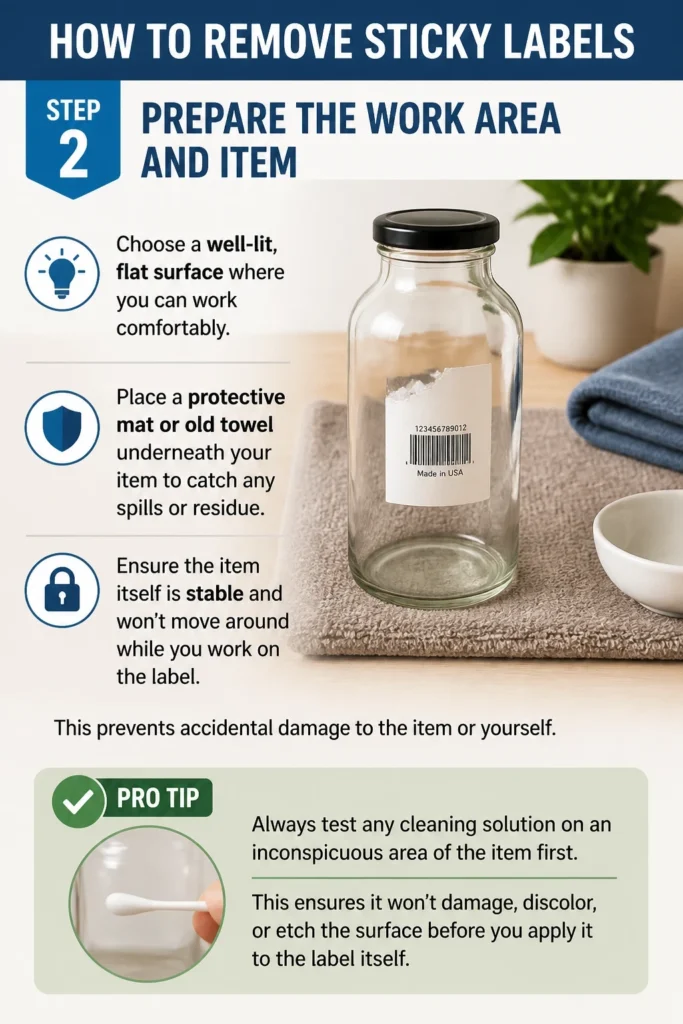
Ensure the item itself is stable and won’t move around while you work on the label. This prevents accidental damage to the item or yourself.
Pro Tip: Always test any cleaning solution on an inconspicuous area of the item first. This ensures it won’t damage, discolor, or etch the surface before you apply it to the label itself.
Step 3: Attempt Initial Peeling
Start by gently trying to peel a corner of the label with your fingernail or the edge of a plastic scraper.
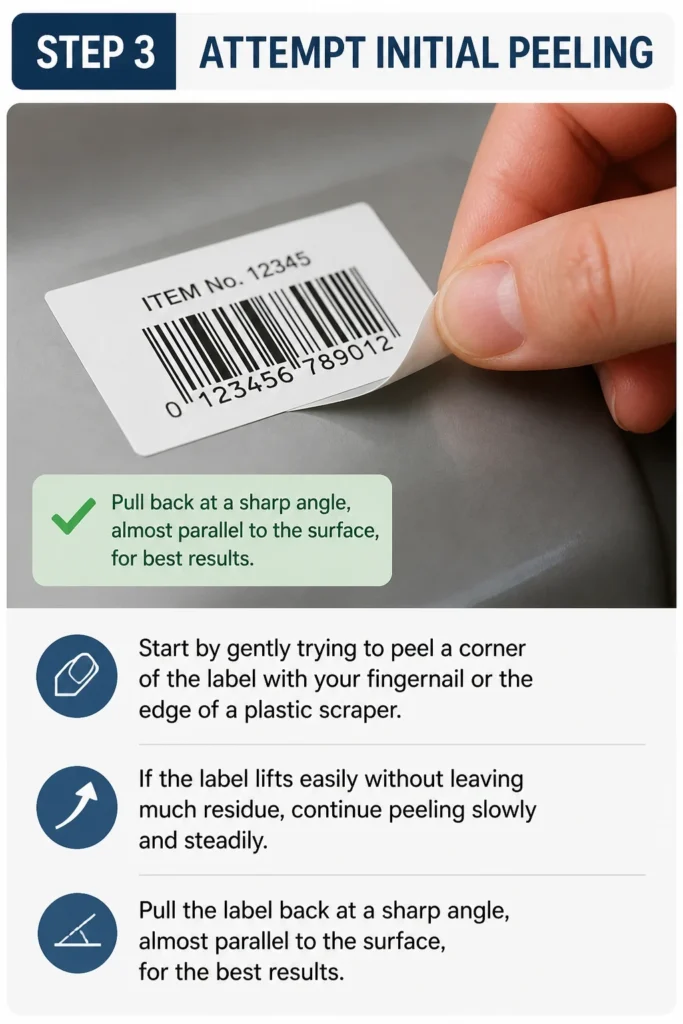
If the label lifts easily without leaving much residue, continue peeling slowly and steadily. Pull the label back at a sharp angle, almost parallel to the surface, for the best results.
Step 4: Apply Heat (for stubborn paper labels)
For paper-based labels or those with strong, dried-out adhesive, heat can be your best friend. The warmth softens the glue, making it more pliable.
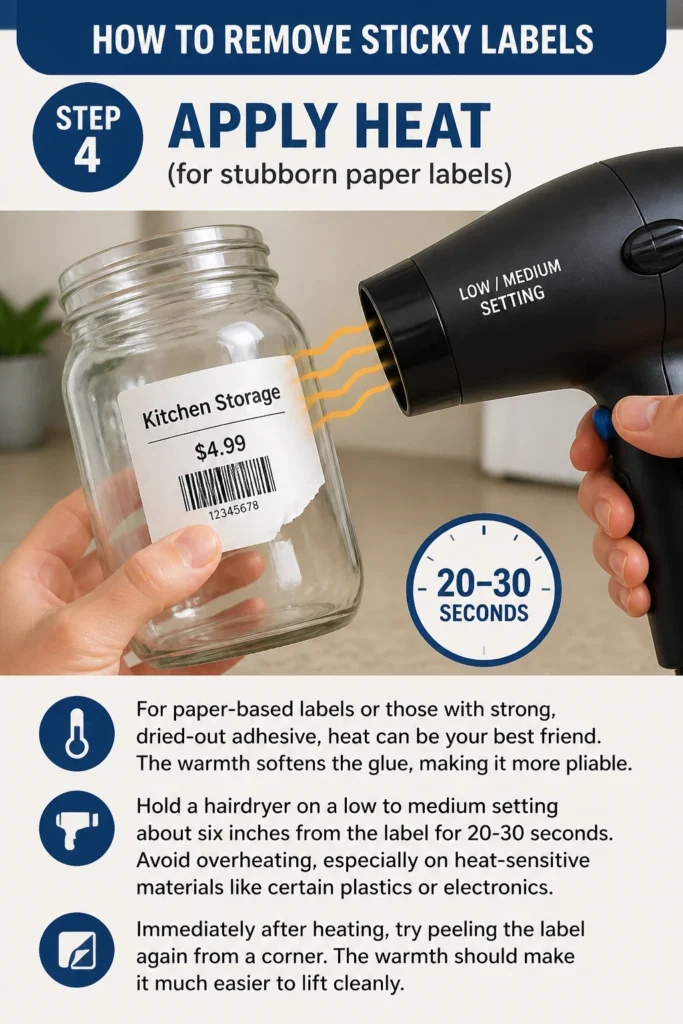
Hold a hairdryer on a low to medium setting about six inches from the label for 20-30 seconds. Avoid overheating, especially on heat-sensitive materials like certain plastics or electronics.
Immediately after heating, try peeling the label again from a corner. The warmth should make it much easier to lift cleanly.
Step 5: Choose and Apply a Solvent
If peeling or heat isn’t enough, it’s time for a solvent. The best choice depends on the surface and the type of adhesive.
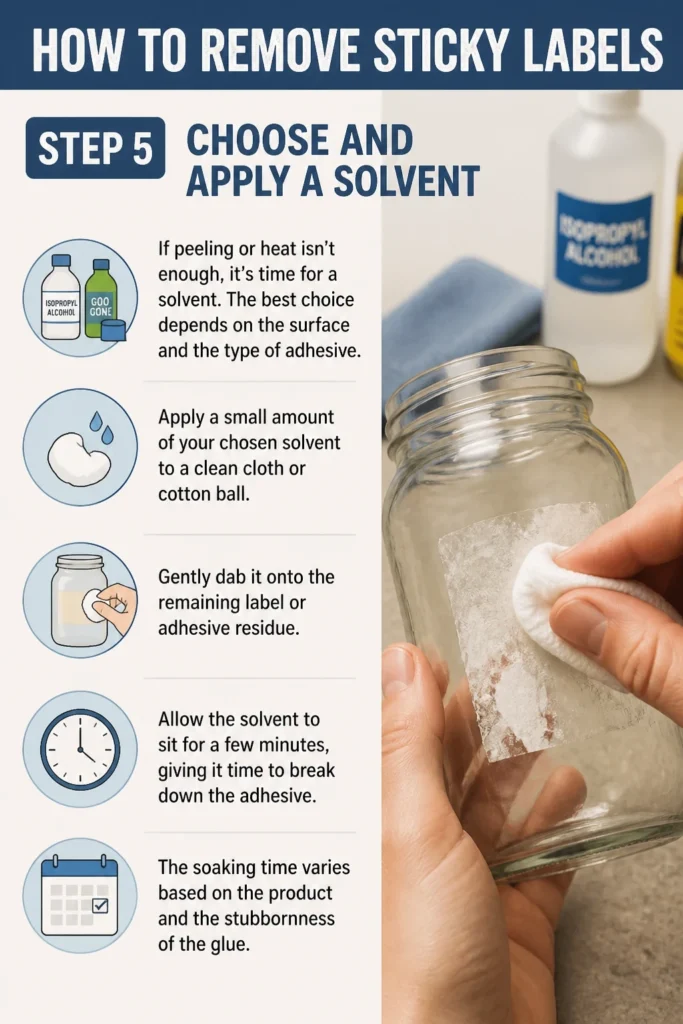
Apply a small amount of your chosen solvent to a clean cloth or cotton ball. Gently dab it onto the remaining label or adhesive residue.
Allow the solvent to sit for a few minutes, giving it time to break down the adhesive. The soaking time varies based on the product and the stubbornness of the glue.
Option 1: Rubbing Alcohol (Isopropyl Alcohol)
Rubbing alcohol is excellent for many surfaces, especially glass, metal, and hard plastics. It dissolves many common adhesives effectively.
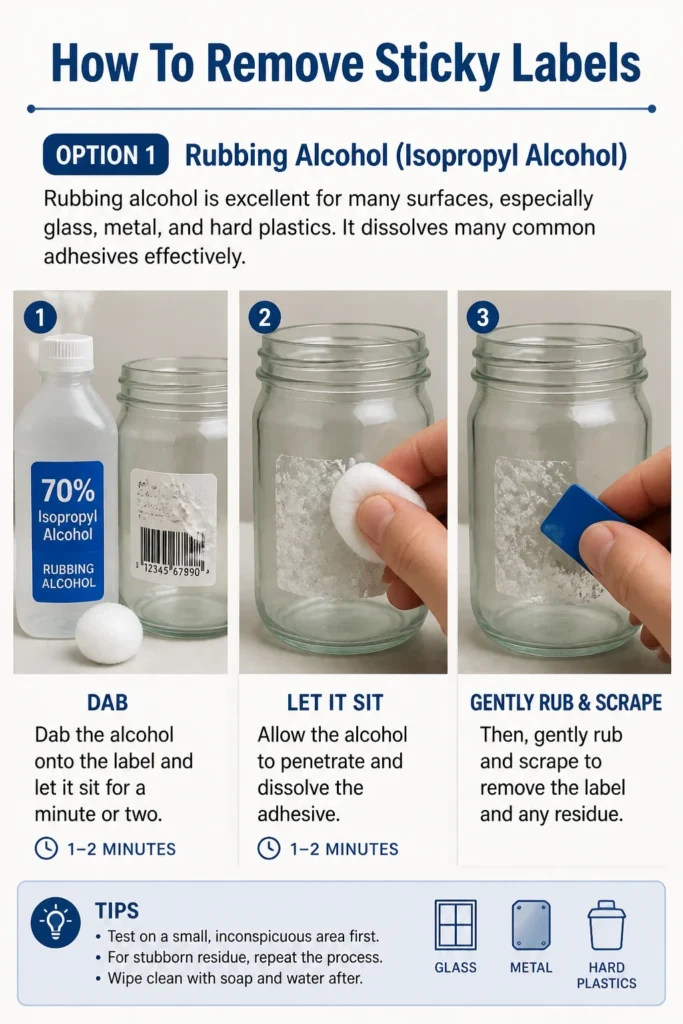
Dab the alcohol onto the label and let it sit for a minute or two. Then, gently rub and scrape.
Option 2: White Vinegar
White vinegar is a natural, mild acid that can break down some adhesives. It’s a good choice for surfaces where stronger solvents might be too harsh, like some painted surfaces or delicate plastics.
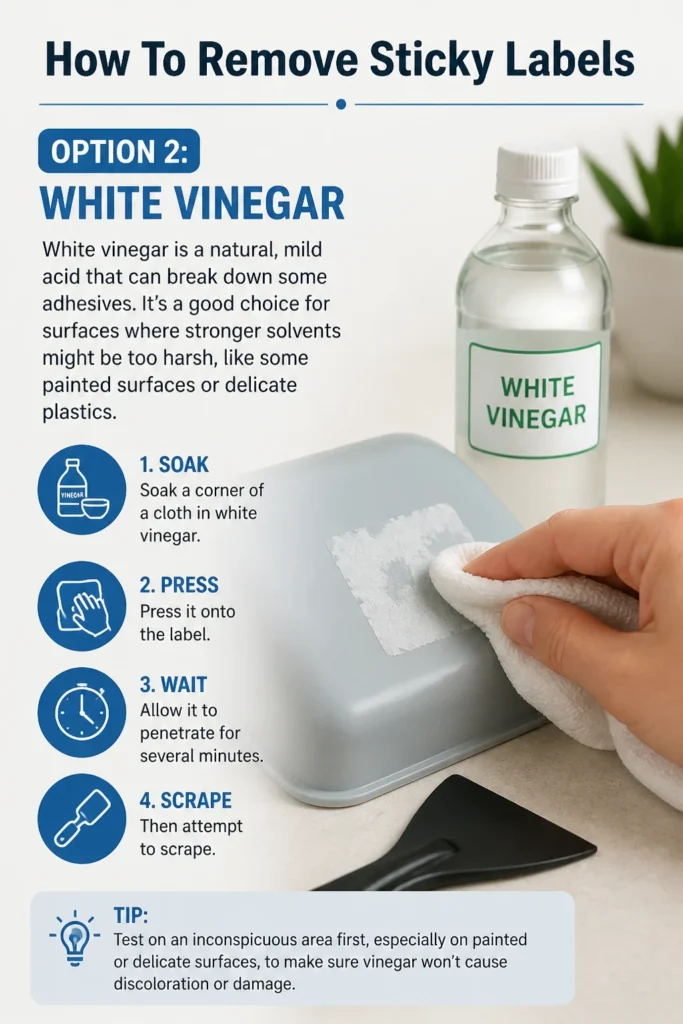
Soak a corner of a cloth in white vinegar and press it onto the label. Allow it to penetrate for several minutes before attempting to scrape.
Option 3: Oils (Cooking Oil, Olive Oil, Baby Oil, Peanut Butter)
Oils work by saturating the paper and lubricating the adhesive, allowing it to lose its grip. This method is particularly effective for paper labels on glass, plastic, or ceramic.
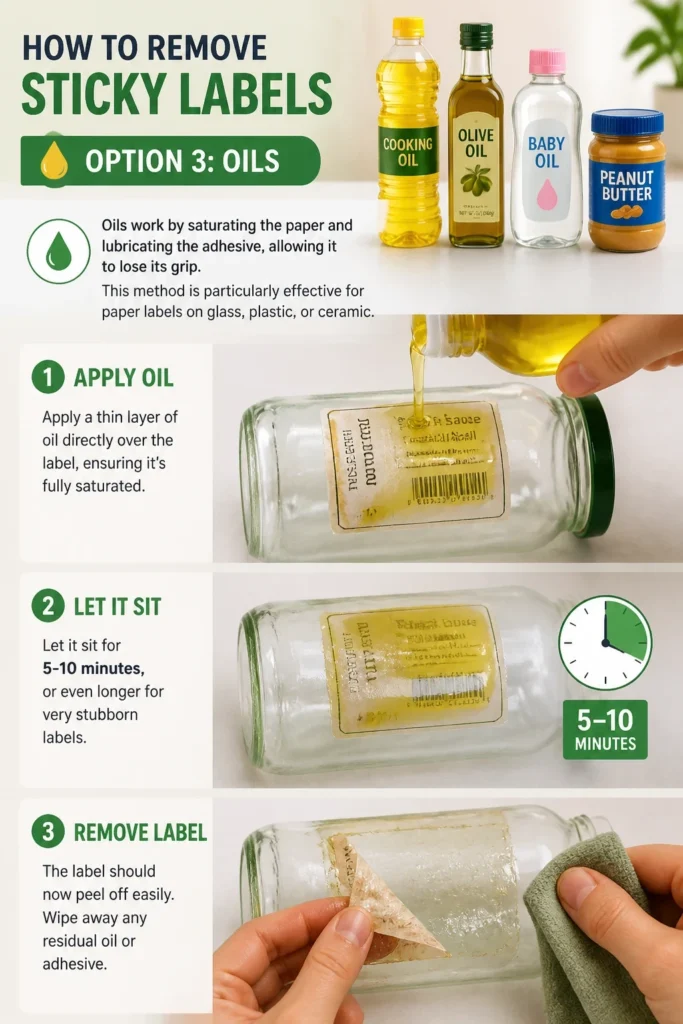
Apply a thin layer of oil directly over the label, ensuring it’s fully saturated. Let it sit for 5-10 minutes, or even longer for very stubborn labels.
Option 4: Commercial Adhesive Removers
For extremely tough labels or large areas, a commercial adhesive remover like Goo Gone or similar products can be very effective. These are formulated specifically for breaking down glues.
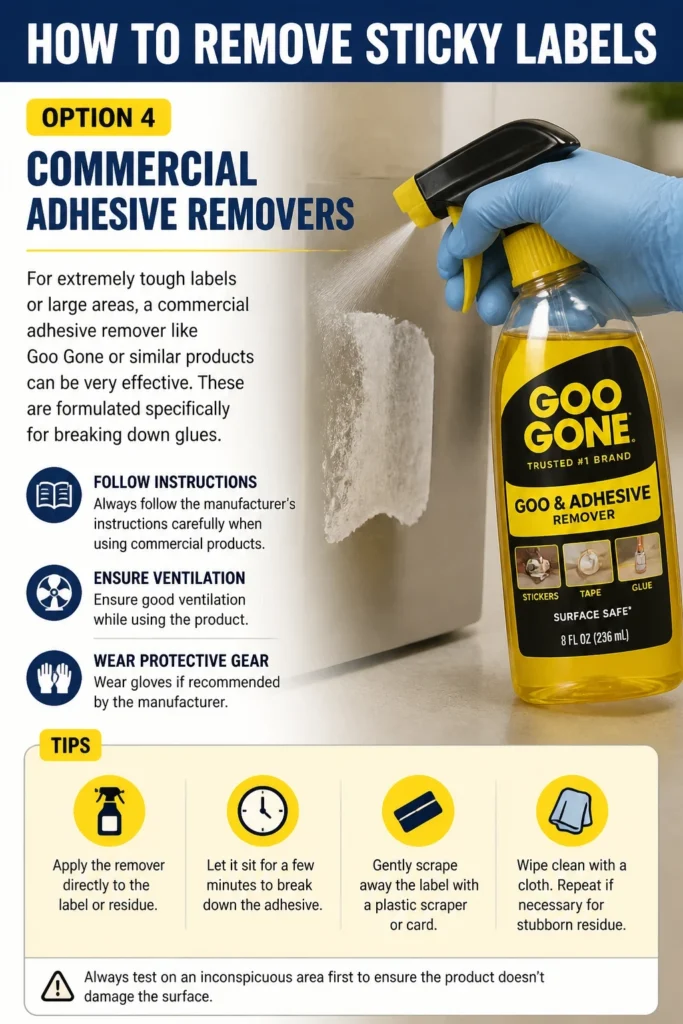
Always follow the manufacturer’s instructions carefully when using commercial products. Ensure good ventilation and wear gloves if recommended.
Step 6: Gently Scrape Away Residue
Once the label or adhesive has softened, it’s time to remove it. Use a plastic scraper, an old credit card, or your fingernail.
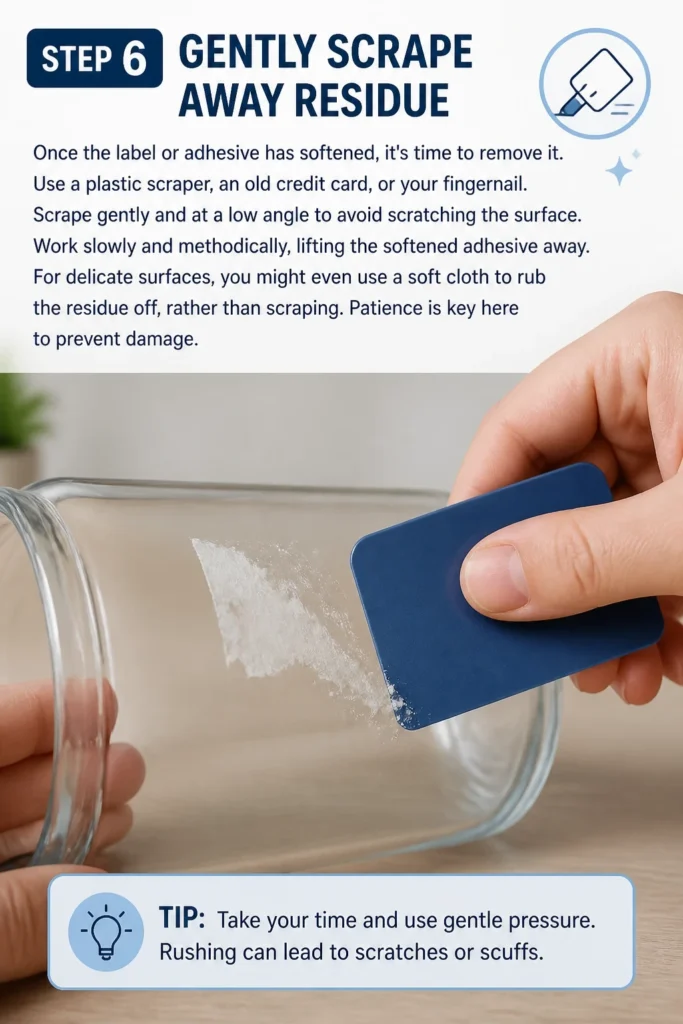
Scrape gently and at a low angle to avoid scratching the surface. Work slowly and methodically, lifting the softened adhesive away.
For delicate surfaces, you might even use a soft cloth to rub the residue off, rather than scraping. Patience is key here to prevent damage.
Step 7: Clean the Surface
After removing the label and most of the adhesive, there might still be a greasy or sticky film left behind. This is normal and easily cleaned.
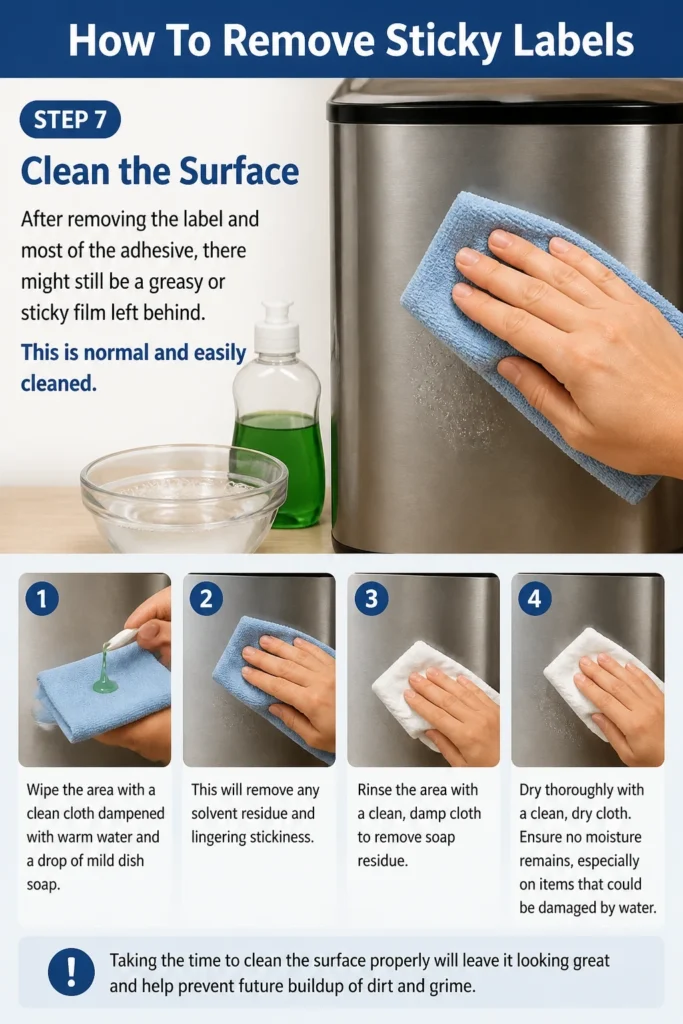
Wipe the area with a clean cloth dampened with warm water and a drop of mild dish soap. This will remove any solvent residue and lingering stickiness.
Rinse the area with a clean, damp cloth to remove soap residue, then dry thoroughly with a clean, dry cloth. Ensure no moisture remains, especially on items that could be damaged by water.
Common Mistakes to Avoid
Using Metal Scrapers
Many people reach for a metal razor blade or knife to scrape off labels. This is a common mistake that can easily lead to permanent scratches, gouges, or etching on the surface of your item.
Even on glass, metal scrapers can leave microscopic scratches that dull the finish over time. Always opt for plastic scrapers, old credit cards, or your fingernail to protect the surface.
Rubbing Too Hard
Aggressive scrubbing or rubbing can spread the adhesive around, making a bigger mess. It can also damage the surface by creating friction marks or removing finishes.
Instead, apply your chosen solvent and allow it time to work. Gentle dabbing and light scraping are far more effective and safer for the item.
Not Testing in an Inconspicuous Area
Skipping the patch test can lead to irreversible damage, such as discoloration, dulling, or melting of the material. Different materials react differently to various solvents.
Always apply a small amount of your chosen cleaning agent to a hidden spot on the item. Wait a few minutes to observe any adverse reactions before proceeding to the label itself.
Using the Wrong Solvent for the Surface
Applying harsh solvents like nail polish remover (acetone) to plastics can melt or permanently cloud them. Strong chemicals can also strip paint or damage delicate finishes.
Understand the material of your item before choosing a solvent. Start with milder options like oil or vinegar, moving to rubbing alcohol, and finally to commercial removers if necessary, always with caution.
Troubleshooting
Label Residue Still Sticky
If you’ve removed the main label but a persistent sticky film remains, it means the adhesive hasn’t fully broken down. This often happens with older, tougher glues.
Reapply your chosen solvent, allowing it to soak for a longer period. For very stubborn residue, try a specialized commercial adhesive remover, ensuring it’s safe for your surface. Gently rub with a clean cloth, reapplying the solvent as needed.
Surface Appears Dull or Hazy
A dull or hazy appearance after label removal usually indicates solvent residue or a reaction with the surface. This can happen if the cleaning agent wasn’t fully rinsed off or if it slightly etched the material.
Thoroughly clean the area with mild dish soap and warm water, then rinse and dry completely. For slight haziness on plastic, a plastic polish or a tiny amount of olive oil rubbed in and buffed might restore shine. If the surface is etched, unfortunately, repair might require professional intervention.
Scratch Marks on the Surface
If you notice fine scratch marks, it likely means a tool that was too abrasive was used, or excessive force was applied. This is a common issue when metal scrapers are used.
For minor scratches on glass or metal, a polishing compound designed for that material might help reduce their appearance. On plastics, very fine scratches can sometimes be buffed out with specialized plastic scratch removers. Deep scratches on any material are often difficult to fully repair.
Key Takeaways
- Always test any solvent or method on an inconspicuous area first to prevent damage.
- Heat from a hairdryer can soften many stubborn paper labels and adhesives.
- Rubbing alcohol, white vinegar, and various oils are effective, common household remedies.
- Use plastic scrapers or old credit cards to avoid scratching surfaces.
- Patience is crucial; allow solvents enough time to work before attempting removal.
- Thoroughly clean the surface with soap and water after removing the label and residue.
Frequently Asked Questions
Can I use nail polish remover to remove sticky labels?
While nail polish remover (acetone) is a powerful solvent, it is generally not recommended for label removal. Acetone can easily melt or permanently cloud many plastics, strip paint, and damage delicate finishes. It should only be used with extreme caution on very specific, durable surfaces like glass or metal, and always after a patch test.
What’s the best way to remove labels from clothing?
For clothing, heat is often effective. Iron the labeled area through a thin cloth, or use a hairdryer to warm the label. Then, gently peel. If residue remains, a dab of rubbing alcohol or even an oil like eucalyptus oil (test first!) can help, followed by a normal wash cycle. Avoid harsh chemicals that might stain or damage fabric.
Will these methods work on old, dried-out labels?
Yes, these methods are particularly effective for old, dried-out labels. Heat helps reactivate the old adhesive, and solvents like rubbing alcohol or various oils are excellent at penetrating and breaking down aged glue. You may need to apply the solvent multiple times and allow for longer soaking periods to fully rehydrate and dissolve the stubborn adhesive.
How do I remove labels from delicate surfaces like photographs or artwork?
Removing labels from delicate surfaces requires extreme caution and often professional help. For minor, non-valuable items, you might try a very gentle application of a very light oil (like mineral oil) on a cotton swab, just on the label itself, allowing it to soak. However, for valuable photos or artwork, consult a conservator to avoid irreparable damage.
Our Top Recommended Finds
- Plastic Scraper Set: Essential for safe and effective residue removal without scratching surfaces.
- Rubbing Alcohol (Isopropyl Alcohol): A versatile and powerful solvent for many types of adhesives and surfaces.
- Goo Gone or Citrus-Based Adhesive Remover: For those extra tough, sticky situations where household items aren’t quite enough.
Embrace a Clean, Label-Free Life
Now you possess the knowledge and practical steps to conquer any sticky label challenge.
No longer will you have to tolerate unsightly adhesive residue on your new purchases or cherished items. This guide empowers you to maintain the pristine condition of your belongings with confidence and ease.
Take these simple techniques and apply them today. Enjoy the satisfaction of perfectly clean, label-free surfaces, and never again let a sticky tag get the best of you.