How To Decorate A Bottle
There’s a unique satisfaction in transforming something ordinary into a piece of art.
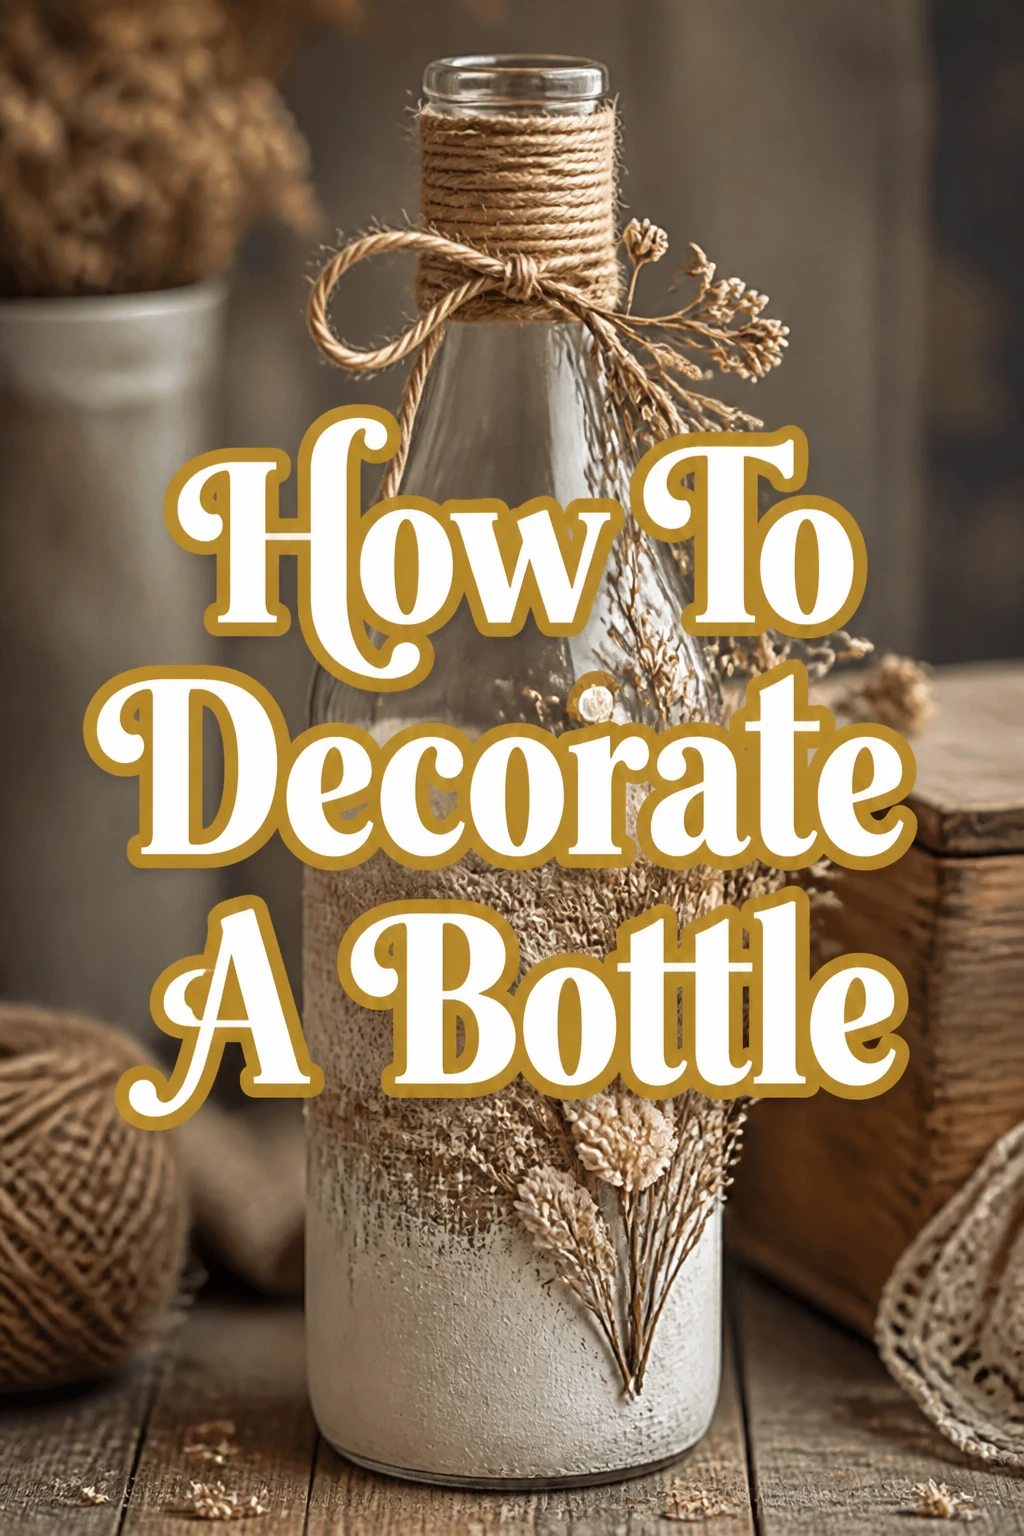
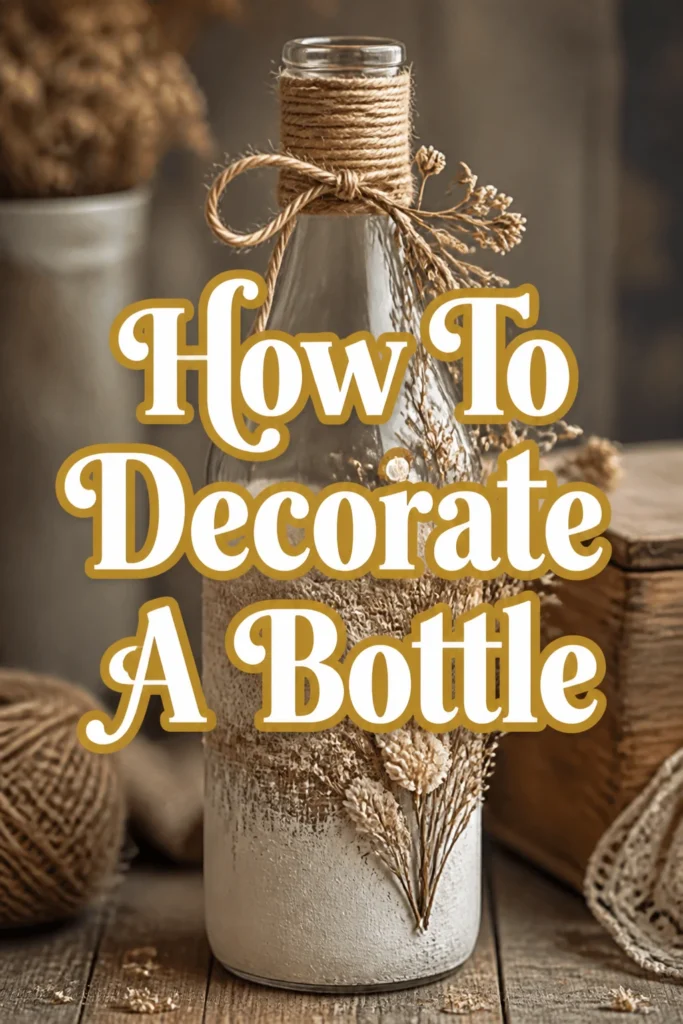
I remember turning a simple, clear wine bottle into a stunning centerpiece for my dining table, sparking conversations and admiration.
This guide shares the practical steps and insights I’ve gathered over years of experimenting, ensuring your bottle decorating journey is smooth and rewarding.
Quick Overview
You’re about to embark on a creative journey, breathing new life into forgotten bottles. By the end, you’ll have a beautifully decorated item perfect for gifting or enhancing your home decor.
- Time needed: 1-4 hours (allowing for drying time)
- Difficulty: Beginner
- What you’ll need: A clean bottle, various paints, brushes, glue, and decorative elements
Step-by-Step Instructions
Step 1: Choose and Clean Your Bottle
Select the perfect bottle for your project. Consider its shape, size, and any unique features that might inspire your design.
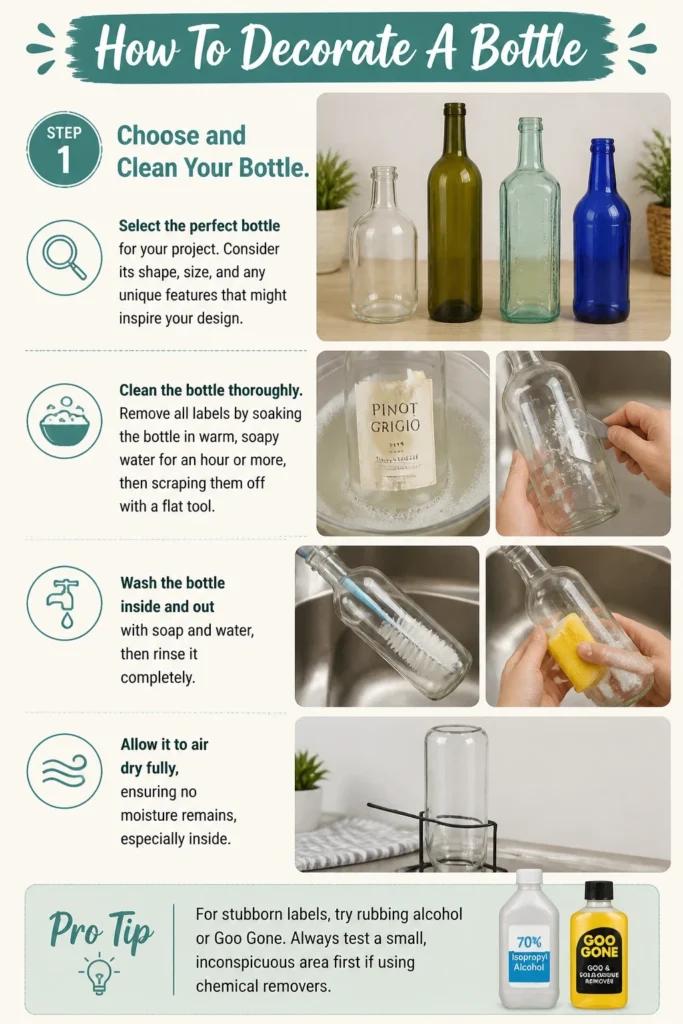
Clean the bottle thoroughly. Remove all labels by soaking the bottle in warm, soapy water for an hour or more, then scraping them off with a flat tool.
Wash the bottle inside and out with soap and water, then rinse it completely. Allow it to air dry fully, ensuring no moisture remains, especially inside.
Pro Tip: For stubborn labels, try rubbing alcohol or Goo Gone. Always test a small, inconspicuous area first if using chemical removers.
Step 2: Plan Your Design Concept
Decide on the aesthetic you want to achieve. Will it be painted, decoupaged, wrapped with string, or embellished with beads?
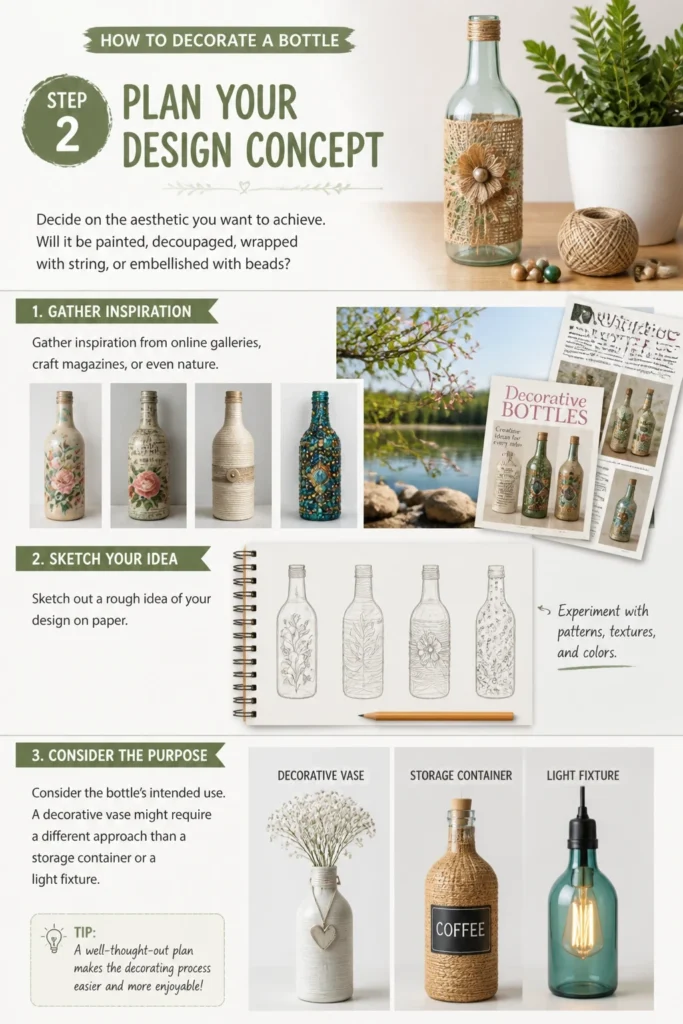
Gather inspiration from online galleries, craft magazines, or even nature. Sketch out a rough idea of your design on paper.
Consider the bottle’s intended use. A decorative vase might require a different approach than a storage container or a light fixture.
Step 3: Prepare Your Workspace
Lay out old newspapers, a drop cloth, or cardboard to protect your work surface from spills and paint.
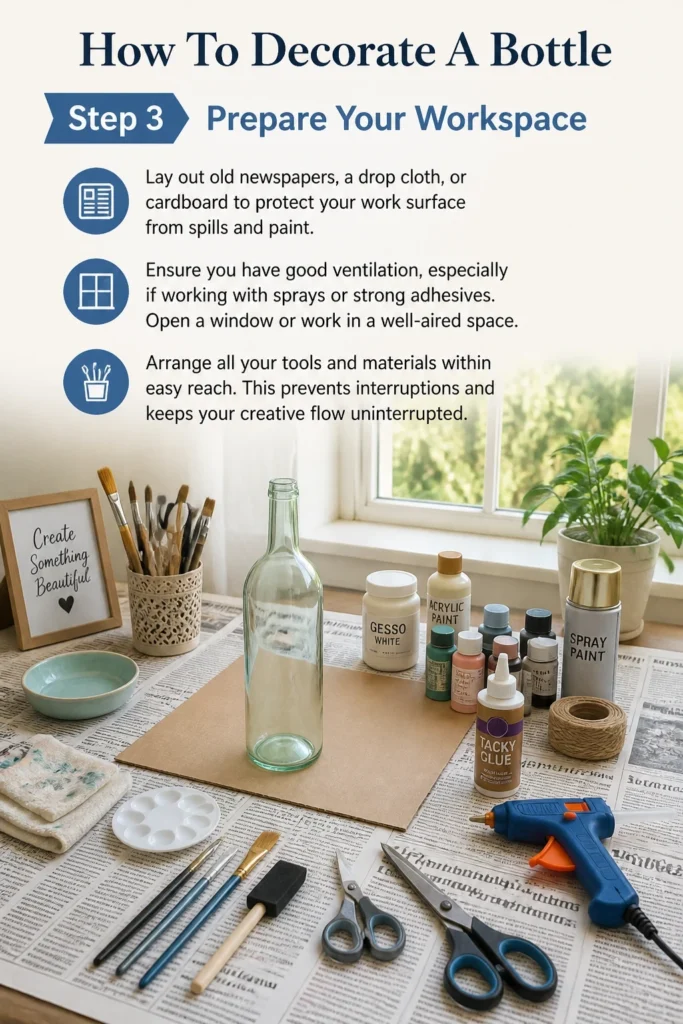
Ensure you have good ventilation, especially if working with sprays or strong adhesives. Open a window or work in a well-aired space.
Arrange all your tools and materials within easy reach. This prevents interruptions and keeps your creative flow uninterrupted.
Step 4: Apply Primer (Optional but Recommended)
Use a primer if you plan to paint your bottle, especially if it’s glass or a very smooth surface. Primer helps paint adhere better and provides a more even finish.
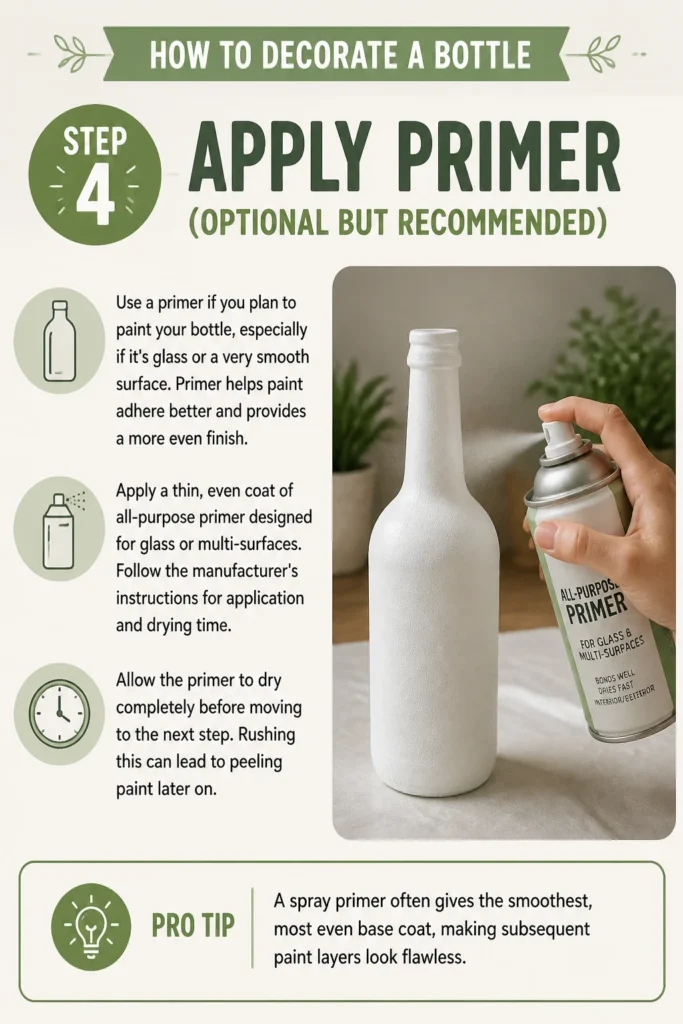
Apply a thin, even coat of all-purpose primer designed for glass or multi-surfaces. Follow the manufacturer’s instructions for application and drying time.
Allow the primer to dry completely before moving to the next step. Rushing this can lead to peeling paint later on.
Pro Tip: A spray primer often gives the smoothest, most even base coat, making subsequent paint layers look flawless.
Step 5: Apply Your Base Layer
Paint your bottle with your chosen base color. Acrylic paints, chalk paint, or spray paint are popular choices for glass and other bottle materials.
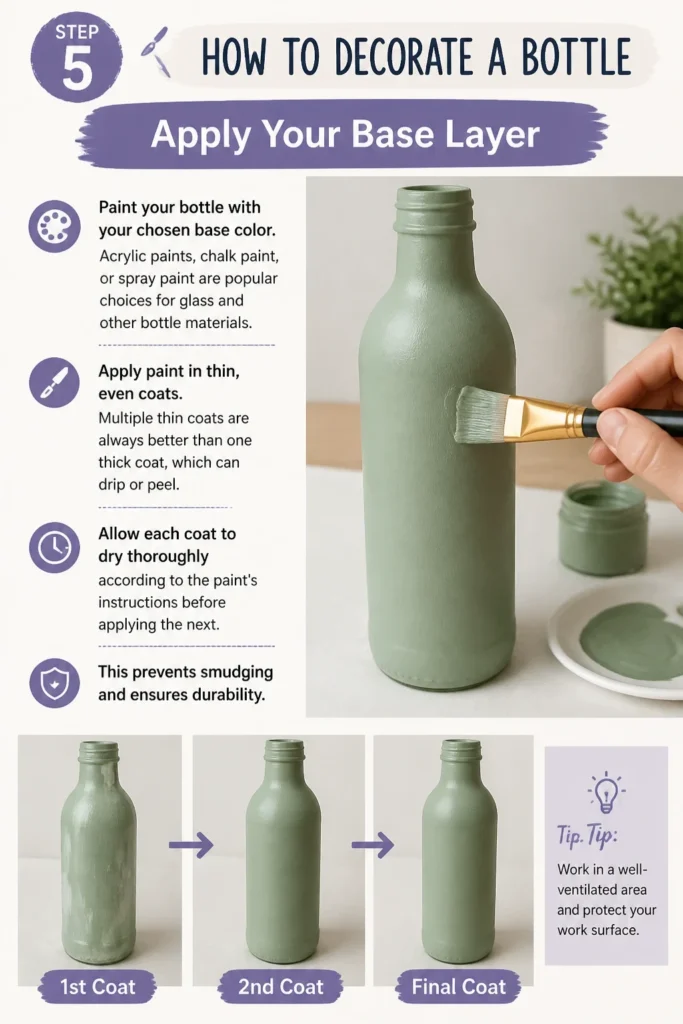
Apply paint in thin, even coats. Multiple thin coats are always better than one thick coat, which can drip or peel.
Allow each coat to dry thoroughly according to the paint’s instructions before applying the next. This prevents smudging and ensures durability.
Step 6: Add Decorative Elements and Details
Introduce your chosen decorative elements. This could involve painting intricate patterns, stenciling designs, or adding texture.
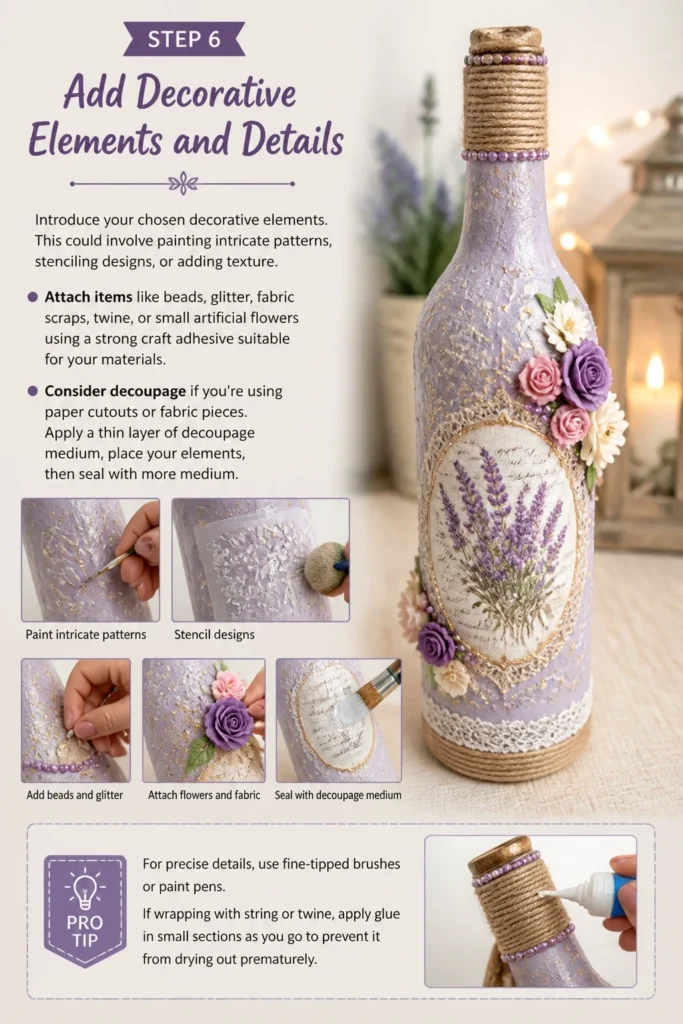
Attach items like beads, glitter, fabric scraps, twine, or small artificial flowers using a strong craft adhesive suitable for your materials.
Consider decoupage if you’re using paper cutouts or fabric pieces. Apply a thin layer of decoupage medium, place your elements, then seal with more medium.
Pro Tip: For precise details, use fine-tipped brushes or paint pens. If wrapping with string or twine, apply glue in small sections as you go to prevent it from drying out prematurely.
Step 7: Seal Your Masterpiece
Protect your decorated bottle with a sealant or varnish. This step is crucial for durability, especially if the bottle will be handled frequently or exposed to moisture.
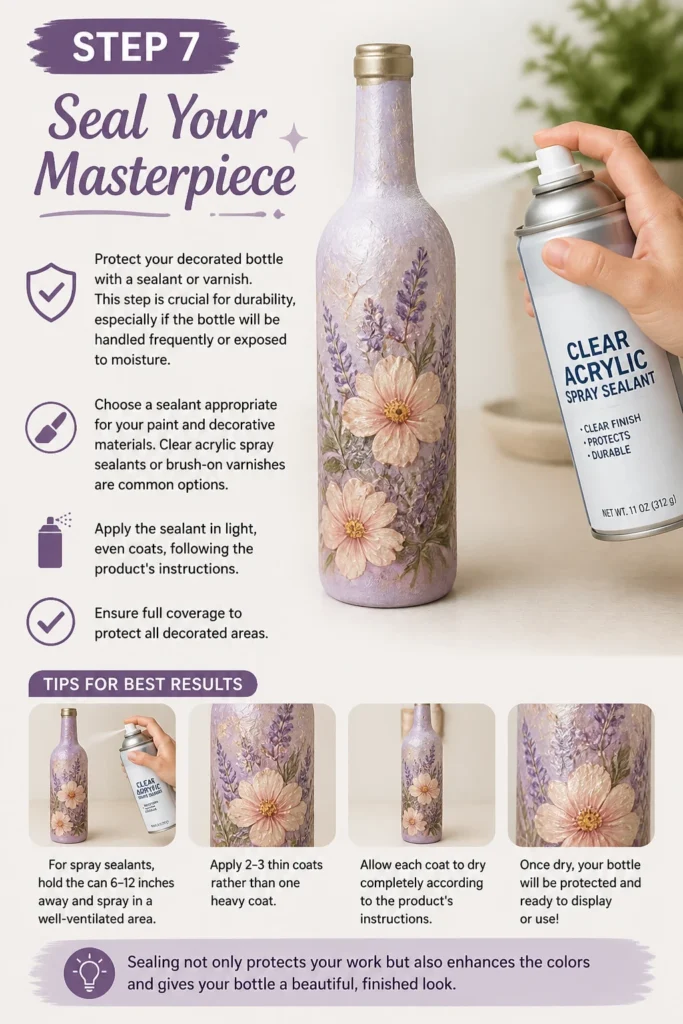
Choose a sealant appropriate for your paint and decorative materials. Clear acrylic spray sealants or brush-on varnishes are common options.
Apply the sealant in light, even coats, following the product’s instructions. Ensure full coverage to protect all decorated areas.
Step 8: Allow for Curing and Display
Permit your bottle to cure fully. While paint and sealant may feel dry to the touch quickly, they often need more time to fully harden and become durable.
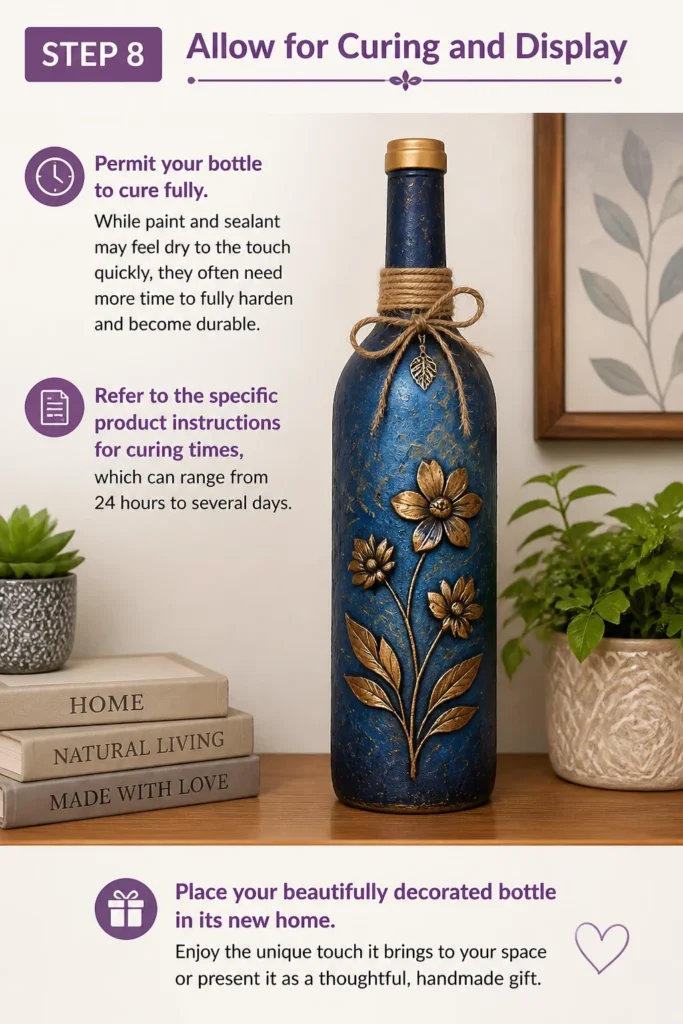
Refer to the specific product instructions for curing times, which can range from 24 hours to several days.
Place your beautifully decorated bottle in its new home. Enjoy the unique touch it brings to your space or present it as a thoughtful, handmade gift.
Common Mistakes to Avoid
Skipping Proper Cleaning
Failing to thoroughly clean your bottle and remove all labels can lead to paint peeling, uneven finishes, or decorative elements not adhering properly. Residues create a barrier between the bottle surface and your materials, compromising the final look and durability.
Rushing Drying Times
Impatience is a common pitfall in crafting. Applying subsequent layers of paint, glue, or sealant before the previous one is completely dry can cause smudging, bubbling, and a sticky, uneven finish. Always respect the recommended drying times for each product.
Overloading with Decorations
While it’s tempting to add many beautiful elements, too much can make your bottle look cluttered and lose its elegant appeal. A balanced design often highlights a few key features rather than overwhelming the viewer with too many competing details.
Using Incompatible Materials
Not all paints and glues work well together or adhere to every surface. Using a water-based paint with an oil-based sealant, for example, can cause issues. Always check product compatibility and ensure your chosen materials are suitable for glass or the bottle’s specific material.
Troubleshooting
Paint Peeling or Chipping
If your paint is peeling or chipping, it’s often due to insufficient surface preparation or an incompatible primer/paint combination. Ensure the bottle is perfectly clean and dry before priming. Using a multi-surface primer designed for glass can significantly improve adhesion. If it’s already peeling, you might need to strip the paint and restart, focusing on thorough cleaning and priming.
Bubbles Under Decoupage Elements
Bubbles under paper or fabric during decoupage usually occur from trapped air. To fix this, gently lift the edge of the element and smooth it down with your fingers or a soft roller, pushing the air outwards. Preventing bubbles involves applying a thin, even layer of decoupage medium and smoothing the item carefully from the center outwards as you place it.
Uneven or Streaky Finish
An uneven or streaky finish can result from applying paint too thickly, using too little paint, or using a brush with stiff bristles. To achieve a smooth finish, apply paint in thin, even coats, allowing each to dry completely. Use a good quality brush or opt for spray paint for a seamless look. Sanding very lightly between dry coats can also help create a perfectly smooth surface.
Key Takeaways
- Thorough cleaning and drying of the bottle are fundamental for lasting adhesion.
- Proper surface preparation, including priming, significantly impacts the durability and finish of your decoration.
- Patience with drying and curing times for each layer is crucial to prevent smudging and ensure a professional look.
- Choosing compatible materials (paints, glues, sealants) is essential for a successful and long-lasting project.
- Less is often more when it comes to decorative elements; aim for balance and focus.
- Sealing your finished bottle protects your artwork and extends its lifespan.
Frequently Asked Questions
Can I decorate plastic bottles?
Yes, you can decorate plastic bottles, but the process might differ slightly. Ensure the plastic is clean and dry. Use paints and primers specifically designed for plastic, as not all paints adhere well to its slick surface. Some heat-sensitive decorations might also be unsuitable for plastic.
How do I easily remove stubborn labels?
For stubborn labels, try soaking the bottle in hot, soapy water for several hours or overnight. Many labels will then peel right off. For persistent residue, use a scraping tool, steel wool, or a commercial adhesive remover like Goo Gone or rubbing alcohol. Always clean off any residue before decorating.
What kind of paint is best for glass bottles?
For glass bottles, multi-surface acrylic paints, chalk paint, or enamel paints are excellent choices. Spray paint designed for glass also works wonderfully for a smooth, even base. Always ensure the paint is suitable for non-porous surfaces and consider a glass primer for optimal adhesion.
How long will a decorated bottle last?
The longevity of a decorated bottle depends heavily on the materials used, the application technique, and whether it’s sealed properly. With good quality materials and a protective sealant, a decorated bottle can last for many years, maintaining its beauty and integrity, especially if it’s not exposed to harsh conditions.
Our Top Recommended Finds
- Multi-Surface Acrylic Paint Set: Offers a wide range of colors and adheres well to glass, plastic, and other surfaces, making it versatile for various projects.
- Mod Podge All-in-One Sealer, Glue, and Finish: Perfect for decoupage, acting as an adhesive for paper or fabric, and then sealing the entire piece with a durable, clear finish.
- Clear Acrylic Spray Sealer (Satin or Gloss): Provides an easy and even way to protect your finished bottle from wear and tear, enhancing its durability and appearance.
Uncork Your Creativity Today
You now have the knowledge and steps to transform any ordinary bottle into an extraordinary piece.
Don’t let those empty bottles gather dust; see them as blank canvases waiting for your personal touch.
Experiment with different textures, colors, and themes, and let your imagination guide you to create something truly unique. Start your first bottle decorating project today and discover the joy of crafting!