How To Paint A Candle
Painting candles offers a wonderful way to personalize your home decor or create thoughtful gifts.
I remember the first time I painted a candle; it was for a friend’s birthday, and the simple act of transforming a plain wax cylinder into a tiny work of art was incredibly satisfying.
This guide shares that hands-on experience, making the process easy and enjoyable for anyone.
Quick Overview
You are about to embark on a delightful creative journey, transforming ordinary candles into personalized decorative pieces.
By the end, you’ll have a beautifully painted candle, ready to display or gift.
- Time needed: 1-3 hours (including drying time)
- Difficulty: Beginner
- What you’ll need: Candles, acrylic or wax paints, fine brushes, rubbing alcohol, sealant.
Step-by-Step Instructions
Step 1: Gather Your Materials
Before you begin, ensure you have all necessary items within reach. This makes the entire painting process smoother and more enjoyable.
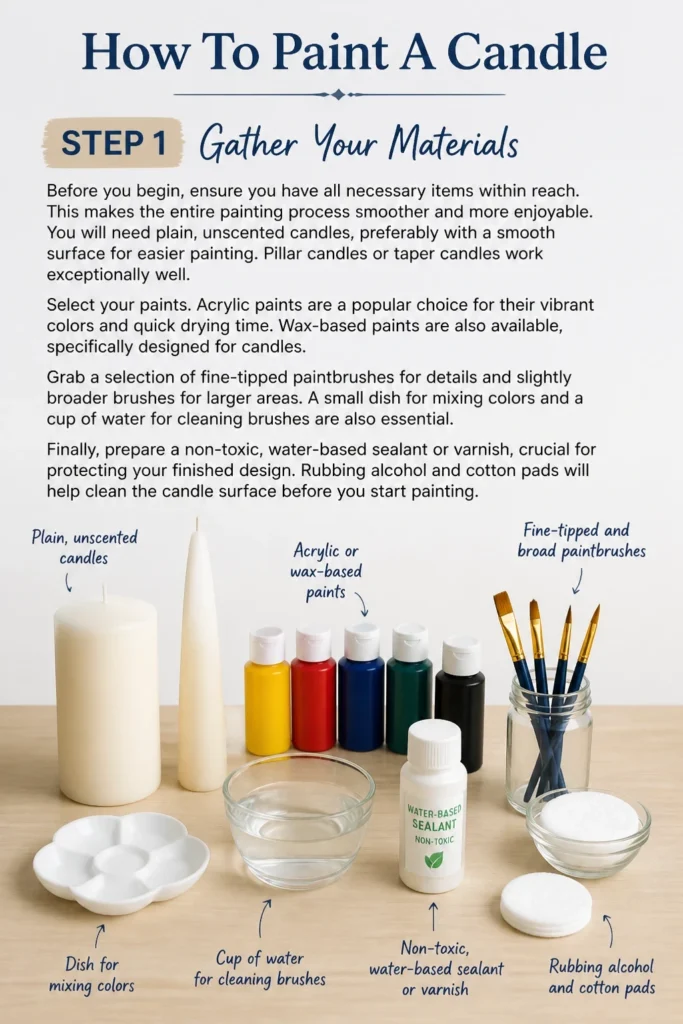
You will need plain, unscented candles, preferably with a smooth surface for easier painting. Pillar candles or taper candles work exceptionally well.
Select your paints. Acrylic paints are a popular choice for their vibrant colors and quick drying time. Wax-based paints are also available, specifically designed for candles.
Grab a selection of fine-tipped paintbrushes for details and slightly broader brushes for larger areas. A small dish for mixing colors and a cup of water for cleaning brushes are also essential.
Finally, prepare a non-toxic, water-based sealant or varnish, crucial for protecting your finished design. Rubbing alcohol and cotton pads will be needed for surface preparation.
Step 2: Prepare Your Workspace
Choose a well-lit, clean, and flat surface to work on. Good lighting is key for seeing your details clearly.
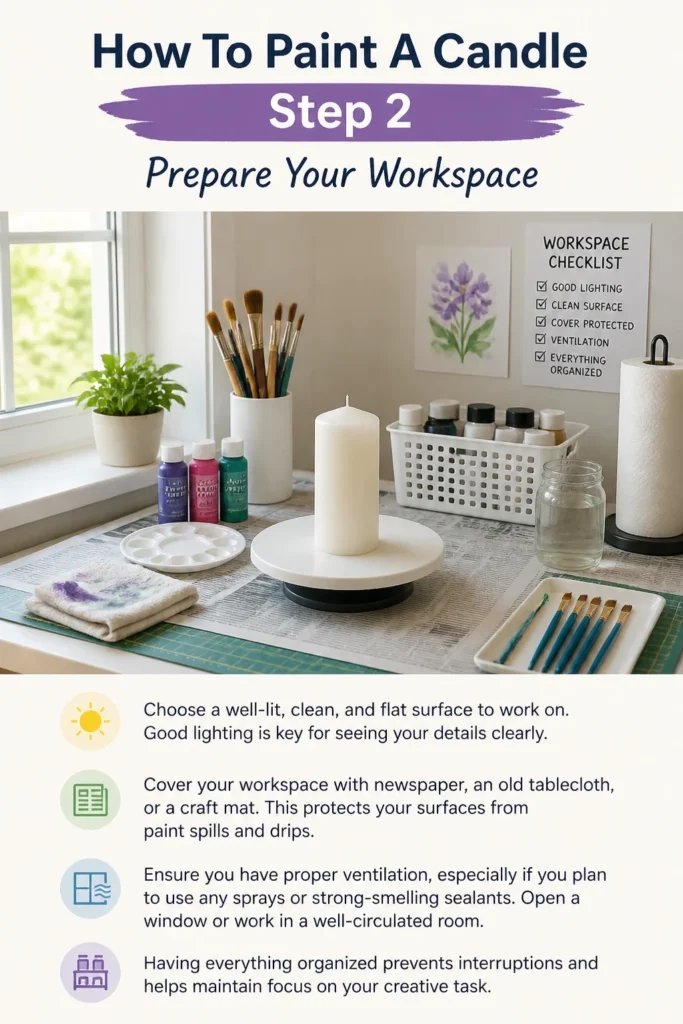
Cover your workspace with newspaper, an old tablecloth, or a craft mat. This protects your surfaces from paint spills and drips.
Ensure you have proper ventilation, especially if you plan to use any sprays or strong-smelling sealants. Open a window or work in a well-circulated room.
Having everything organized prevents interruptions and helps maintain focus on your creative task.
Step 3: Clean the Candle Surface
A clean surface is vital for paint adhesion. Any dust, oils, or residue can prevent your paint from sticking properly.
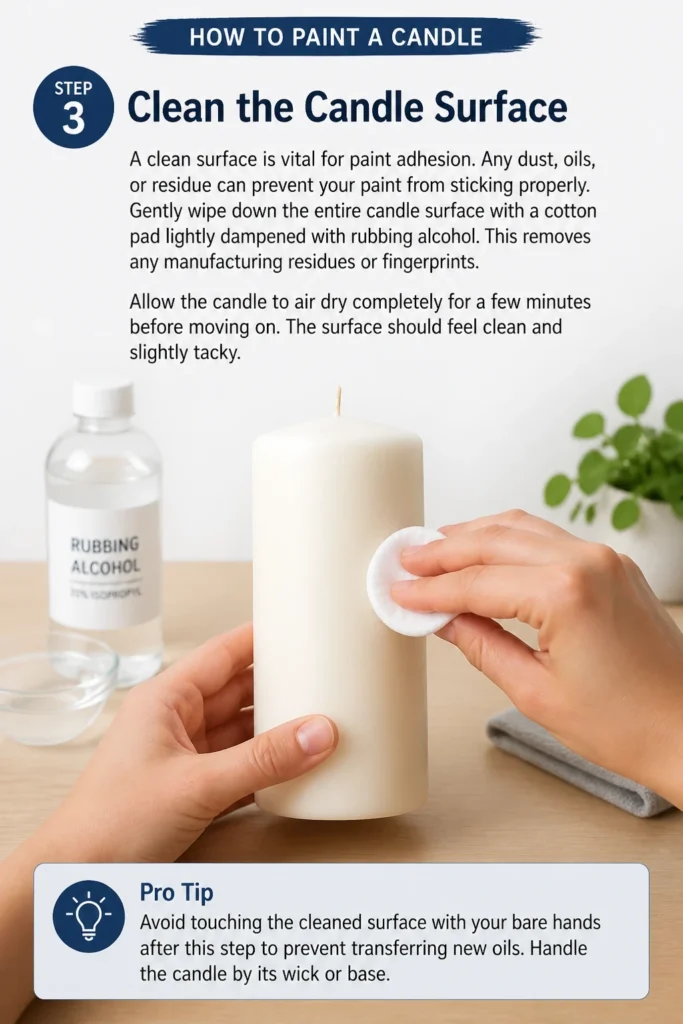
Gently wipe down the entire candle surface with a cotton pad lightly dampened with rubbing alcohol. This removes any manufacturing residues or fingerprints.
Allow the candle to air dry completely for a few minutes before moving on. The surface should feel clean and slightly tacky.
Pro Tip: Avoid touching the cleaned surface with your bare hands after this step to prevent transferring new oils. Handle the candle by its wick or base.
Step 4: Sketch Your Design (Optional)
If you have a complex design in mind, sketching it out first can be incredibly helpful. This step allows you to plan your composition and proportions.
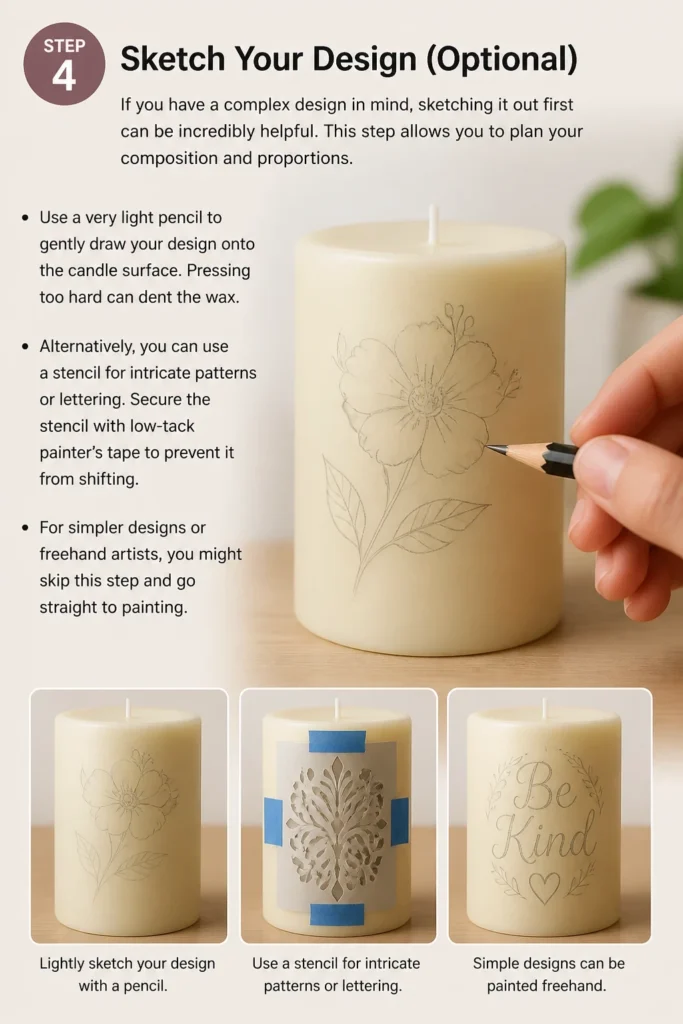
Use a very light pencil to gently draw your design onto the candle surface. Pressing too hard can dent the wax.
Alternatively, you can use a stencil for intricate patterns or lettering. Secure the stencil with low-tack painter’s tape to prevent it from shifting.
For simpler designs or freehand artists, you might skip this step and go straight to painting.
Step 5: Apply Your Base Coat (if needed)
Sometimes, a base coat is necessary, especially if you’re working with dark candles and want vibrant colors, or if you need a uniform background.
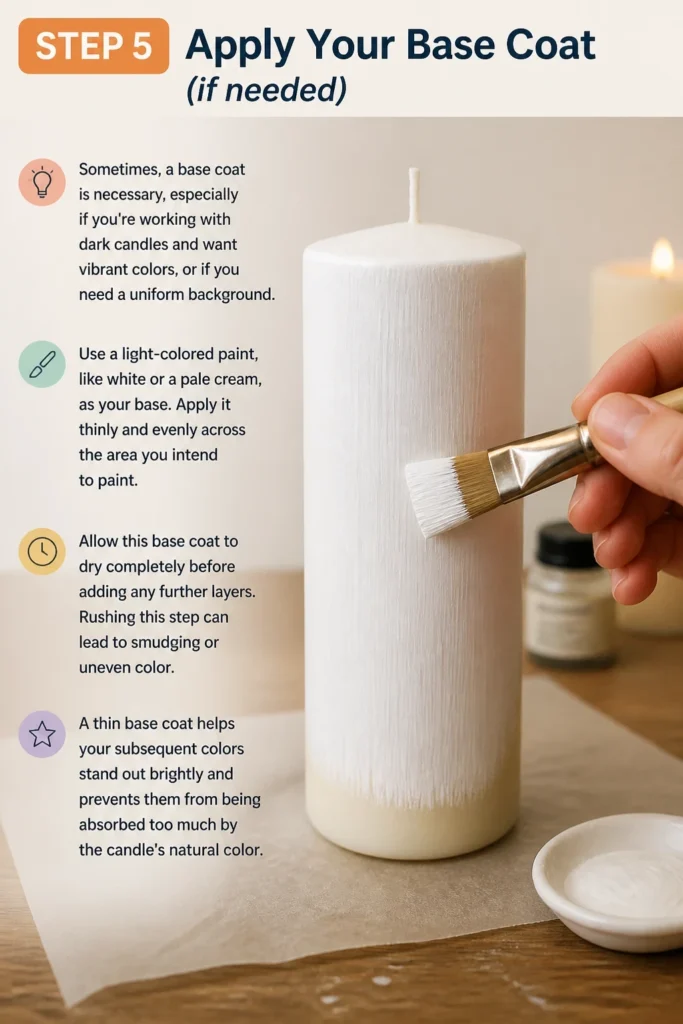
Use a light-colored paint, like white or a pale cream, as your base. Apply it thinly and evenly across the area you intend to paint.
Allow this base coat to dry completely before adding any further layers. Rushing this step can lead to smudging or uneven color.
A thin base coat helps your subsequent colors stand out brightly and prevents them from being absorbed too much by the candle’s natural color.
Step 6: Paint Your Design
Now, the fun begins! Start applying your chosen colors to the candle, following your sketch or freehand design.
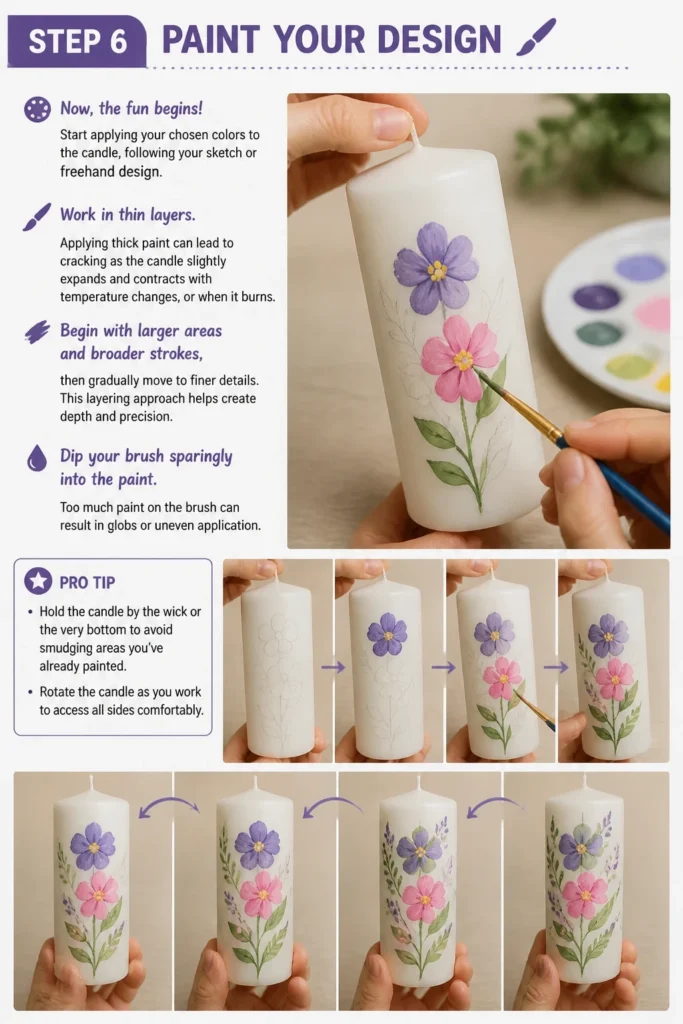
Work in thin layers. Applying thick paint can lead to cracking as the candle slightly expands and contracts with temperature changes, or when it burns.
Begin with larger areas and broader strokes, then gradually move to finer details. This layering approach helps create depth and precision.
Dip your brush sparingly into the paint. Too much paint on the brush can result in globs or uneven application.
Pro Tip: Hold the candle by the wick or the very bottom to avoid smudging areas you’ve already painted. Rotate the candle as you work to access all sides comfortably.
Step 7: Let Each Layer Dry
Patience is a virtue when painting candles. Allowing each layer of paint to dry completely is crucial for a professional finish.
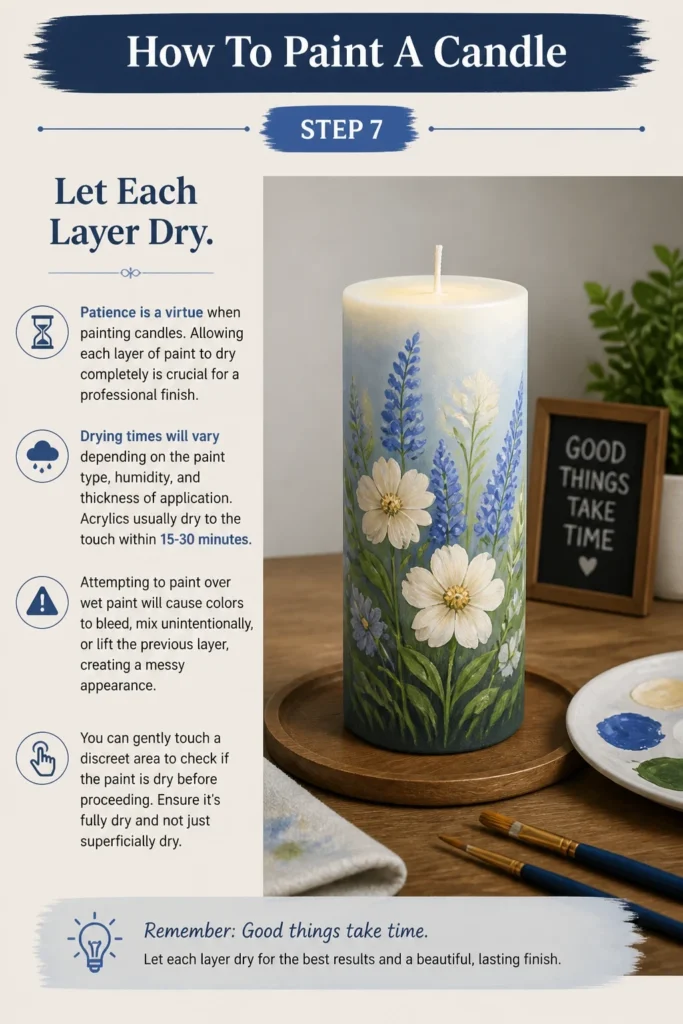
Drying times will vary depending on the paint type, humidity, and thickness of application. Acrylics usually dry to the touch within 15-30 minutes.
Attempting to paint over wet paint will cause colors to bleed, mix unintentionally, or lift the previous layer, creating a messy appearance.
You can gently touch a discreet area to check if the paint is dry before proceeding. Ensure it’s fully dry and not just superficially dry.
Step 8: Add Fine Details
Once your main design layers are dry, it’s time to add those intricate touches that bring your candle to life.
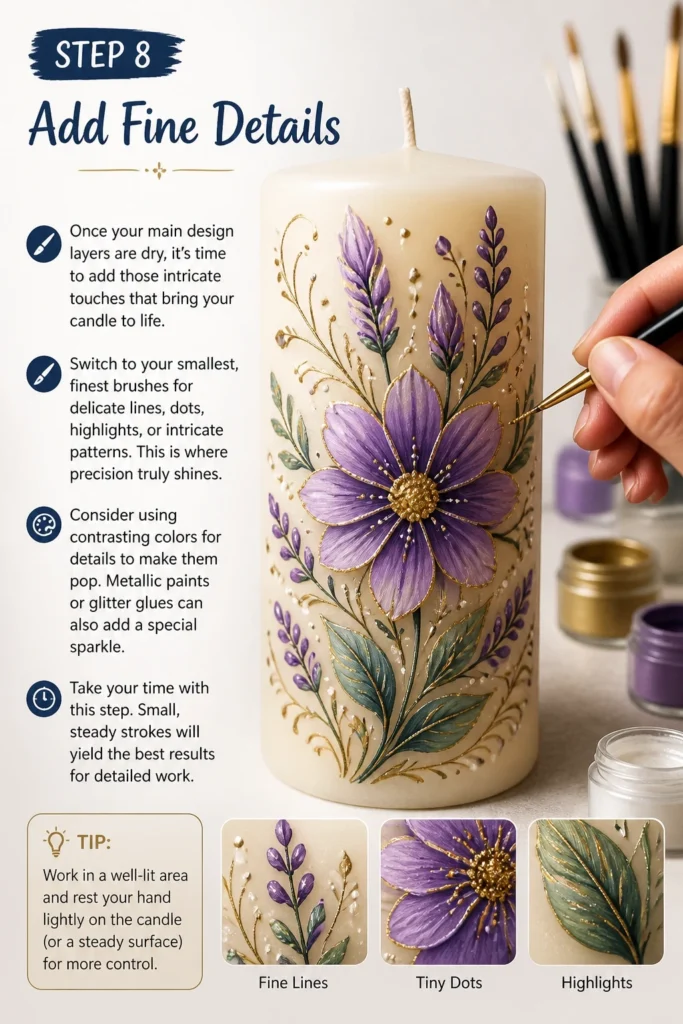
Switch to your smallest, finest brushes for delicate lines, dots, highlights, or intricate patterns. This is where precision truly shines.
Consider using contrasting colors for details to make them pop. Metallic paints or glitter glues can also add a special sparkle.
Take your time with this step. Small, steady strokes will yield the best results for detailed work.
Step 9: Seal Your Masterpiece
Sealing your painted candle protects your artwork from scratches, smudges, and environmental factors. It also gives it a finished look.
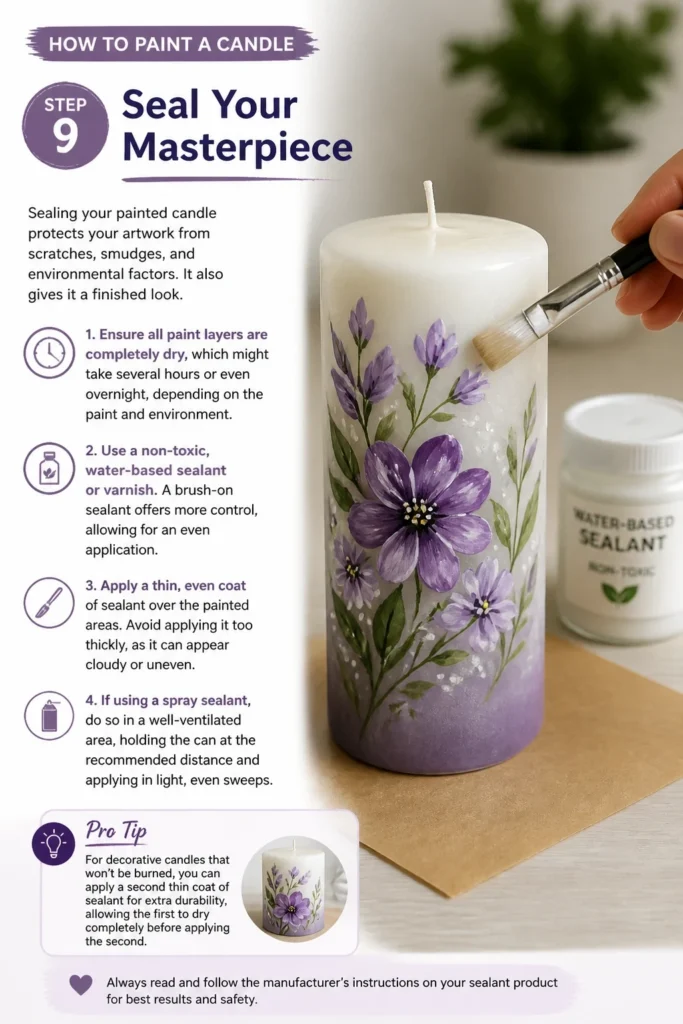
Ensure all paint layers are completely dry, which might take several hours or even overnight, depending on the paint and environment.
Use a non-toxic, water-based sealant or varnish. A brush-on sealant offers more control, allowing for an even application.
Apply a thin, even coat of sealant over the painted areas. Avoid applying it too thickly, as it can appear cloudy or uneven.
If using a spray sealant, do so in a well-ventilated area, holding the can at the recommended distance and applying in light, even sweeps.
Pro Tip: For decorative candles that won’t be burned, you can apply a second thin coat of sealant for extra durability, allowing the first to dry completely beforehand. For candles intended for burning, keep sealant away from the wick.
Step 10: Cure and Enjoy
After applying the sealant, allow your candle to cure fully. This means letting the sealant harden completely, which can take 24-48 hours.
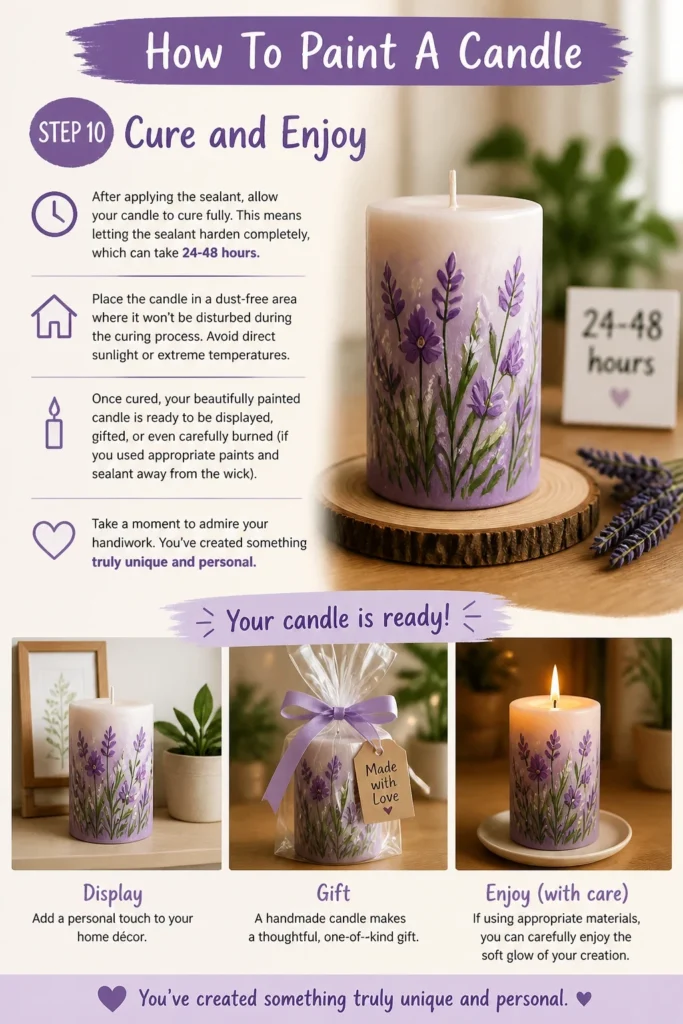
Place the candle in a dust-free area where it won’t be disturbed during the curing process. Avoid direct sunlight or extreme temperatures.
Once cured, your beautifully painted candle is ready to be displayed, gifted, or even carefully burned (if you used appropriate paints and sealant away from the wick).
Take a moment to admire your handiwork. You’ve created something truly unique and personal.
Common Mistakes to Avoid
Using the Wrong Type of Paint
Many beginners reach for craft paints not suitable for wax. Standard oil-based or enamel paints often crack, peel, or even produce unpleasant fumes when burned.
Always opt for acrylic paints, which are flexible and water-soluble, or specialized wax paints designed for candles. These options adhere better and are generally safer.
Applying Paint Too Thickly
A common error is applying thick, heavy layers of paint in an attempt to get opaque colors quickly. This can lead to several problems.
Thick paint layers are prone to cracking and flaking as the candle expands and contracts. They also make the candle burn unevenly, creating tunnels around the wick.
Instead, build up your colors with multiple thin coats, allowing each to dry completely. This creates a smoother, more durable finish.
Not Cleaning the Candle Surface
Skipping the crucial cleaning step before painting often results in poor paint adhesion. Dust, fingerprints, and mold release agents from manufacturing can act as barriers.
The paint will struggle to stick, leading to peeling or smudging even after drying. Always wipe the candle with rubbing alcohol to ensure a pristine surface.
Rushing the Drying and Sealing Process
Impatience can ruin an otherwise perfect painted candle. Not allowing paint layers to dry thoroughly before adding more, or sealing too soon, causes issues.
Wet paint will smudge, bleed, or lift when painted over. Sealing wet paint traps moisture and can lead to a cloudy or sticky finish. Always give each layer ample time to dry completely.
Troubleshooting
Paint Cracking or Peeling
If your paint is cracking or peeling after drying, it’s likely due to applying the paint too thickly or using a paint type that isn’t flexible enough for wax.
To fix this, gently scrape off the offending paint if it’s localized. For widespread cracking, you might need to start over after cleaning the candle. In the future, apply thinner coats of acrylic or wax-specific paint.
Colors Bleeding or Mixing Unintentionally
This usually happens when you apply a new color over a previous layer that hasn’t fully dried. The wet paint reactivates the underlying layer, causing them to blend.
The solution is patience. Always allow each color layer to dry completely to the touch before introducing a new color or painting adjacent areas. A small fan can help speed up drying times.
Uneven or Streaky Finish
An uneven finish can result from inconsistent paint application, using too little paint on your brush, or paint drying too quickly in certain spots.
Try to apply paint in smooth, even strokes. If using acrylics, a tiny drop of flow improver can help the paint glide more smoothly. Work quickly and consistently for large areas.
Key Takeaways
- Always clean your candle surface thoroughly with rubbing alcohol for best paint adhesion.
- Use appropriate paints like acrylics or wax-specific paints, avoiding oil-based options.
- Apply paint in thin, even layers, allowing each layer to dry completely before adding the next.
- Patience is crucial; rushing drying or sealing steps can lead to imperfections.
- A non-toxic, water-based sealant protects your design and provides a finished look.
- Handle painted candles carefully, especially if they are intended for burning, keeping paint and sealant away from the wick.
Frequently Asked Questions
Can I burn painted candles?
Yes, you can burn painted candles, but with important considerations. Ensure you use non-toxic, water-based paints and sealants. Keep the painted areas away from the wick and the immediate burning zone to prevent fumes from burning paint. Always supervise a burning candle.
What kind of paint is safest for candles?
Acrylic paints are generally considered the safest and most popular choice for decorating candles. They are water-based, non-toxic when dry, and flexible enough to adhere well to wax. Specialized wax paints are also an excellent, safe option.
How long does the painted design last on a candle?
If properly cleaned, painted with suitable paints, and sealed, your design can last for years. The paint adheres well to the wax, and the sealant protects it from minor abrasions and dust. If the candle is burned, the design will slowly melt away with the wax.
Do I need to seal the entire candle?
You only need to seal the areas where you’ve applied paint. Sealing the entire candle is optional for decorative purposes, but if the candle will be burned, avoid sealing the wick and the wax immediately surrounding it to ensure a clean burn.
Our Top Recommended Finds
- Artist’s Acrylic Paint Set: A diverse range of vibrant, water-based colors that adhere well to wax.
- Fine-Tipped Detail Paintbrush Set: Essential for intricate designs and delicate lines, offering precision and control.
- Non-Toxic Matte or Gloss Sealant: Protects your artwork and provides a professional finish without harmful chemicals.
Embrace Your Inner Artist Today
You’ve now got all the knowledge to transform a simple candle into a personalized work of art. The process is rewarding, offering a creative outlet and a tangible beautiful result.
Don’t hesitate to experiment with colors, patterns, and techniques. Each painted candle you create will be uniquely yours, reflecting your style and imagination.
Gather your materials, choose a quiet moment, and let your creativity flow. Your next stunning candle project awaits.